I’ve just uploaded my very first PDF pattern to craftsy.com so excited!
Author Archives: Marni
The recovery….
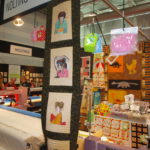
Last week at the Craft and Quilt Show at Darling Harbour’s Convention Centre was a terrific chance for everyone to dive into crafts old and new, before the show is moved to its new location next year while the convention centre is renovated/rebuilt.
I was working with my friend Hans on his stand Know-How Sewing Essentials. Due to dad’s illness I was unable to attend as a stallholder myself, but as I have one of Hans’ Nolting machines in my shop for machine quilting I was able to lend a hand and demonstrate on the stand for the week. I always love the hive of activity of a craft show – I’ve been to so many over the years in all of my various roles that they do all blend together but each show has its own unique atmosphere – mainly due to the locals who attend – NSW feels quite frantically paced compared to a SA show but what always remains the same is the love and enthusiasm we all have for this craft of ours. And that’s really the most important thing.
I met all sorts of quilters at the show – some just starting out, some who’ve quilted for years – some who were learning at school and some who hadn’t quite decided which way they wanted to take their quilting skills.
-
- Very colourful
-
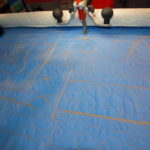
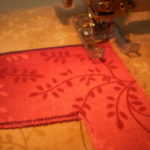
- Laura’s quilting
-
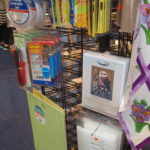
- More goodies
-
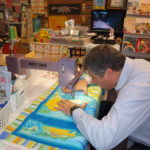
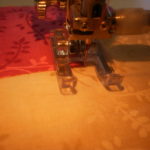
- Hans using the stationary Nolting
-
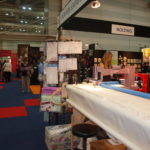
- Aisle I
-
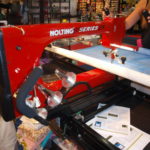
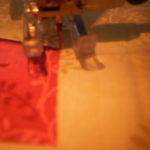
- Red goes faster 🙂
I had a great time at the show – I always do – catching up with all of my industry friends, sneaking in a little bit of shopping (did someone say Washi tape?) and working hard to make sure that all our customers walked away happy, more knowledgeable and ready to tackle their next project.
Recovering from the show takes a few days though – my feet all the way up to my hips are not forgiving me for what I’ve put them through but after a lazy day at home with Dad yesterday am feeling much more like myself. 🙂
Still I wouldn’t change it for the world.
This week apart from scheduled classes I am working on more magazine submissions and a few of my own personal craft things as well as more updating to the website and writing more patterns.
The sale is still on until the 27th of June – simply select all of your products and proceed through the shopping cart, when prompted enter SS30 to receive 30% off everything (Excludes wadding, machine quilting and machine servicing, class fees, pre-made quilts, selected kits and gift vouchers). Postage is also not included in the discount.
I’m also up to no good – planning a few things for the shop’s 2nd birthday which will be upon us very shortly and I simply cannot believe how time has flown.
Stay warm, keep stitching and have a lovely week.
Marni x
What’s happening at Frankenstein’s…
At the moment in the shop I have been head down bum up making new projects for the shop and for magazine publication.
I’ve been finishing off a few random things, working on new patterns and machine quilting. A friend of mine got married last week and we had a great time celebrating with her and her new hubby. 🙂


Busy little bee aren’t I?
Next week is the big Craft & Quilt Show at Darling Harbour Convention Centre – I’m down there doing a few odd things this year, but won’t be there as a stallholder. The shop will be closed from Wednesday 12th until the following weeks normal trading.
Anyways, back to Criminal Minds and my tea and doughnuts.
Marni x
Block #3
Afternoon all,
Here we are at block #3 of the Block of the Month.
Block #2 was emailed out as the beginning of last month was very hectic indeed. But you can get it here.
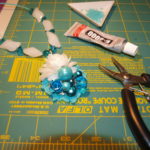
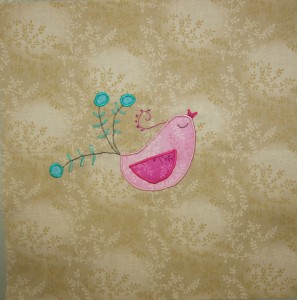
Block #3 is a sweet little bird, get the PDF here.
To make block #3 you need to use the same techniques as used in blocks #1 and #2 then continue as follows…
Note: Depending on which way you want your bird to face – facing left trace right side up, facing right trace from wrong side of template.
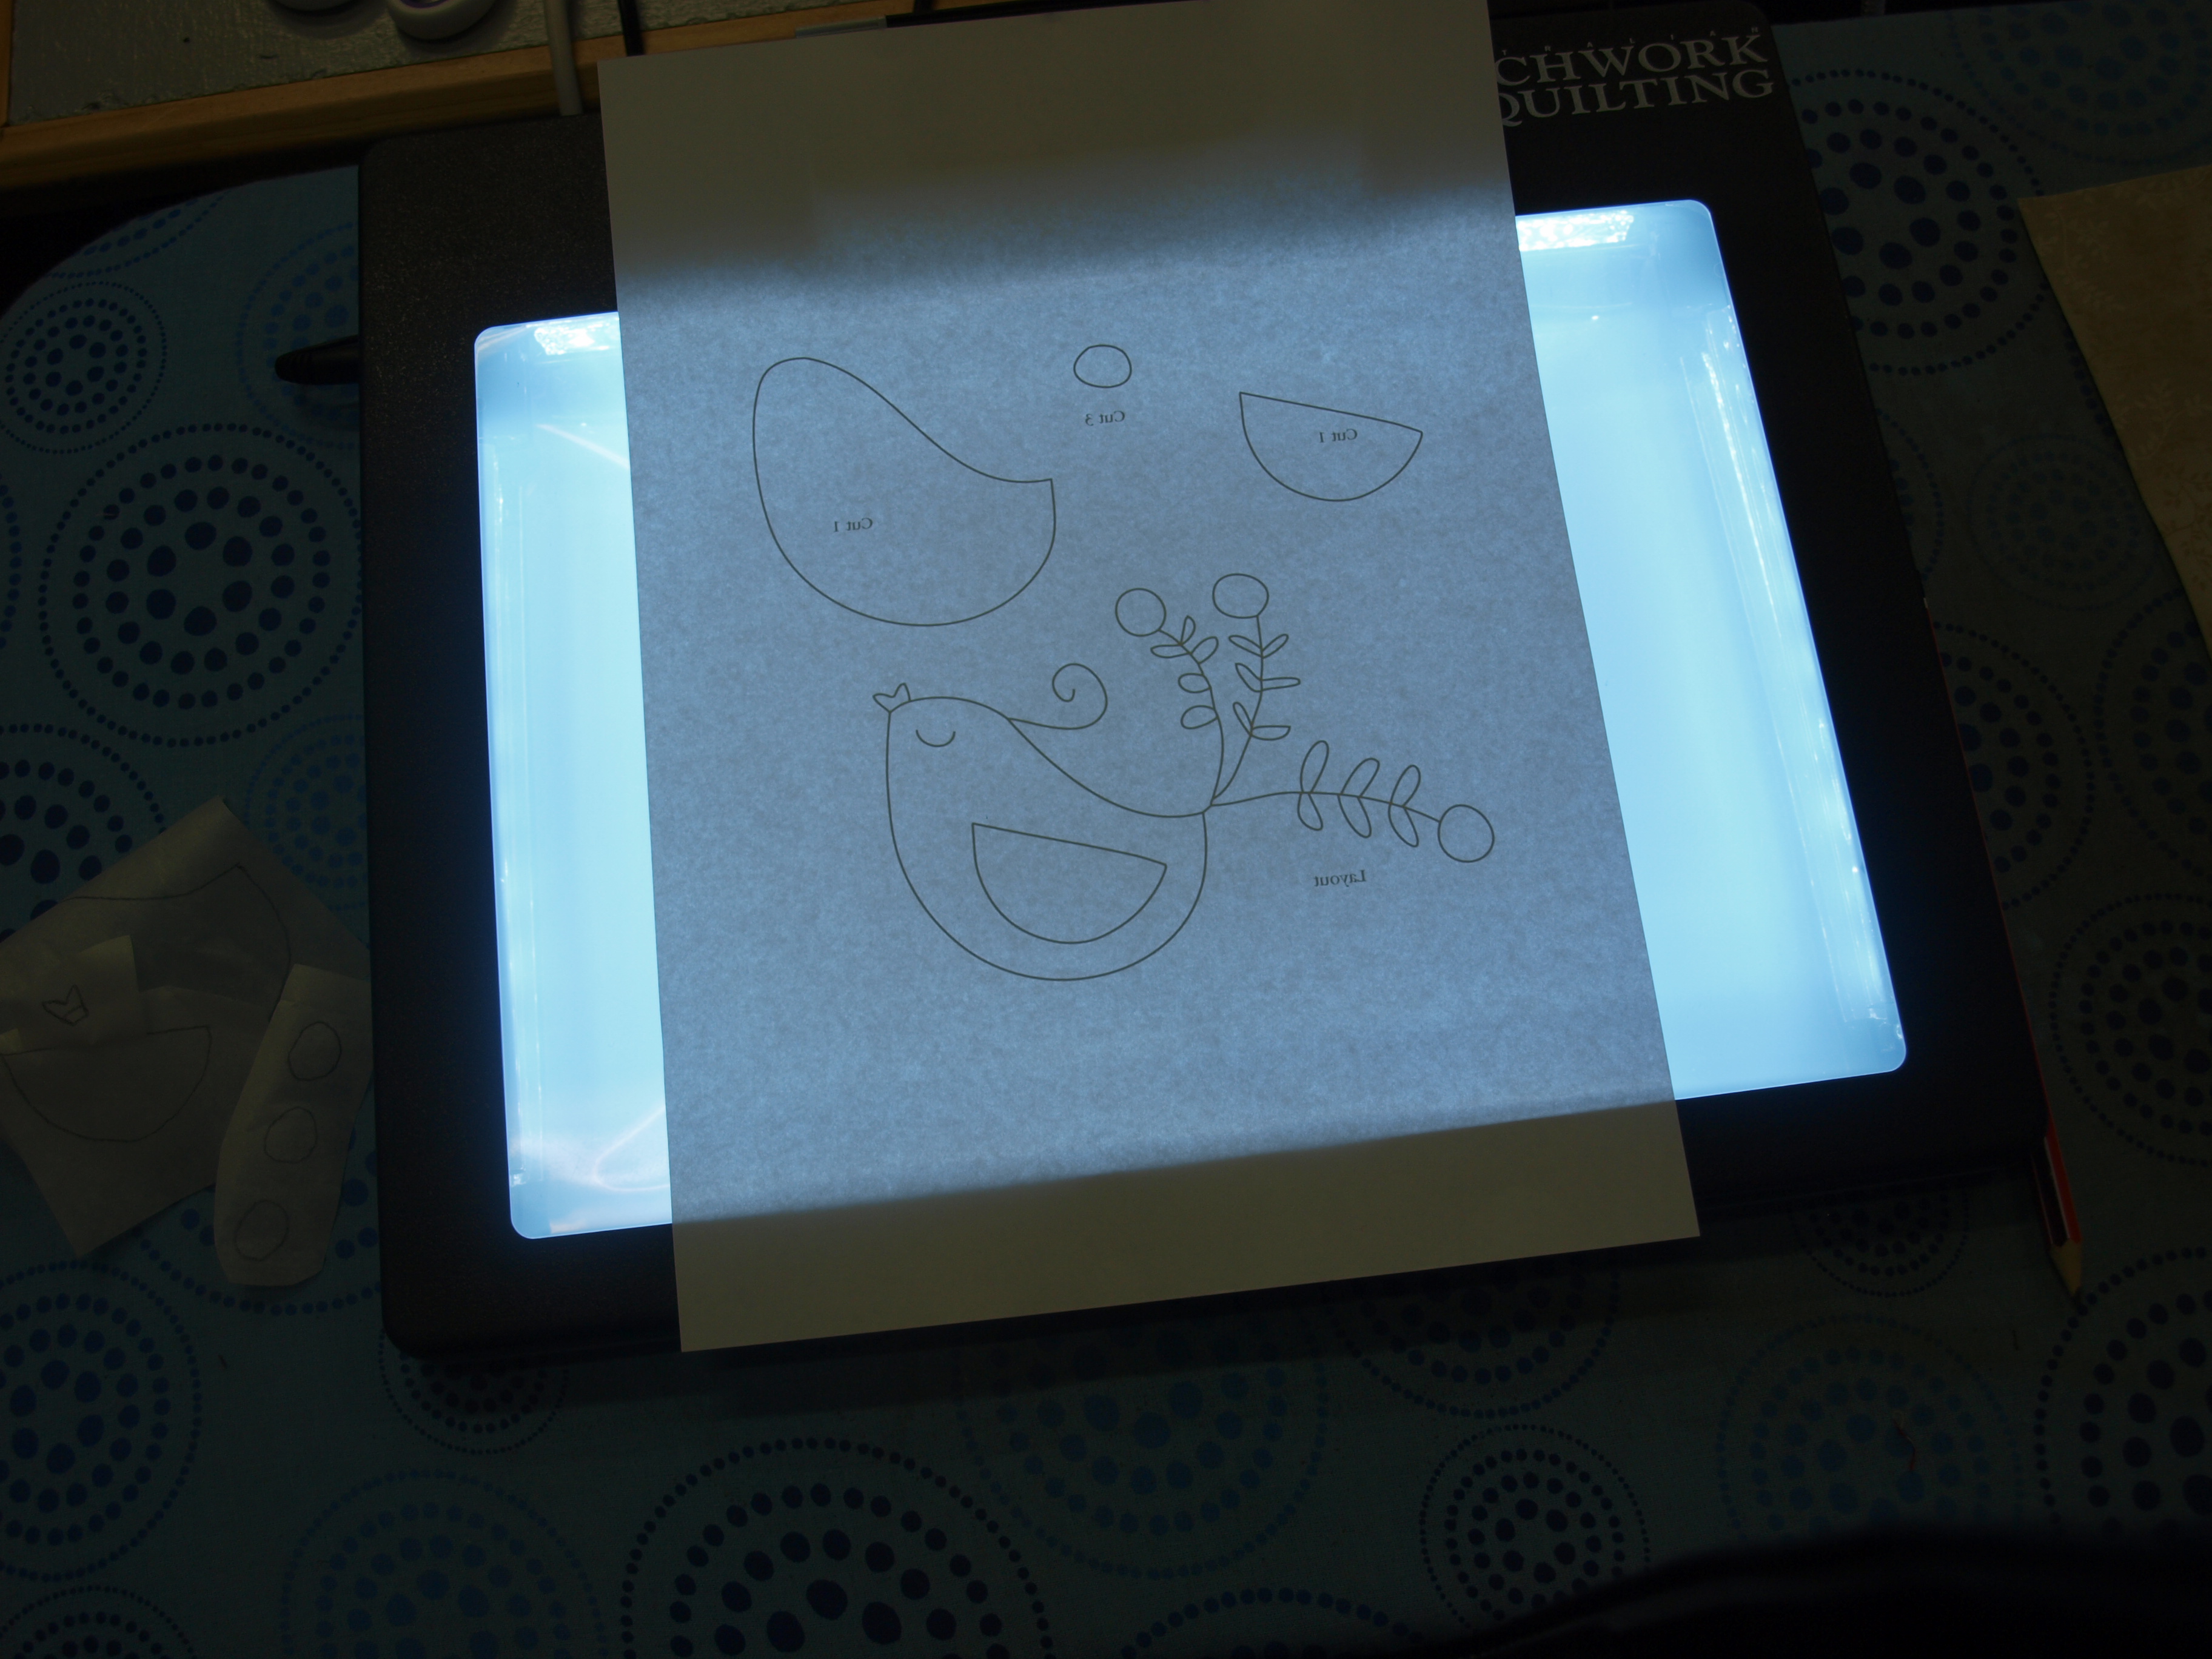
When stitching the beak as it is such a tiny appliqué shape make sure you set your zigzag stitch on your machine smaller. Also when cutting it out sometimes it helps to add a little extra to the edge that will sit underneath the bird’s body.
After you have stitched around the body, wing, beak and tail pieces tear away the stitch-n-tear from the back of the block. Place the block back over the template and trace the tail/feathers, head swirl and eye with a removable marking pen. I have used a Frixion iron away pen in orange.
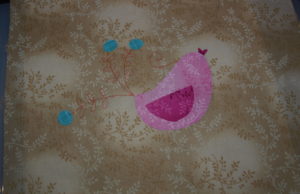
Thread your hand needle with two strands of DMC thread (whatever colour you want) and back-stitch the tail feather centre lines and the bird’s eye. Lazy-Daisy stitch the feathers on the tail in a second colour. Pick a third colour and back-stitch the head swirl.
For those who need a reminder of the stitches used, click here for a link to a free downloadable guide to embroidery stitches.
I’ll upload a photo of the finished block in the morning as I’m just putting the finishing touches on my little bird and need to take some pictures in better light.
Marni x
EDIT***
Here is the photo of the finished block. I added a few French Knots along the edge of the head swirl because I felt this little bird needed a bit more of a flourish.
A quick montage catch up…
-

- At the Easter Handmade Craft Market with Barney’s Balloons.
-
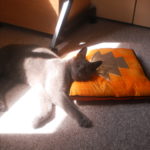
- Vladimir slacked out in the Autumn sun.
-
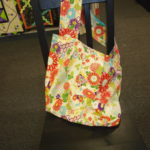
- Beryl – Ann’s bag made in class.
-
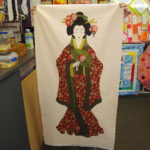
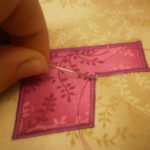
- Joan’s first attempt at appliqué
-

- Lucky Dip Gift Boxes
-

- Mother’s Day
Frankenstein’s Fabrics first BOM
Welcome to the very first block of the month at Frankenstein’s Fabrics.
This project is scheduled to finish up at the end of the year – with each block being posted here on the FF blog with a link for you to download the patterns as a PDF or if you have previously let me know the PDFs will be emailed to you. I will post the tutorial here at the beginning of each month.
I will be making this quilt with you so the final result will be a mystery to us all and that makes it more exciting. 🙂
So here we go with Block 1
Love….
I’m starting you off with the easiest of the 7 appliquéd blocks. They have straightforward shapes and you can do as many or as few of the embellishment options as you like.
In your kit you will have all of the fabrics for the entire quilt (except for backing and wadding). The only fabrics that I have dictated are the border, binding, sashing and background. You have 20cm of each of all of the other fabrics, some vliesofix, stitch-n-tear, 6-stranded embroidery floss and some small rickrack. The 20cm pieces of fabric will allow you to select what fabrics you want for each block which means no two quilts will be the same. Below is a basic materials list – there may be things that I add as we go along, but not many.
Materials List
- Pencil
- Paper and fabric scissors
- Lightbox or window
- Teflon mat (or baking paper)
- Small hand needle
- Iron and ironing board
- Rotary cutter, ruler and mat
- Microtex machine needle – size 60/8 or Universal 70/10 (used for appliques)
- Universal machine needle – size 80/12 (used for quilt assembly)
- BOM fabric kit
- Matching threads – machine embroidery, cotton threads
- Lighter or candle or fray stop (optional)
Before you start…
I must stress you need to be accurate. If you do not have the tools (rotary cutter, ruler and mat) please borrow from a fellow patchworker or use a pencil and mark on the wrong side of the fabric the squares you need to cut out and then use good fabric scissors. Cut slowly and carefully.
Please read through the instructions carefully before you begin. See notes at the bottom for extra tips that will help you as you sew.
Cutting –
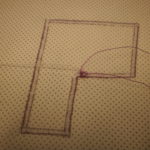
From the background fabric cut two 10.5in strips. Cut the selvedges off and crosscut from each strip four 10.5in squares (you only need seven but always good to have a spare). See photos 1-4.
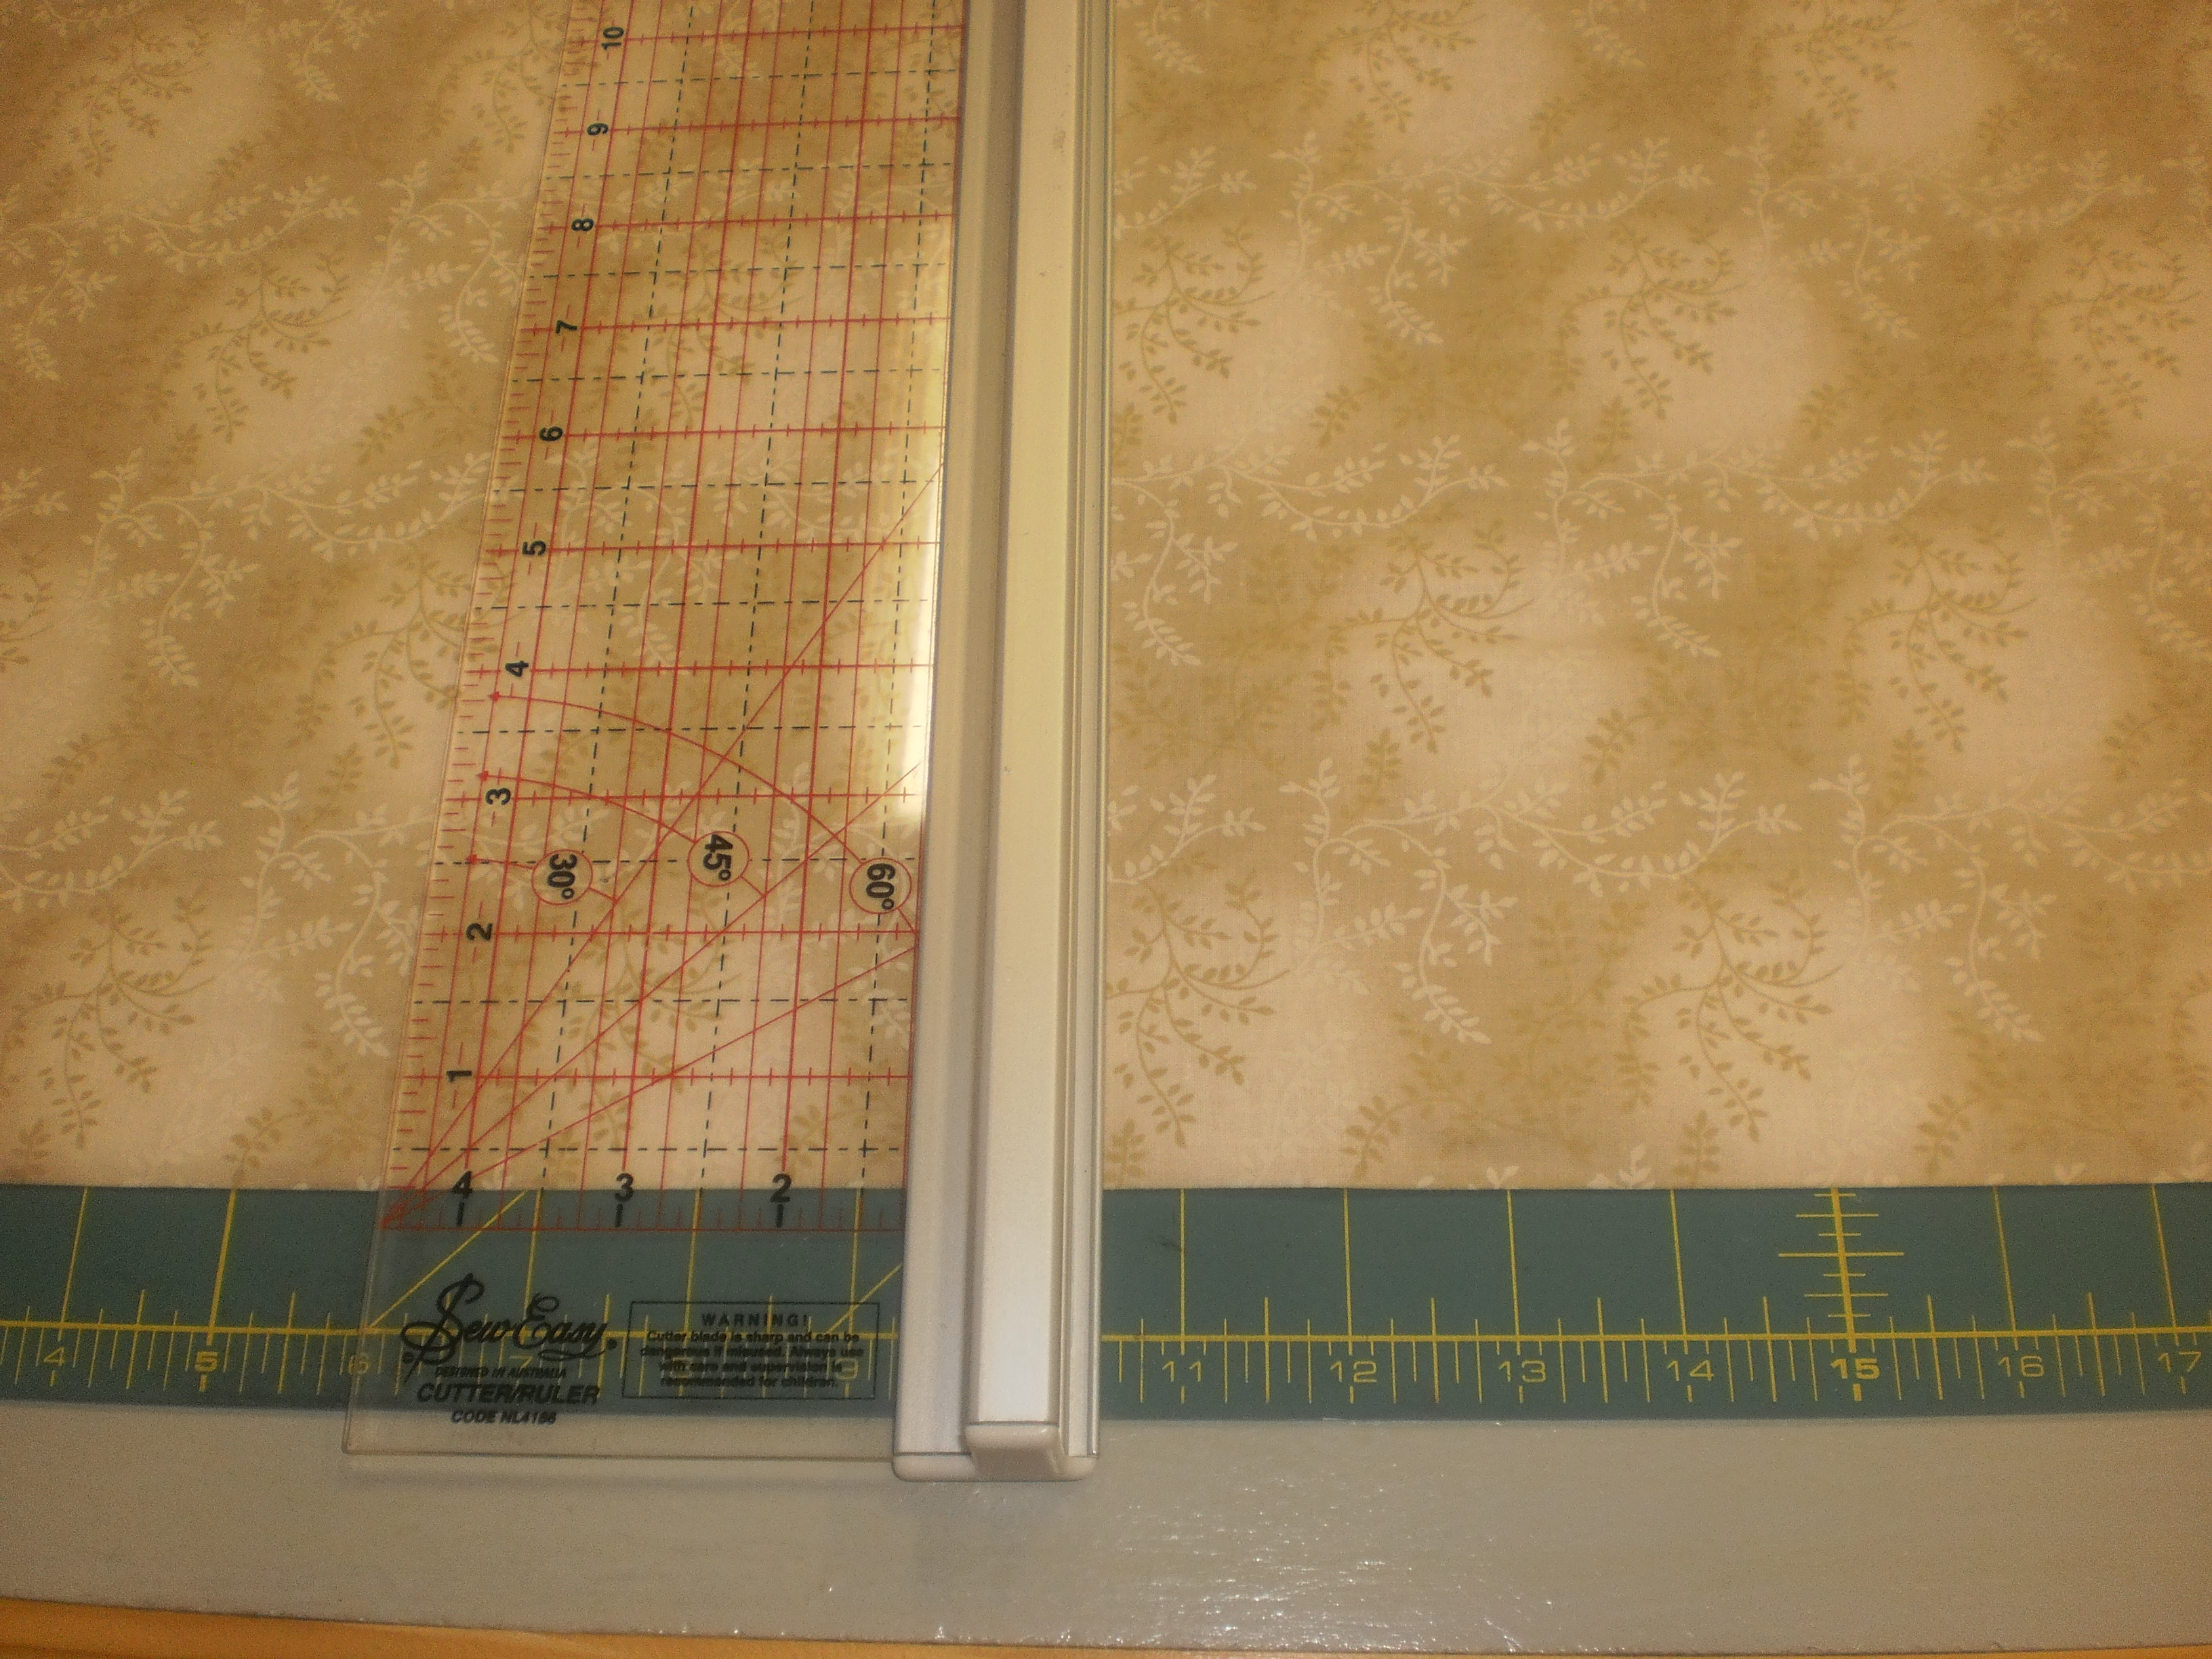
Photo 1: Line up your background fabric on your cutting board.
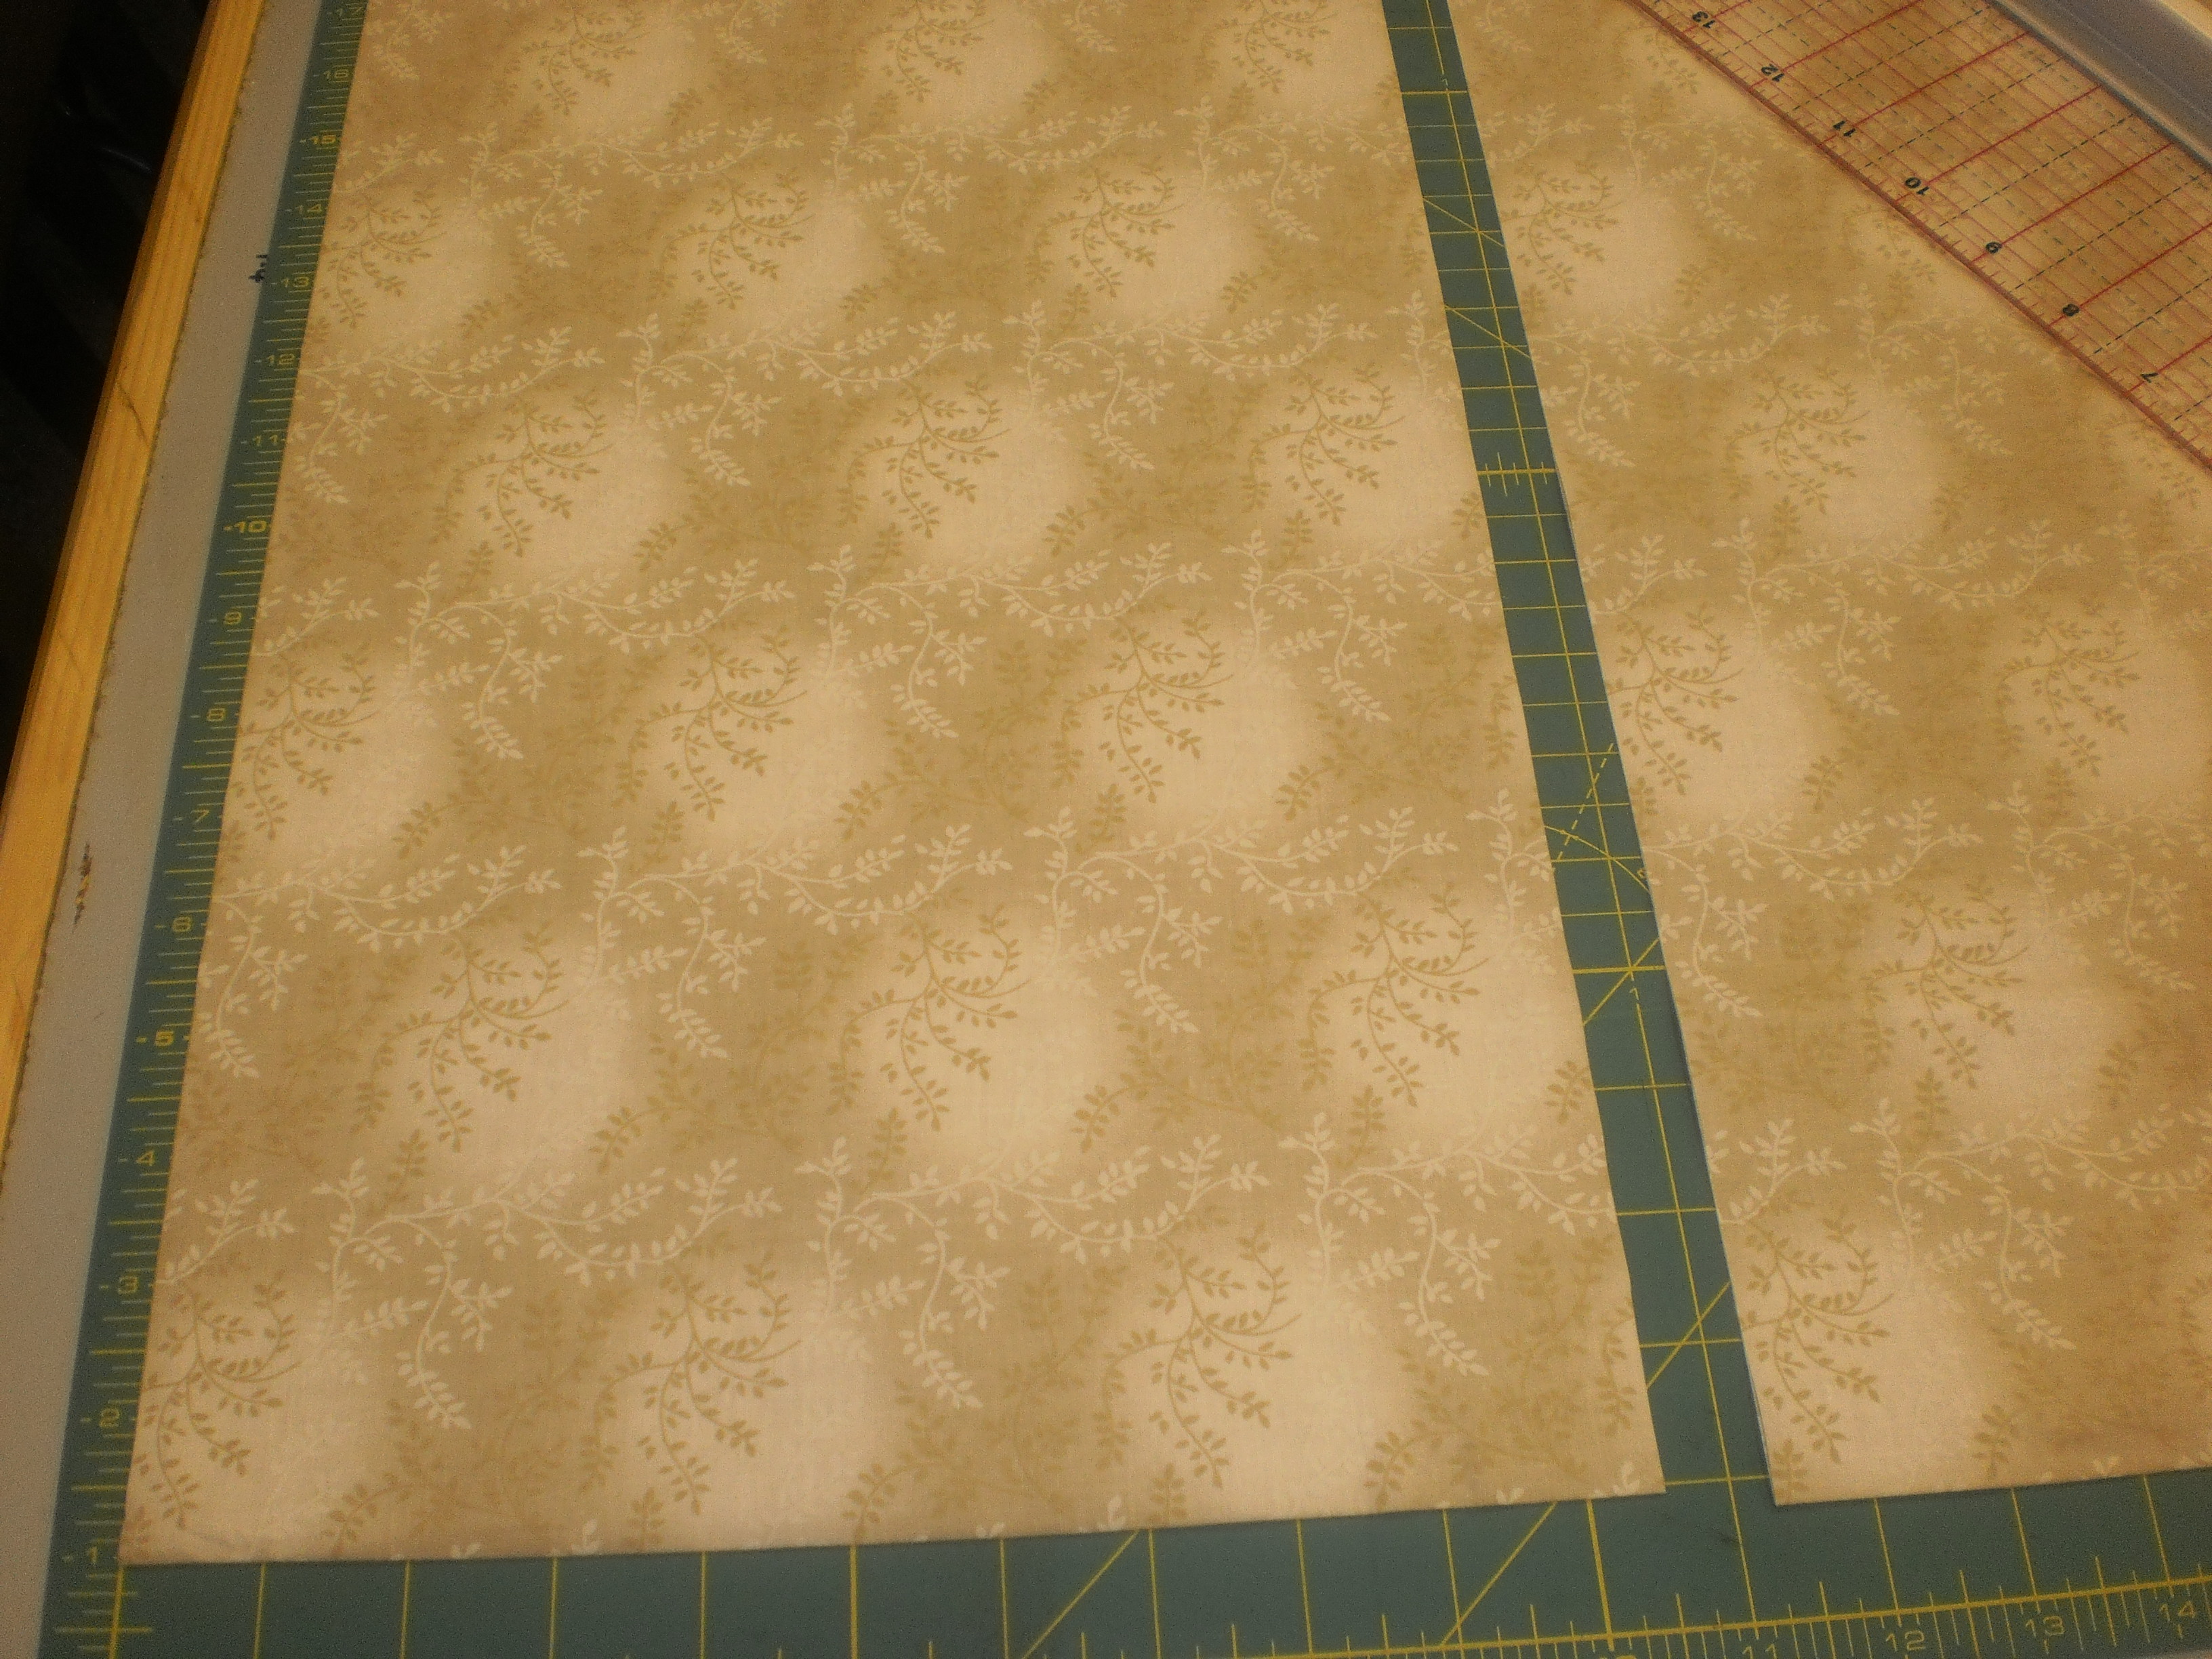
Cut two 10.5in strips.
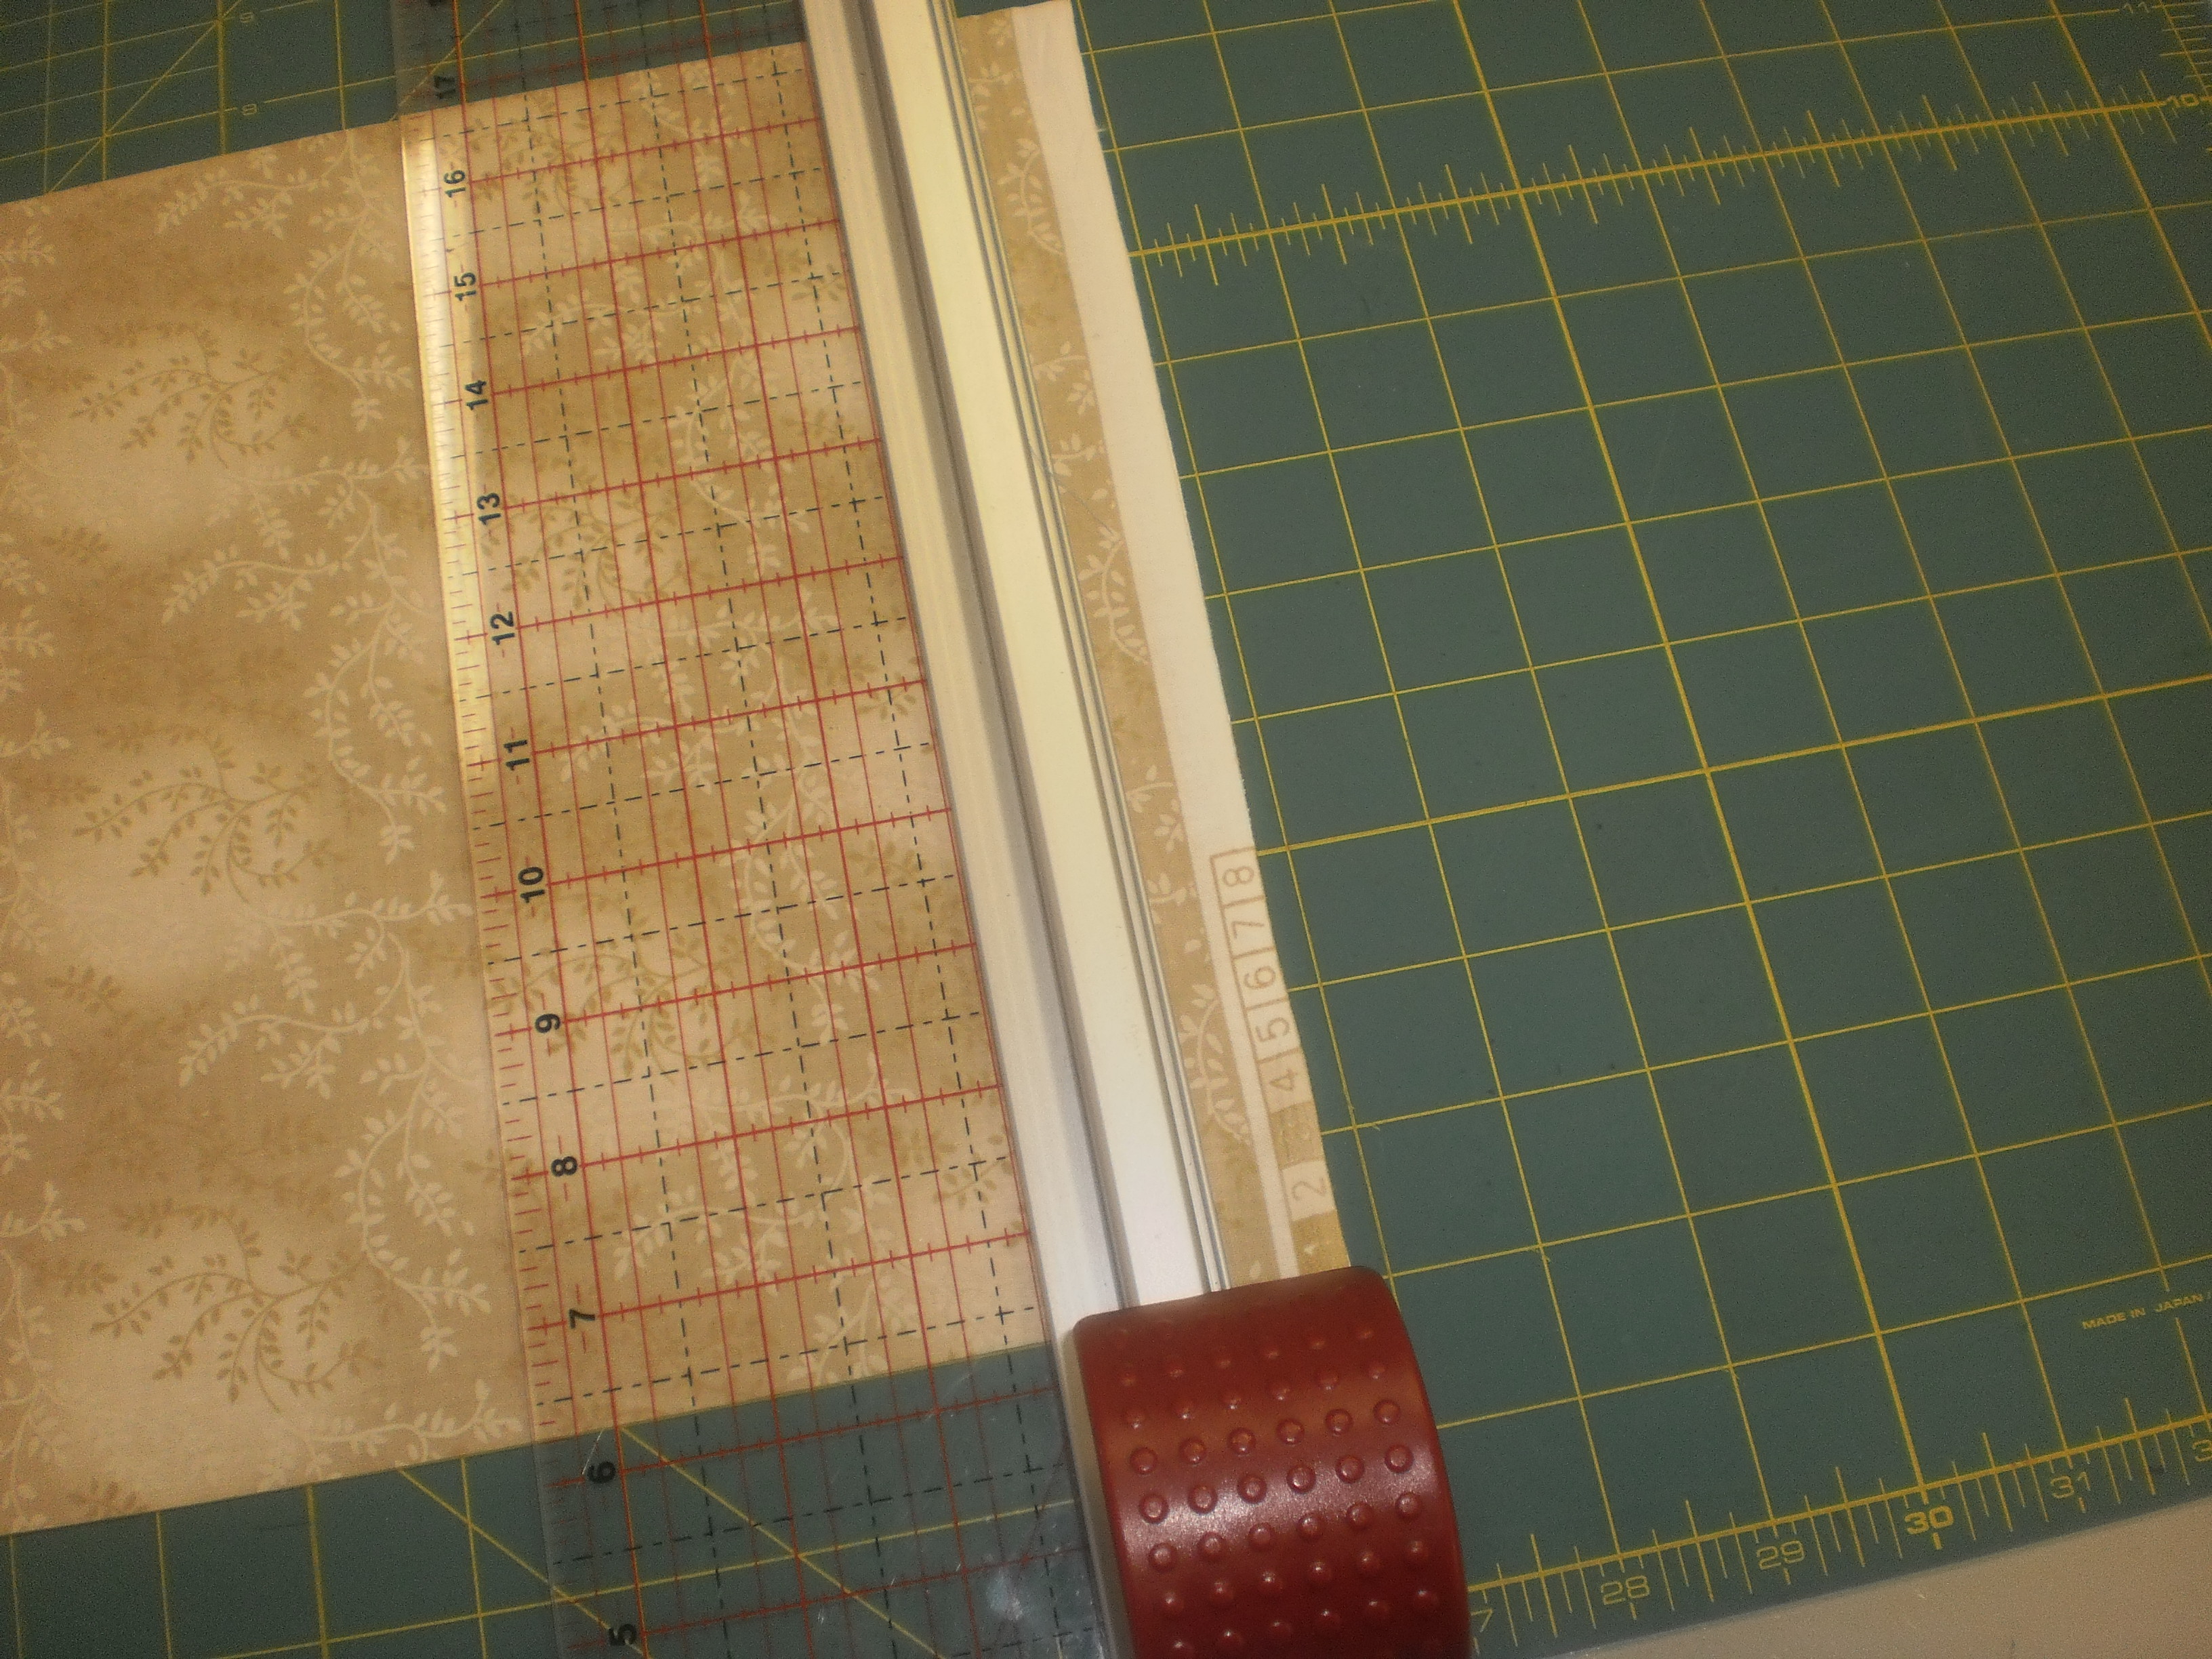
Cut the selvedge off.
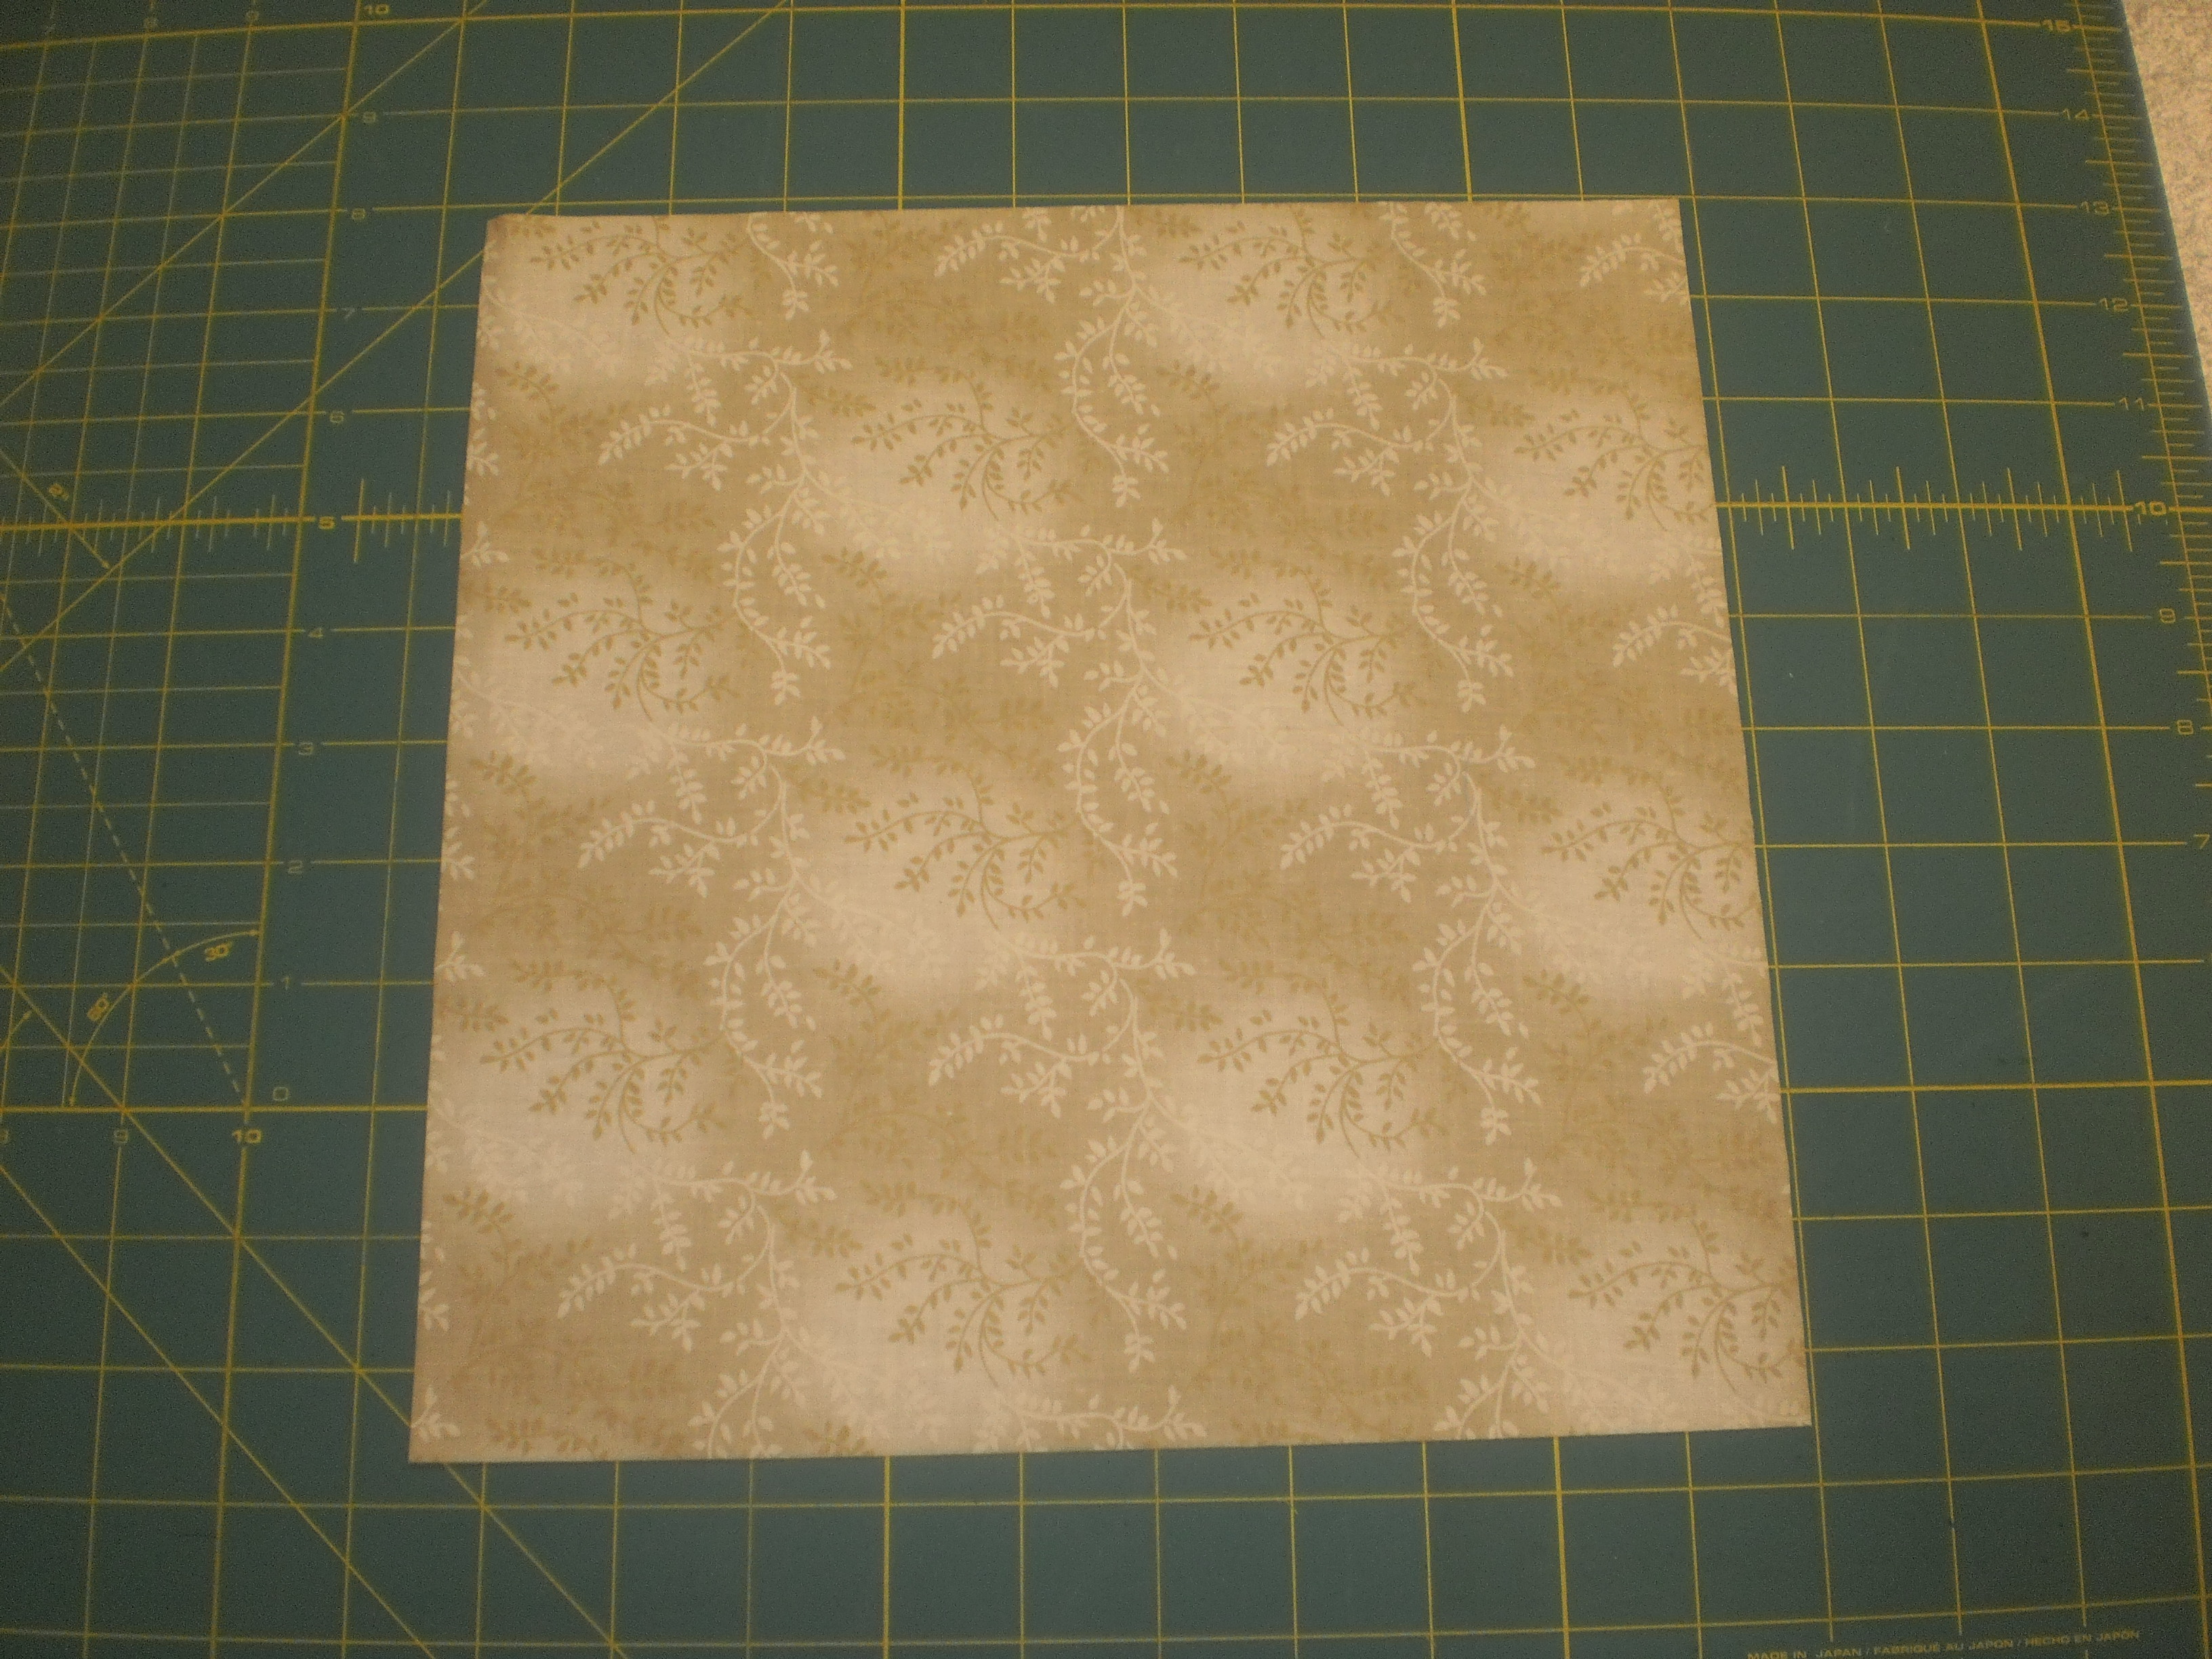
Crosscut 10.5in squares across the strips (you’ll get 4 per strip).
Appliqués
Choose four fabrics from your kit. Press these and set aside for the moment.
Print off the LOVE PDF here.
Trace the letter onto the smooth side of the Vliesofix. See photos 5 and 6.
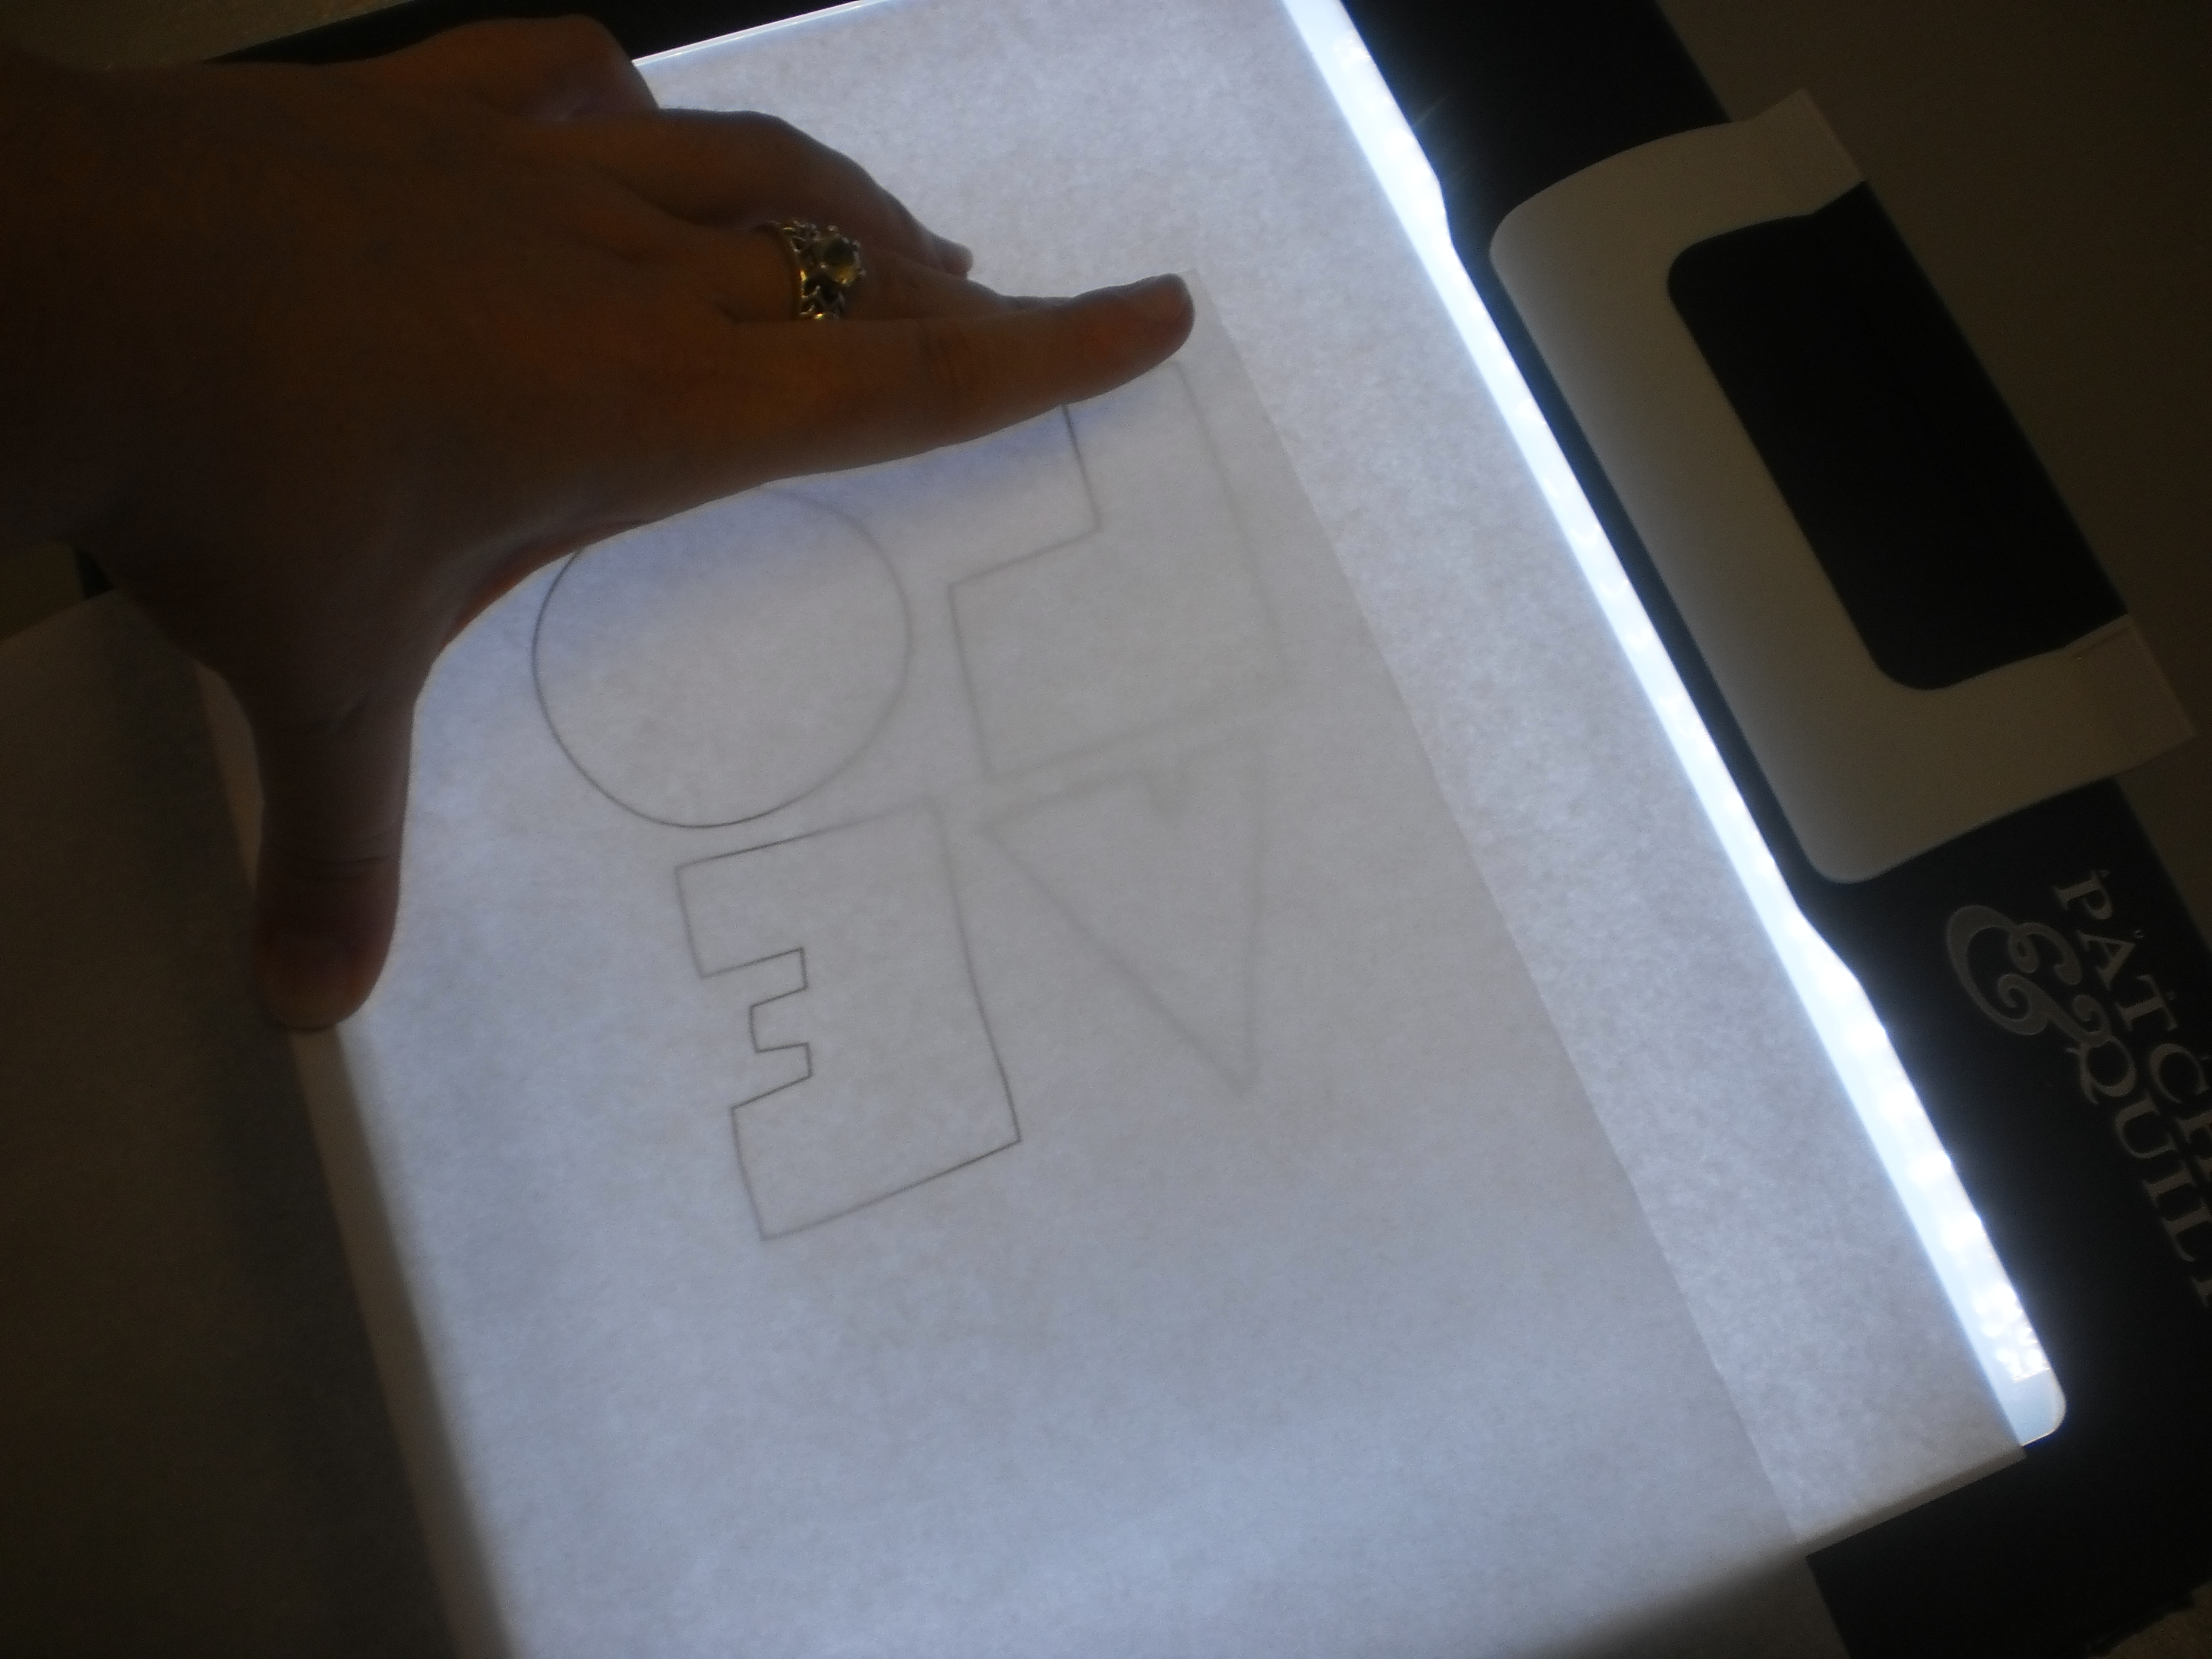
Photo 5: Place the LOVE template on your lightbox or window.
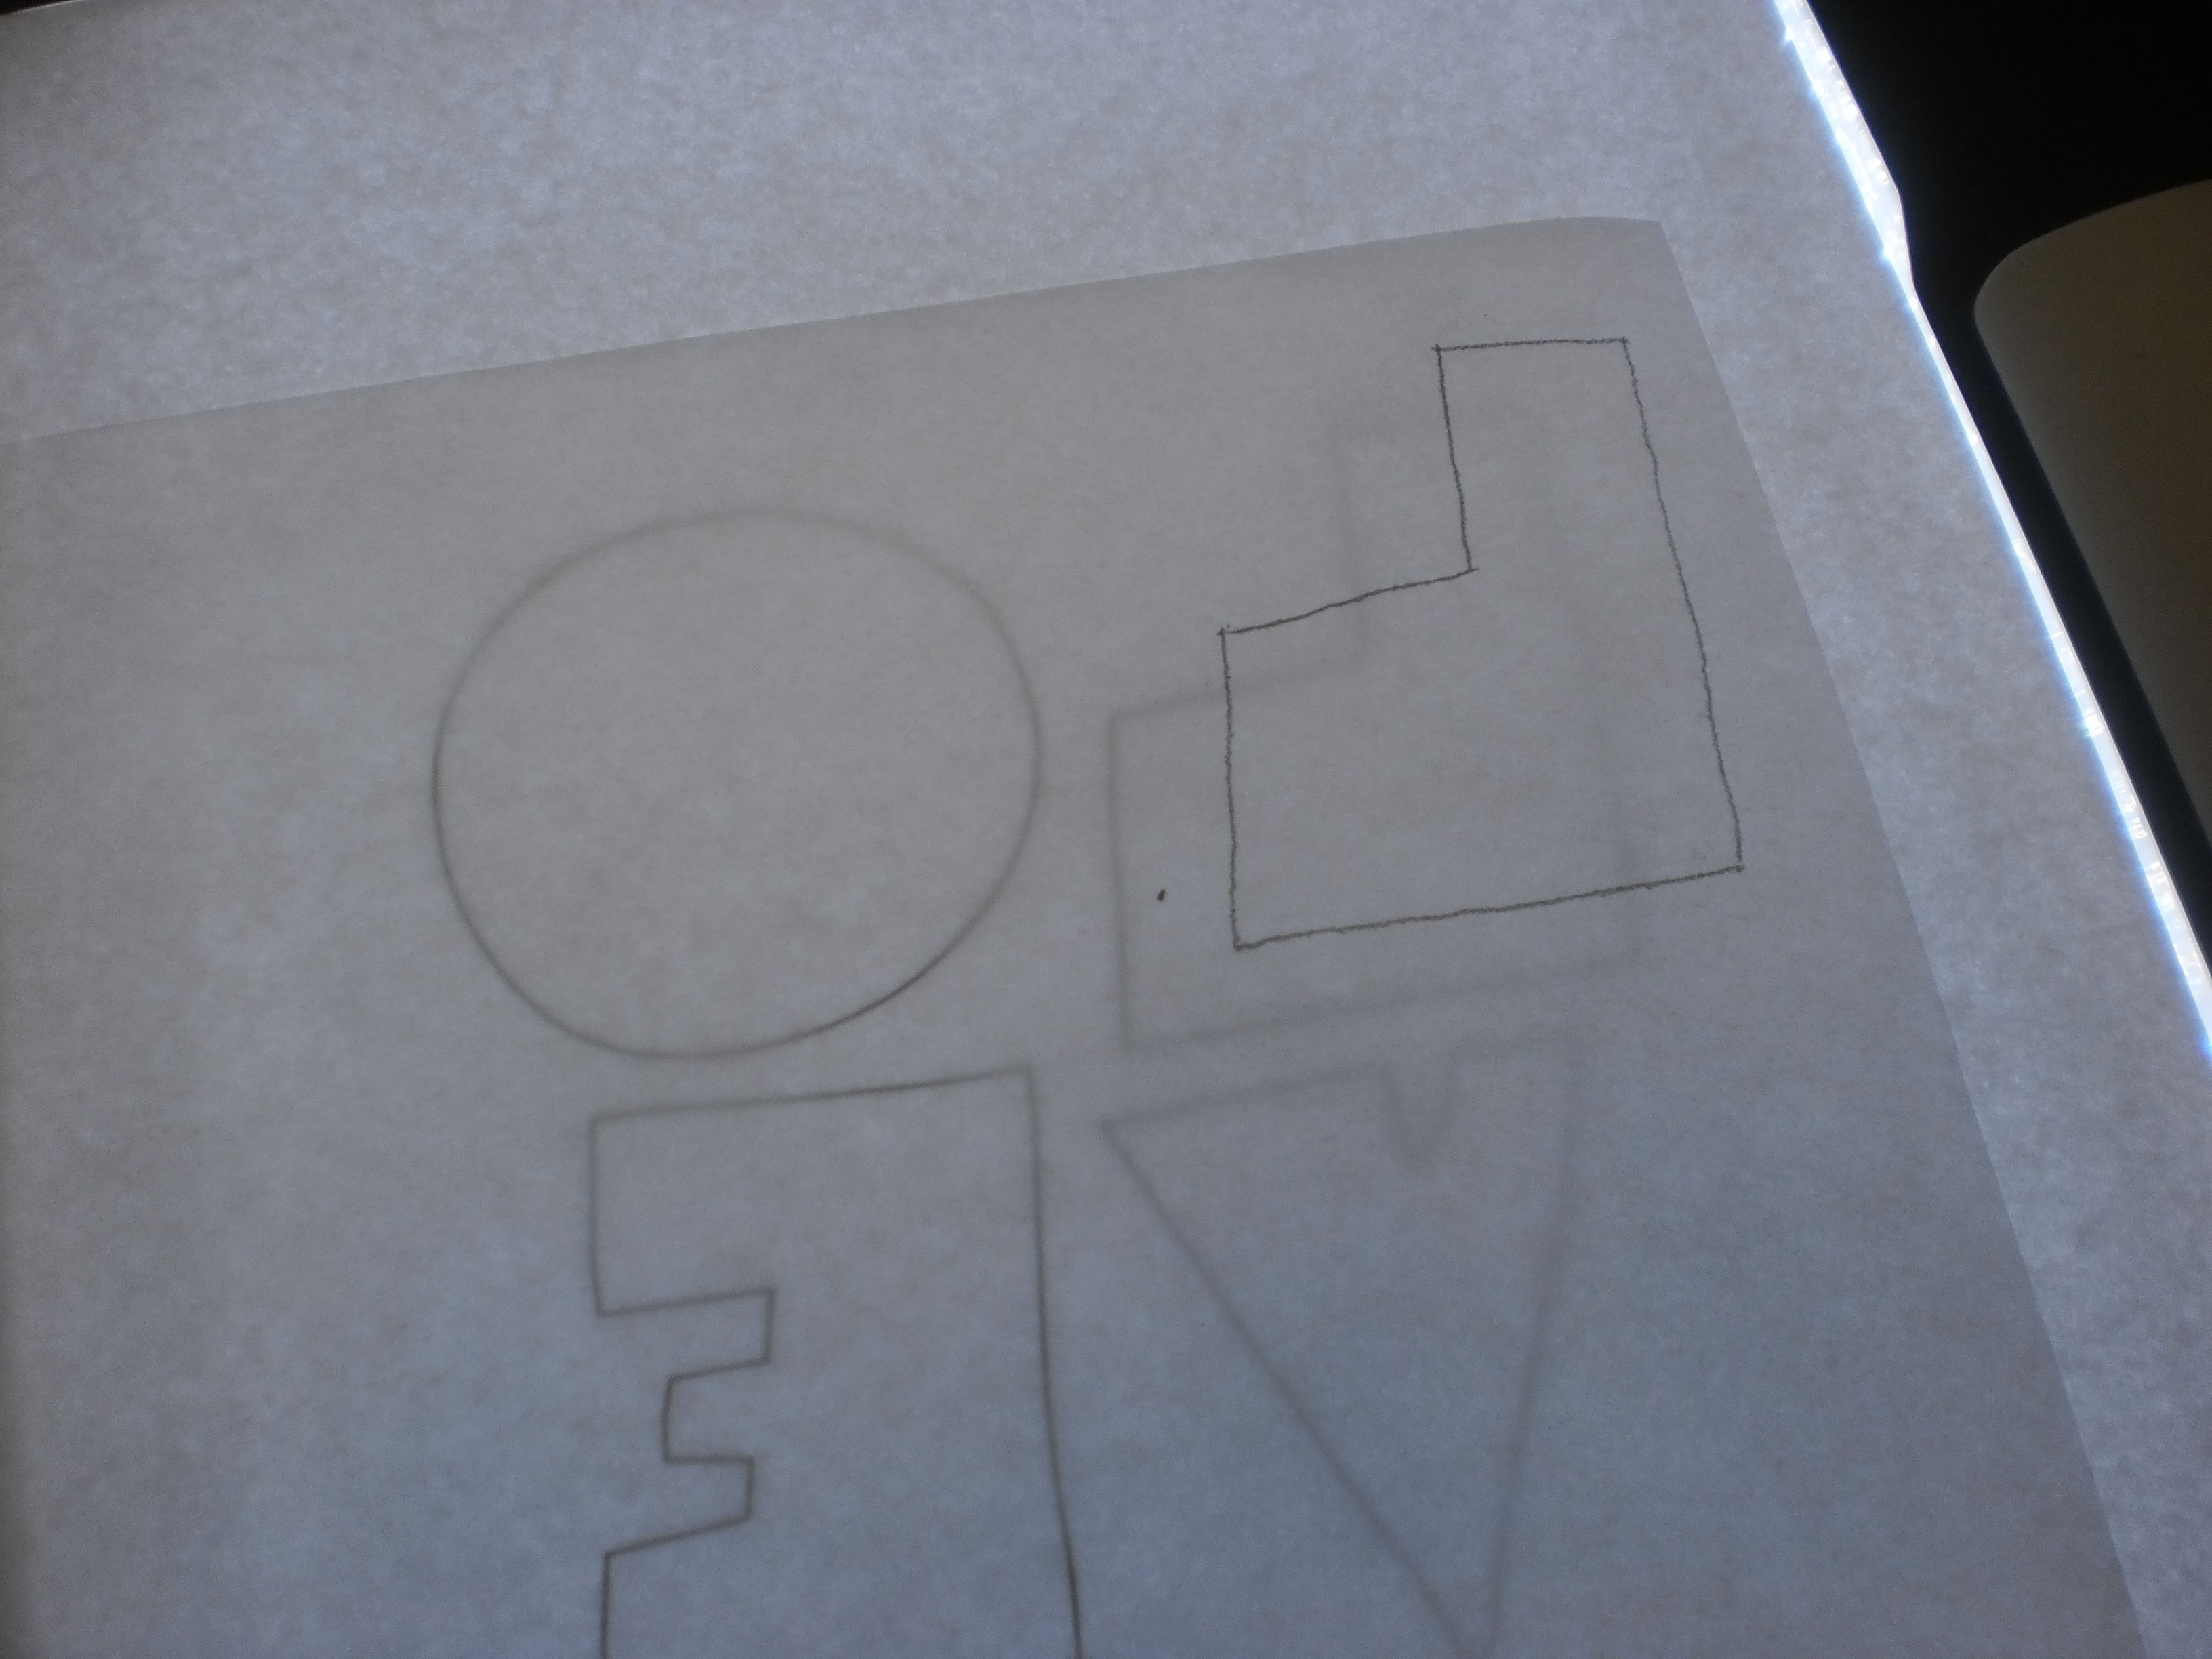
Photo 6: Trace the letters onto the paper side of the Vliesofix. Leave approximately 1/2in between shapes.
Cut the letters out roughly with paper scissors leaving a 1/2in gap between them.
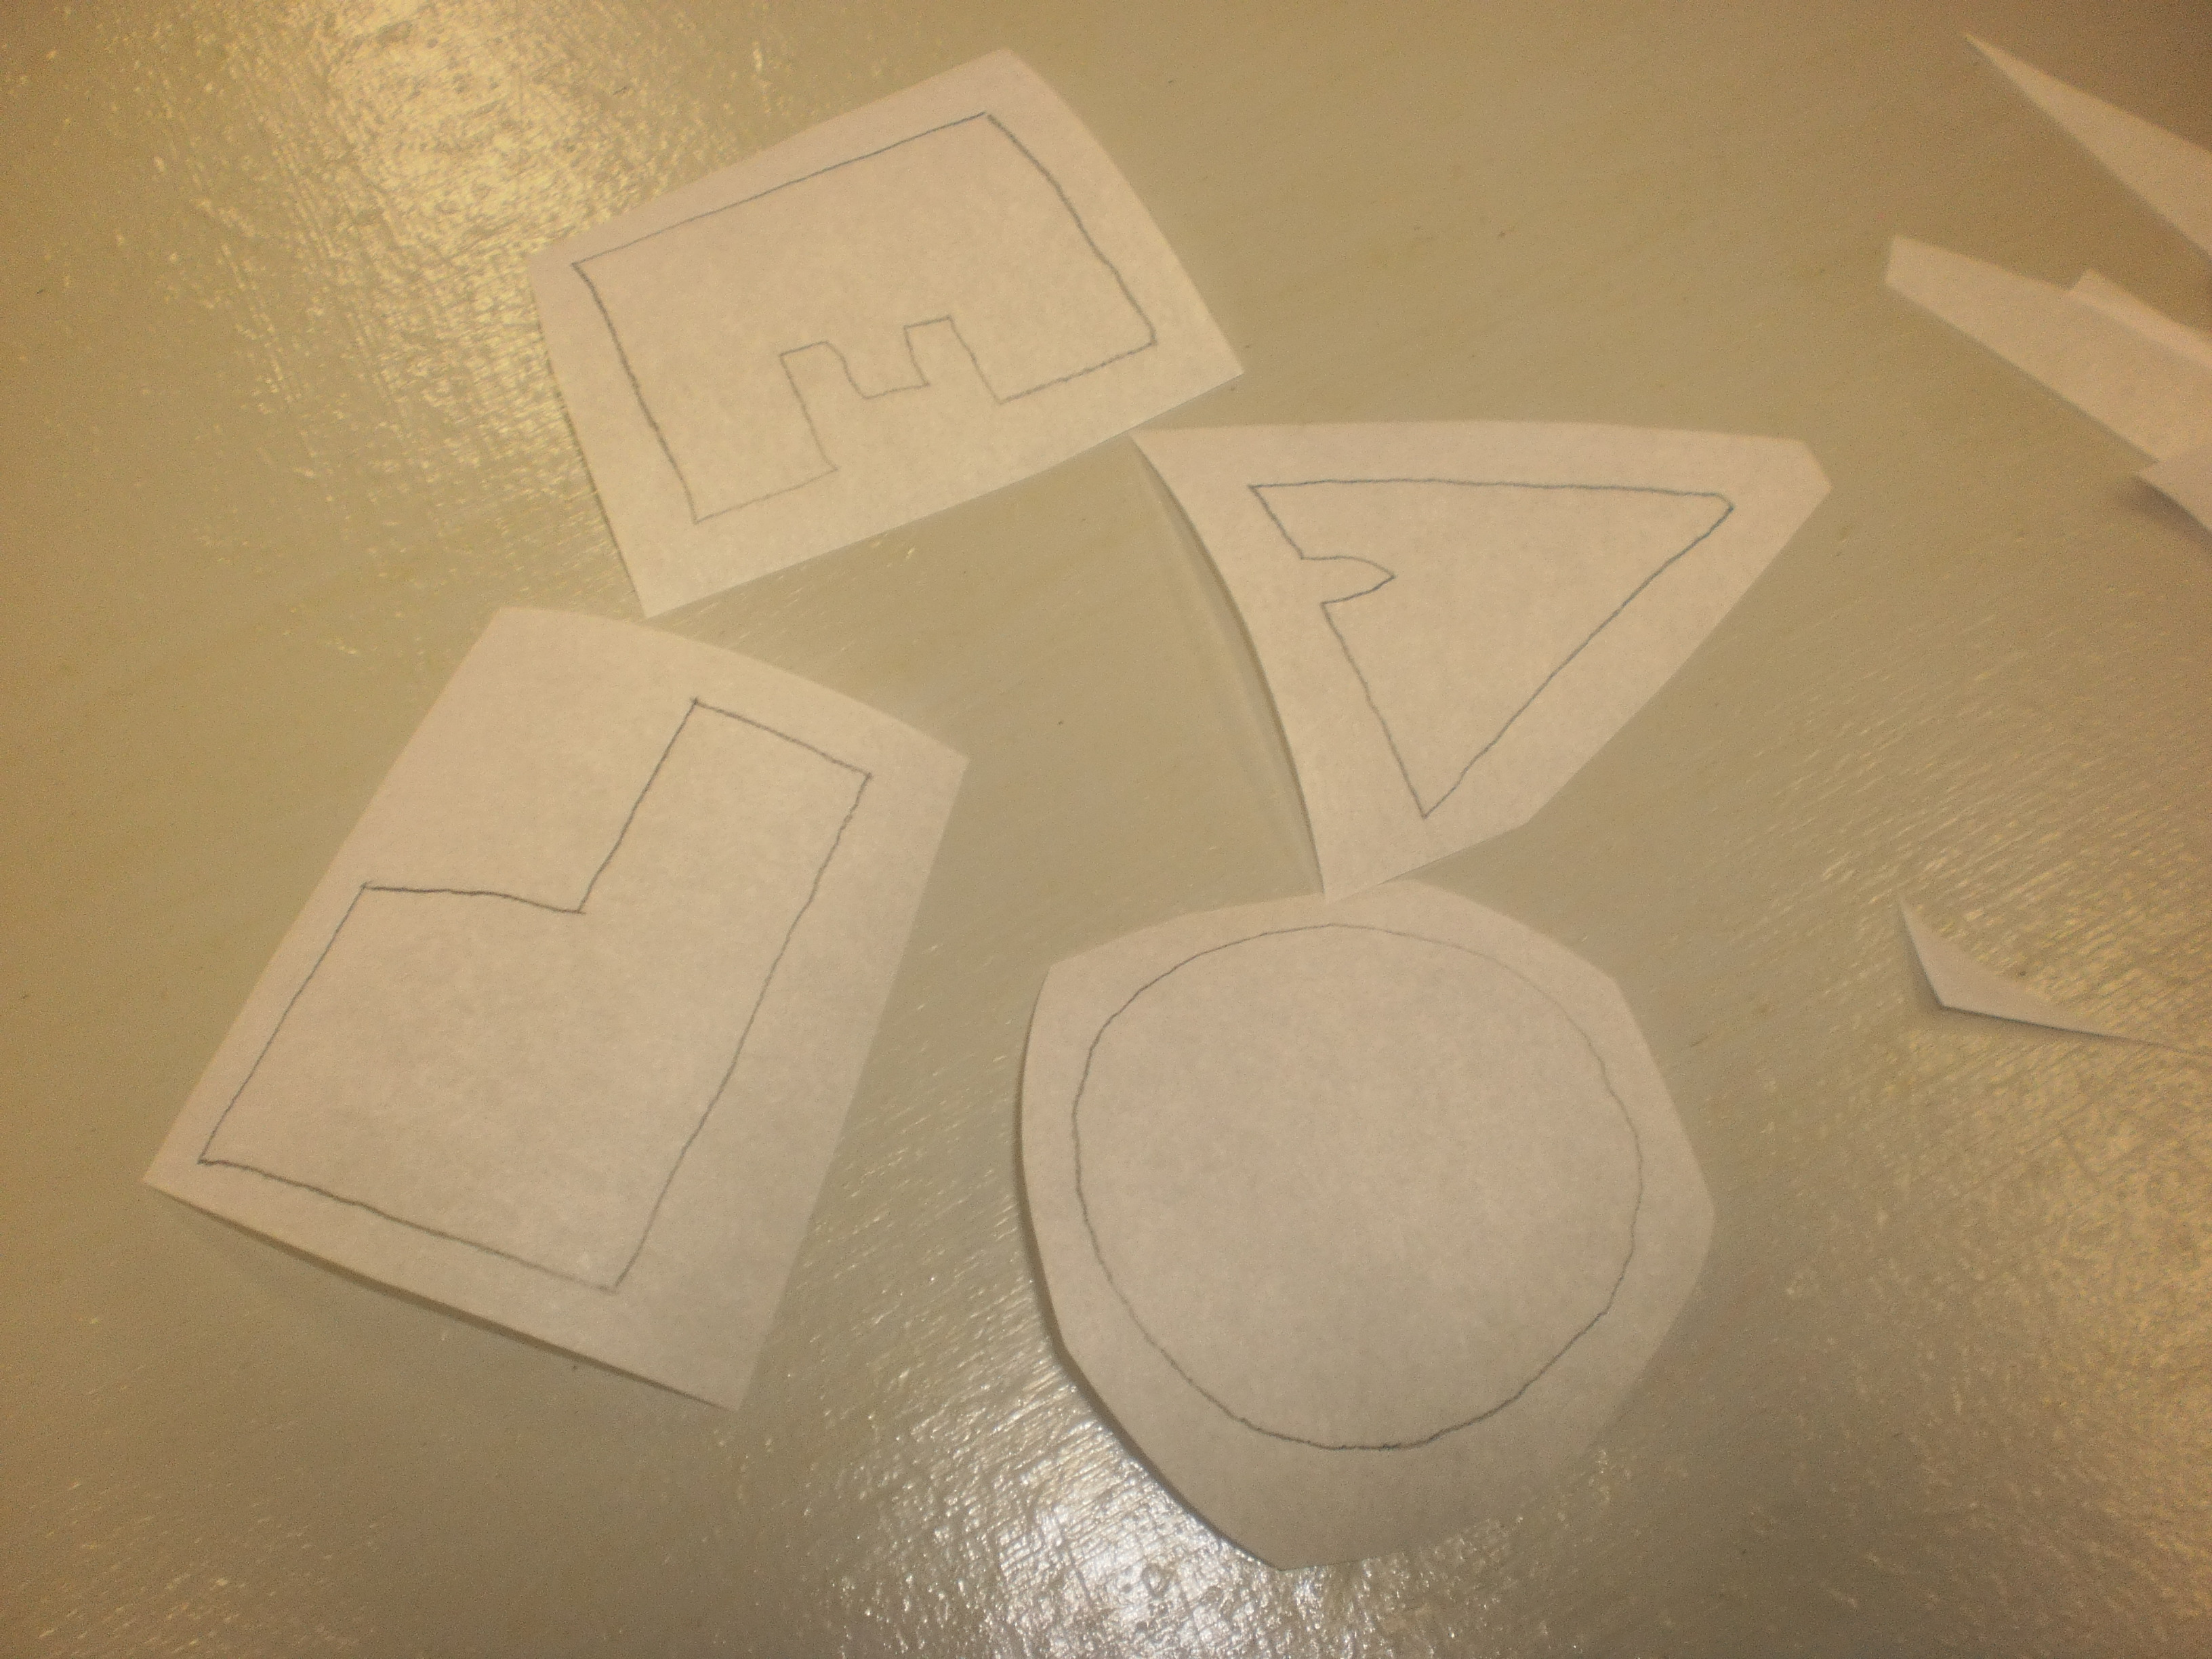
Photo 7: Cut out the shapes roughly with paper scissors.
On your ironing board lay out one of your chosen fabrics right side down. Choose which letter will be that fabric, lay the letter rough side down onto the fabric and press with a hot dry iron. Repeat with all four letters.
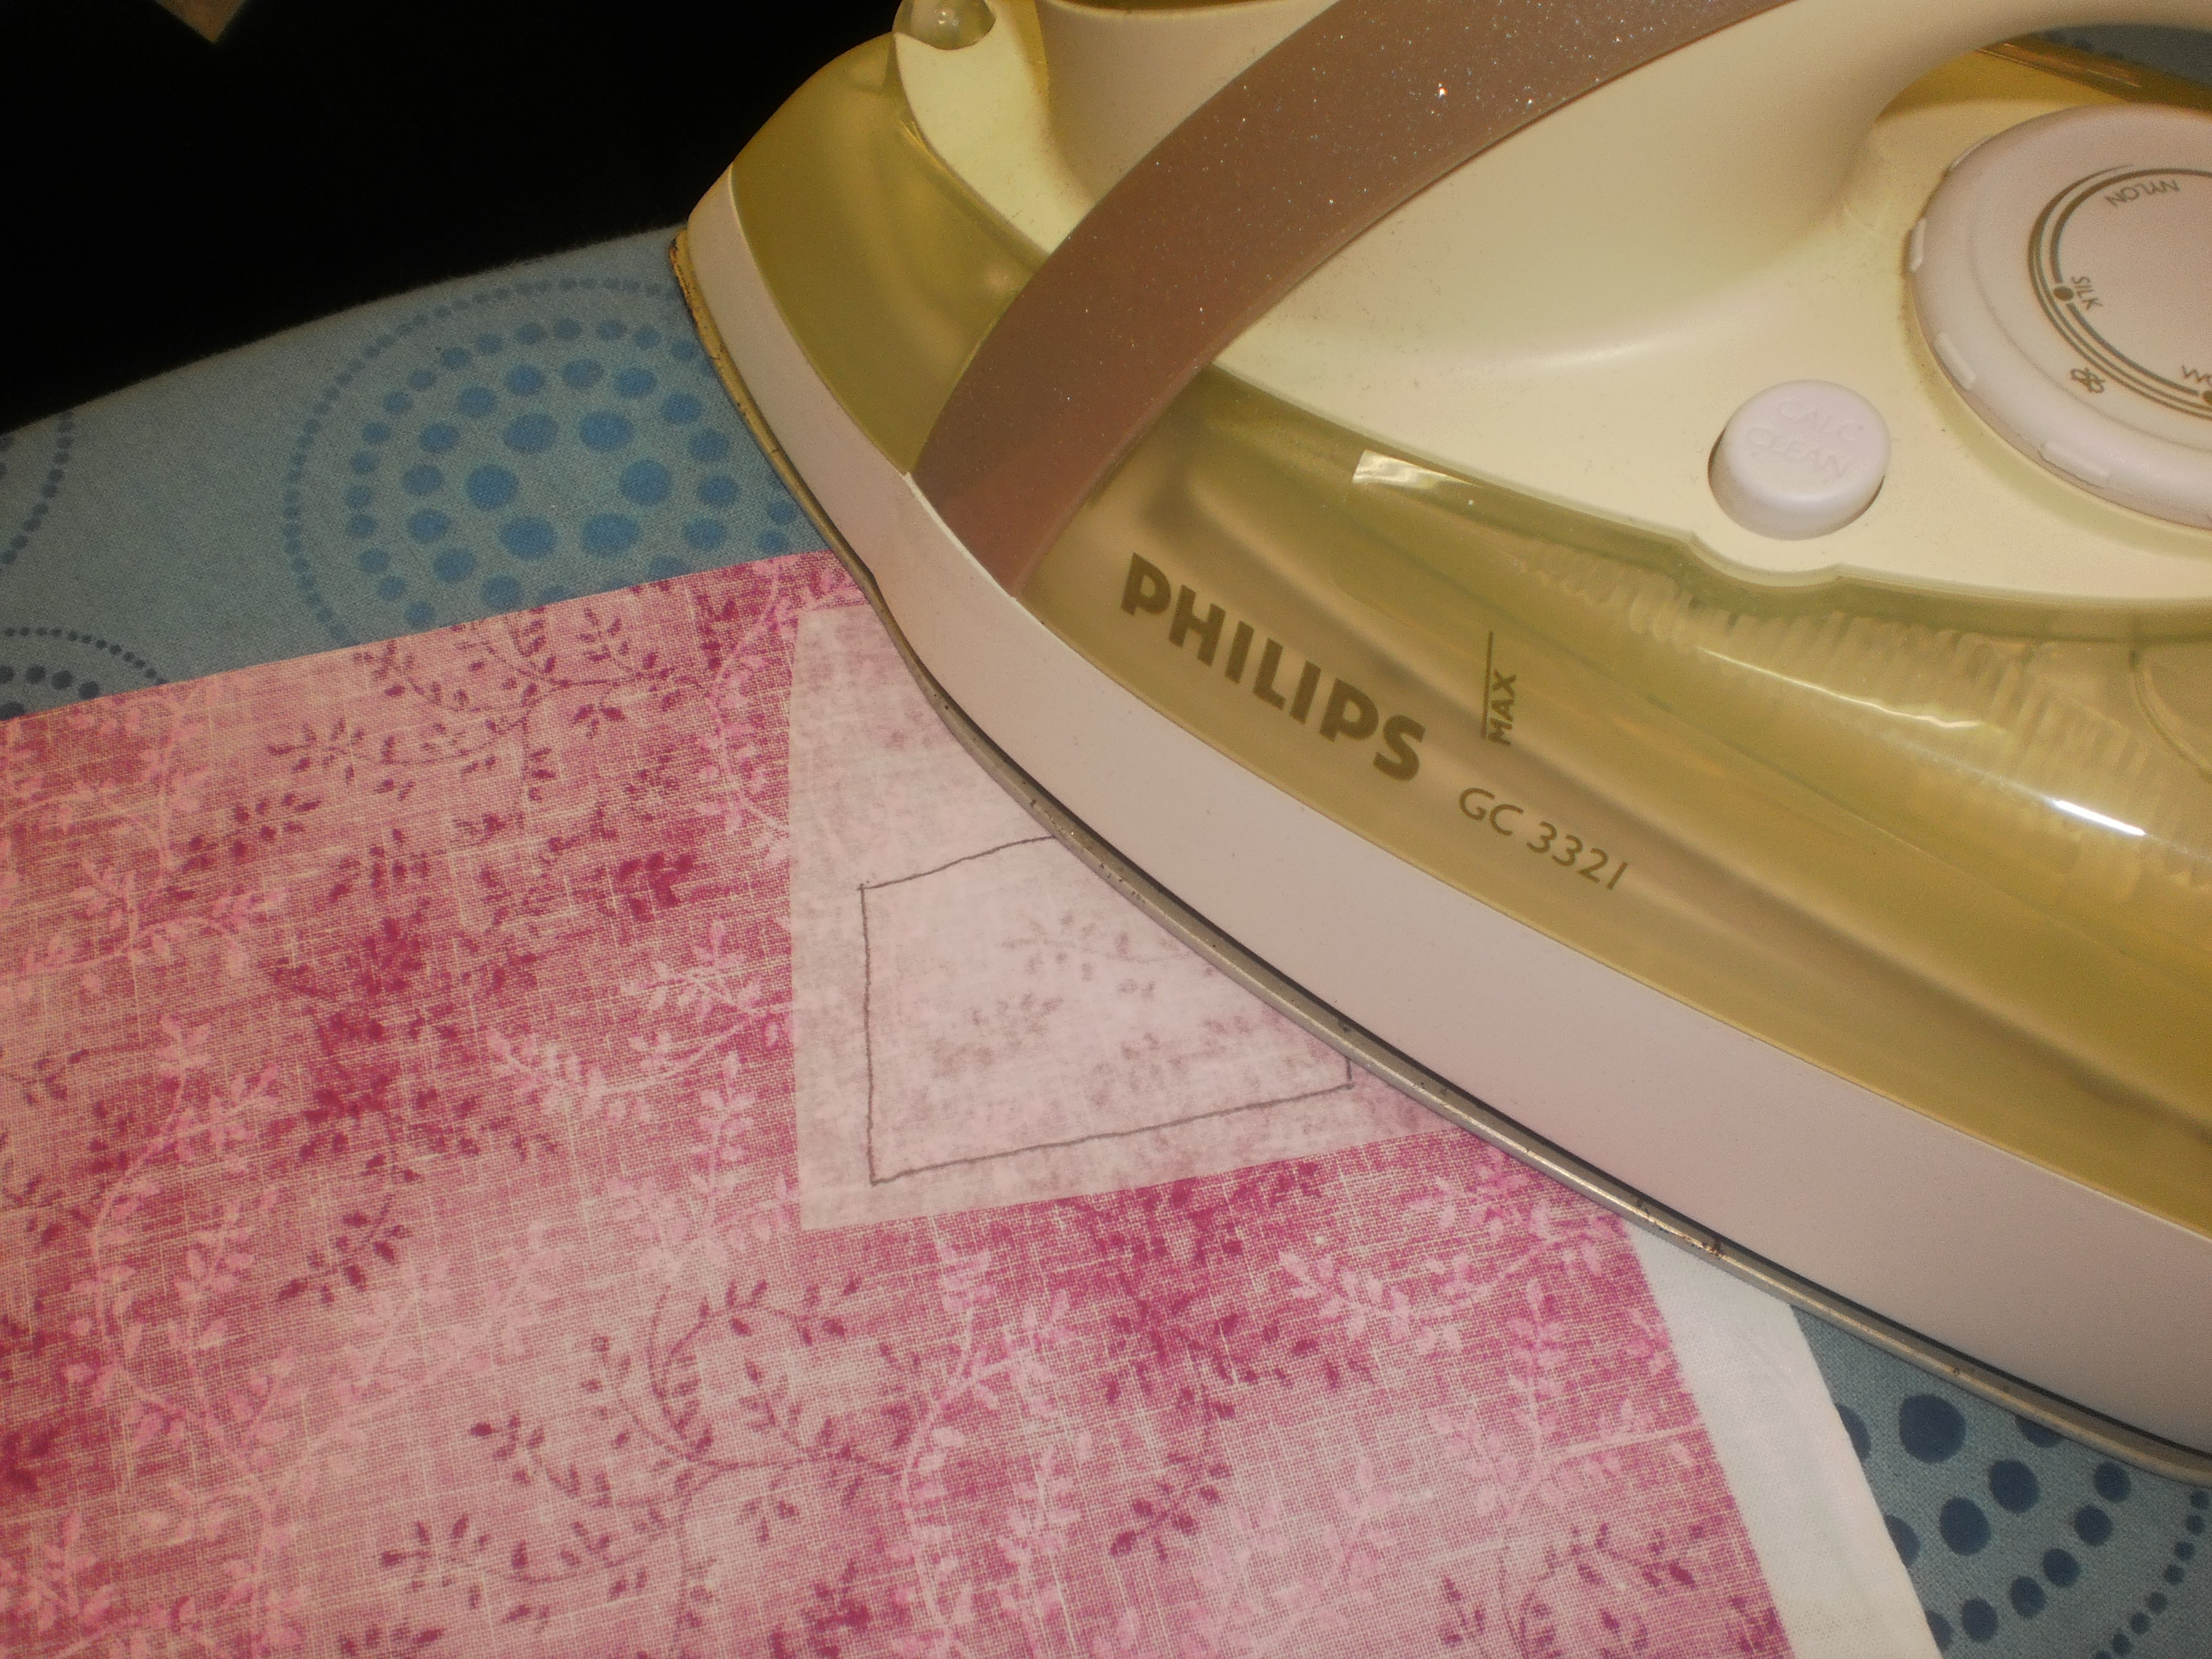
Photo 8: Using a hot dry iron (no steam) press the rough side of the Vliesofix to the wrong side of your chosen fabrics (one letter per fabric).
Allow the fabrics to cool and cut out the letters with fabric scissors on the pencil line. Put them aside.
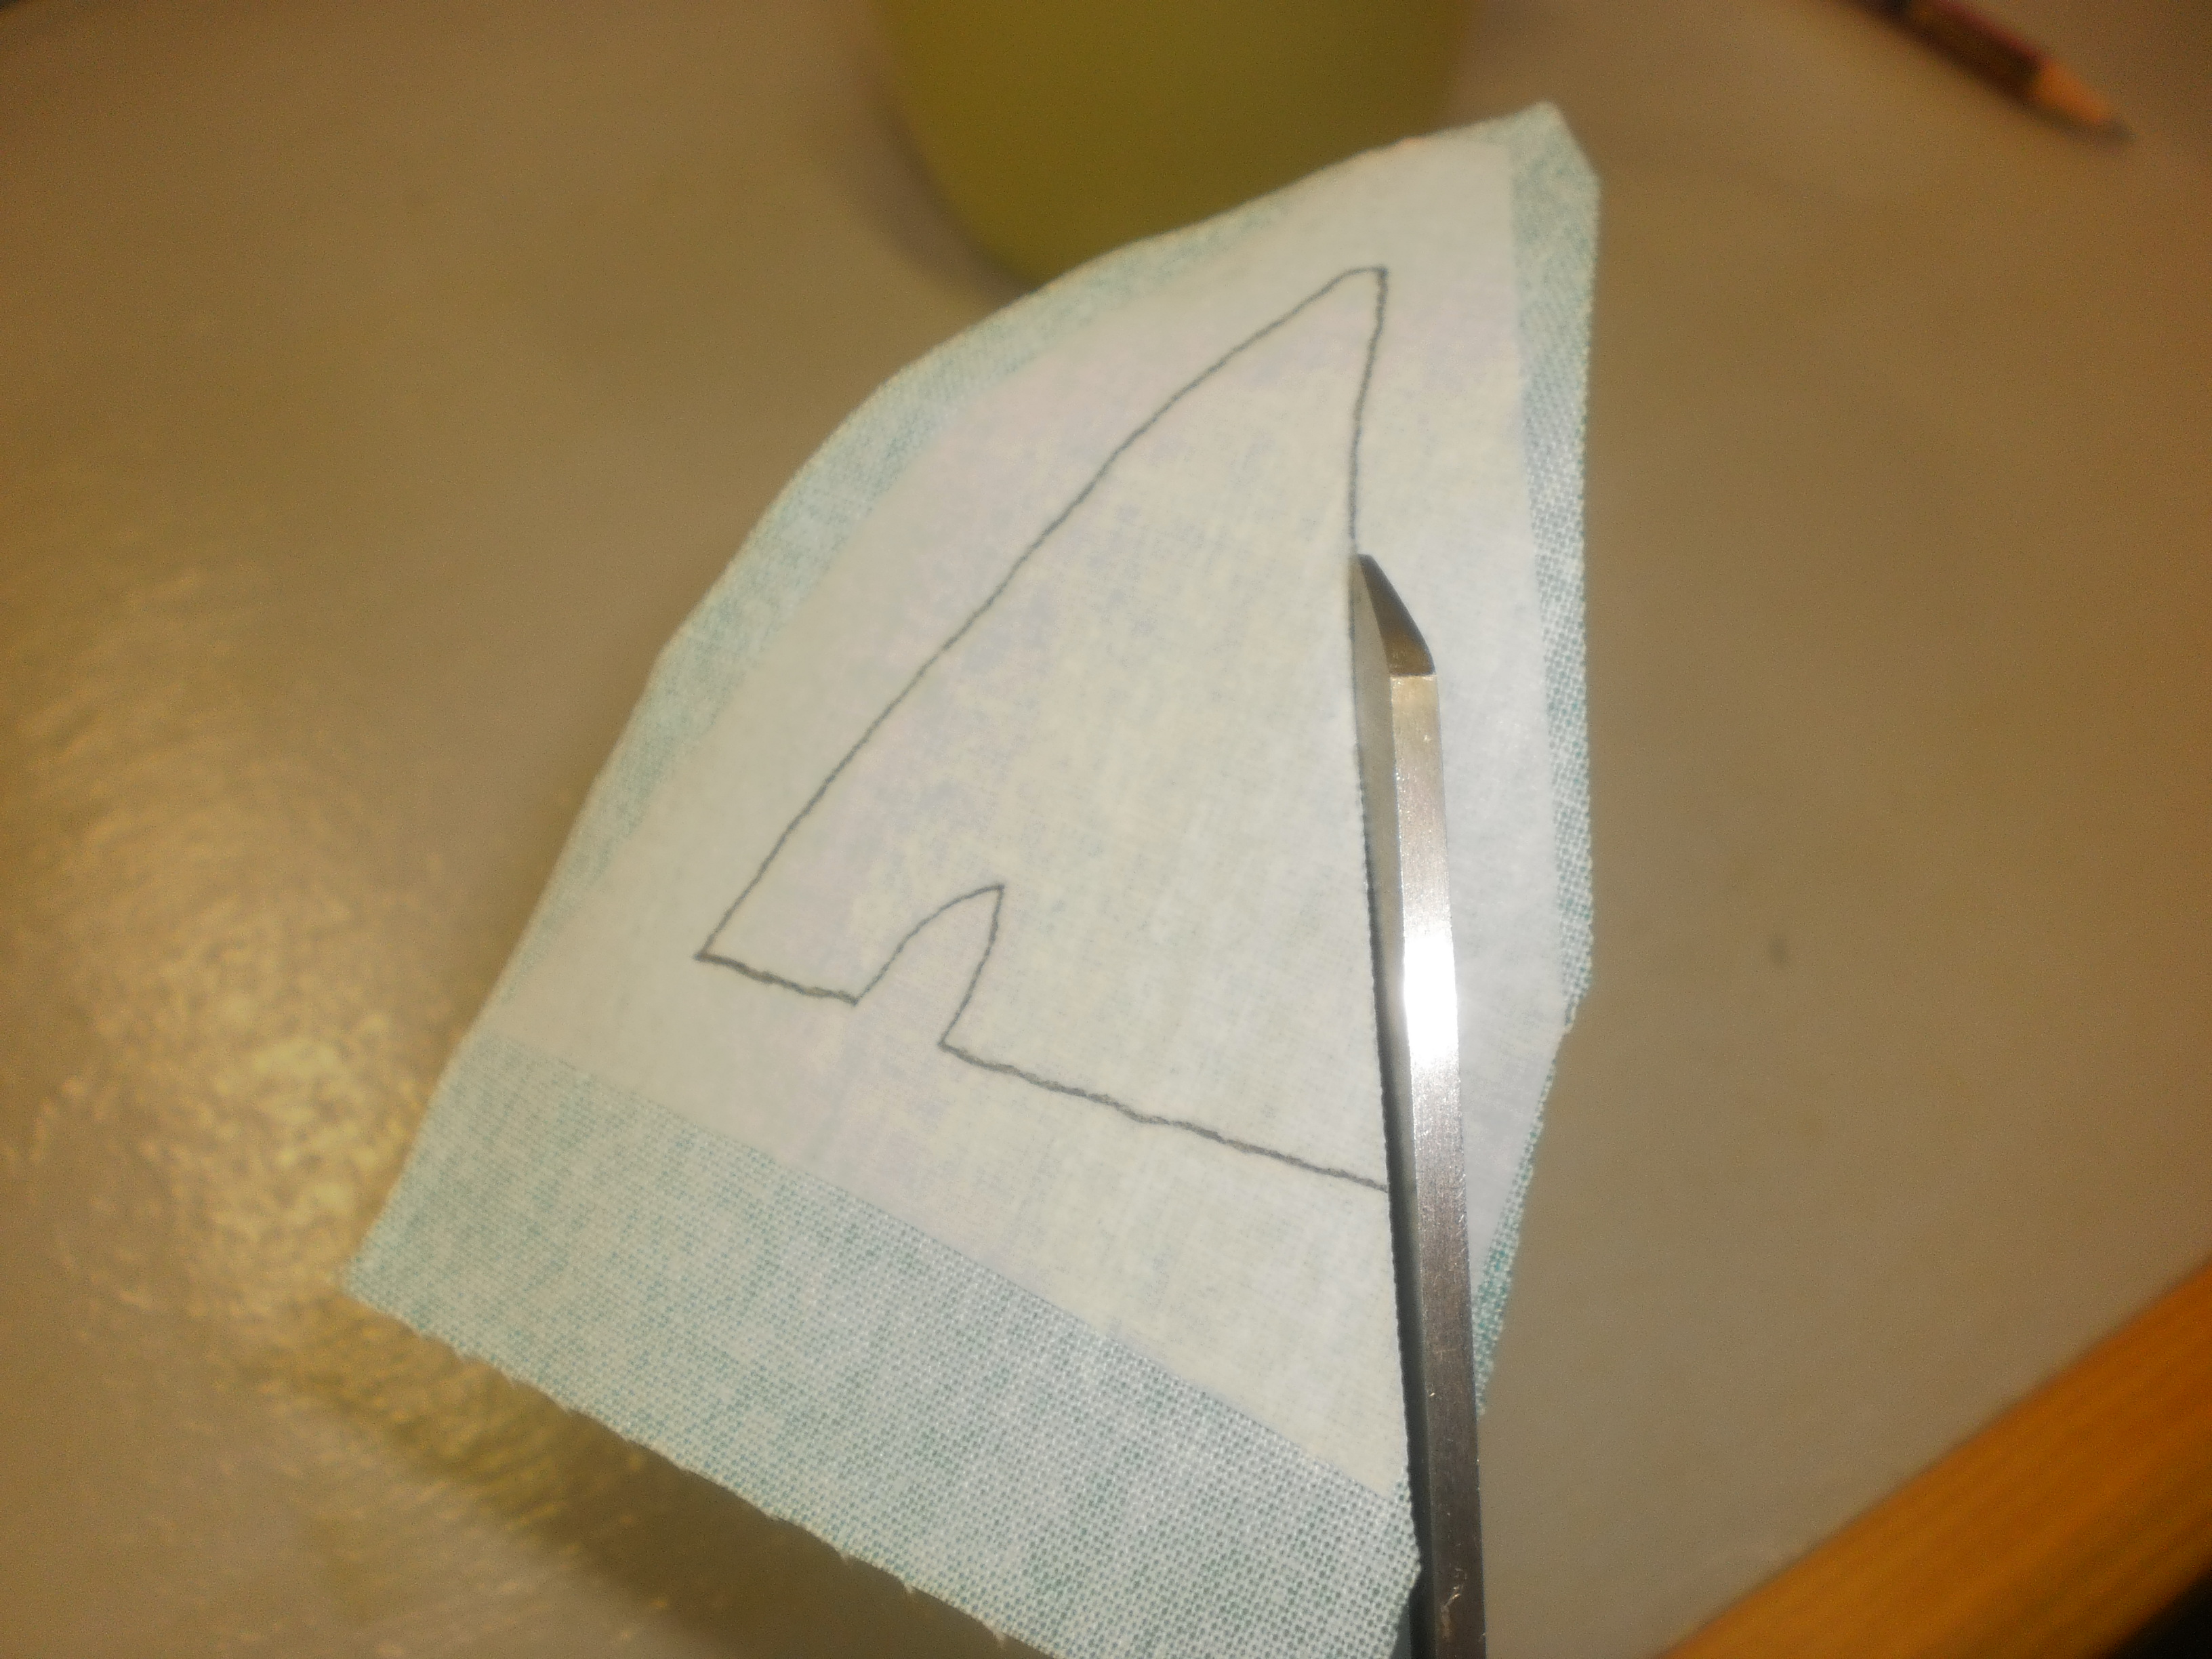
Photo 9: Cut out the letters carefully on the pencil lines with fabric scissors.
Take your 10.5in square of background fabric and fold it in half twice and press to find the centre of the block. Open the block and lay it out right side up on your ironing board.
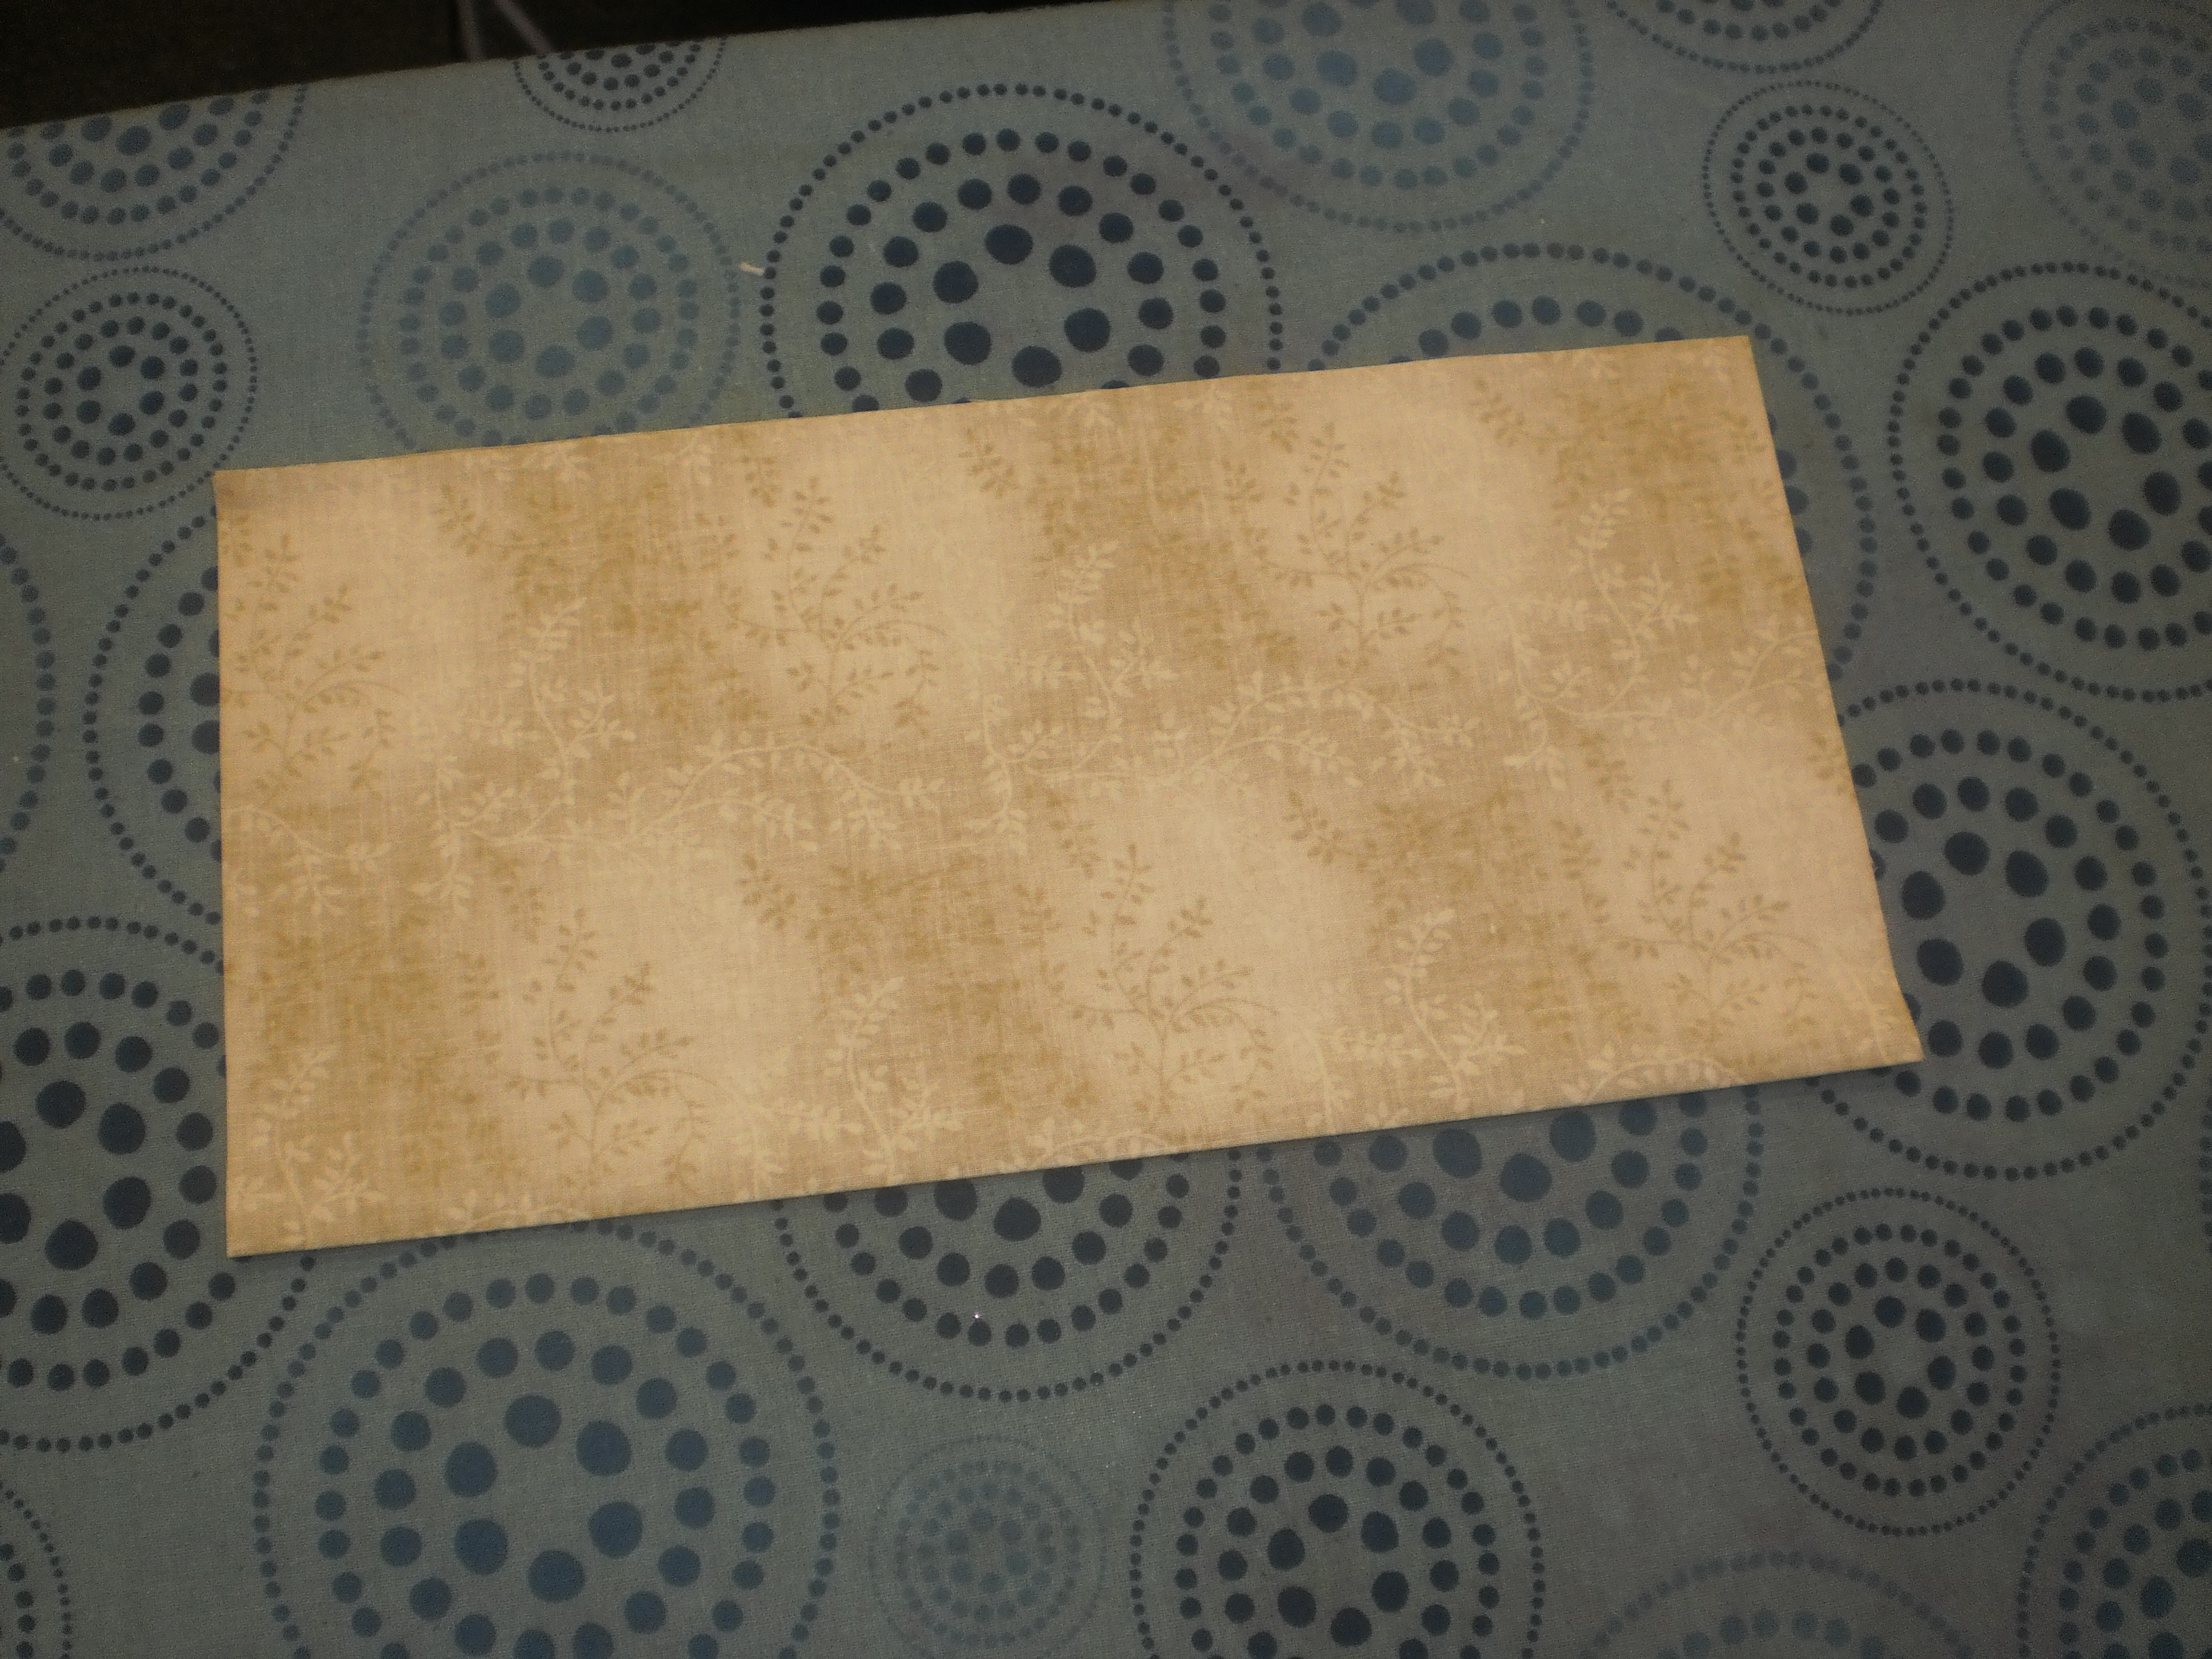
Photo 10: Fold your 10.5in square in half and press.
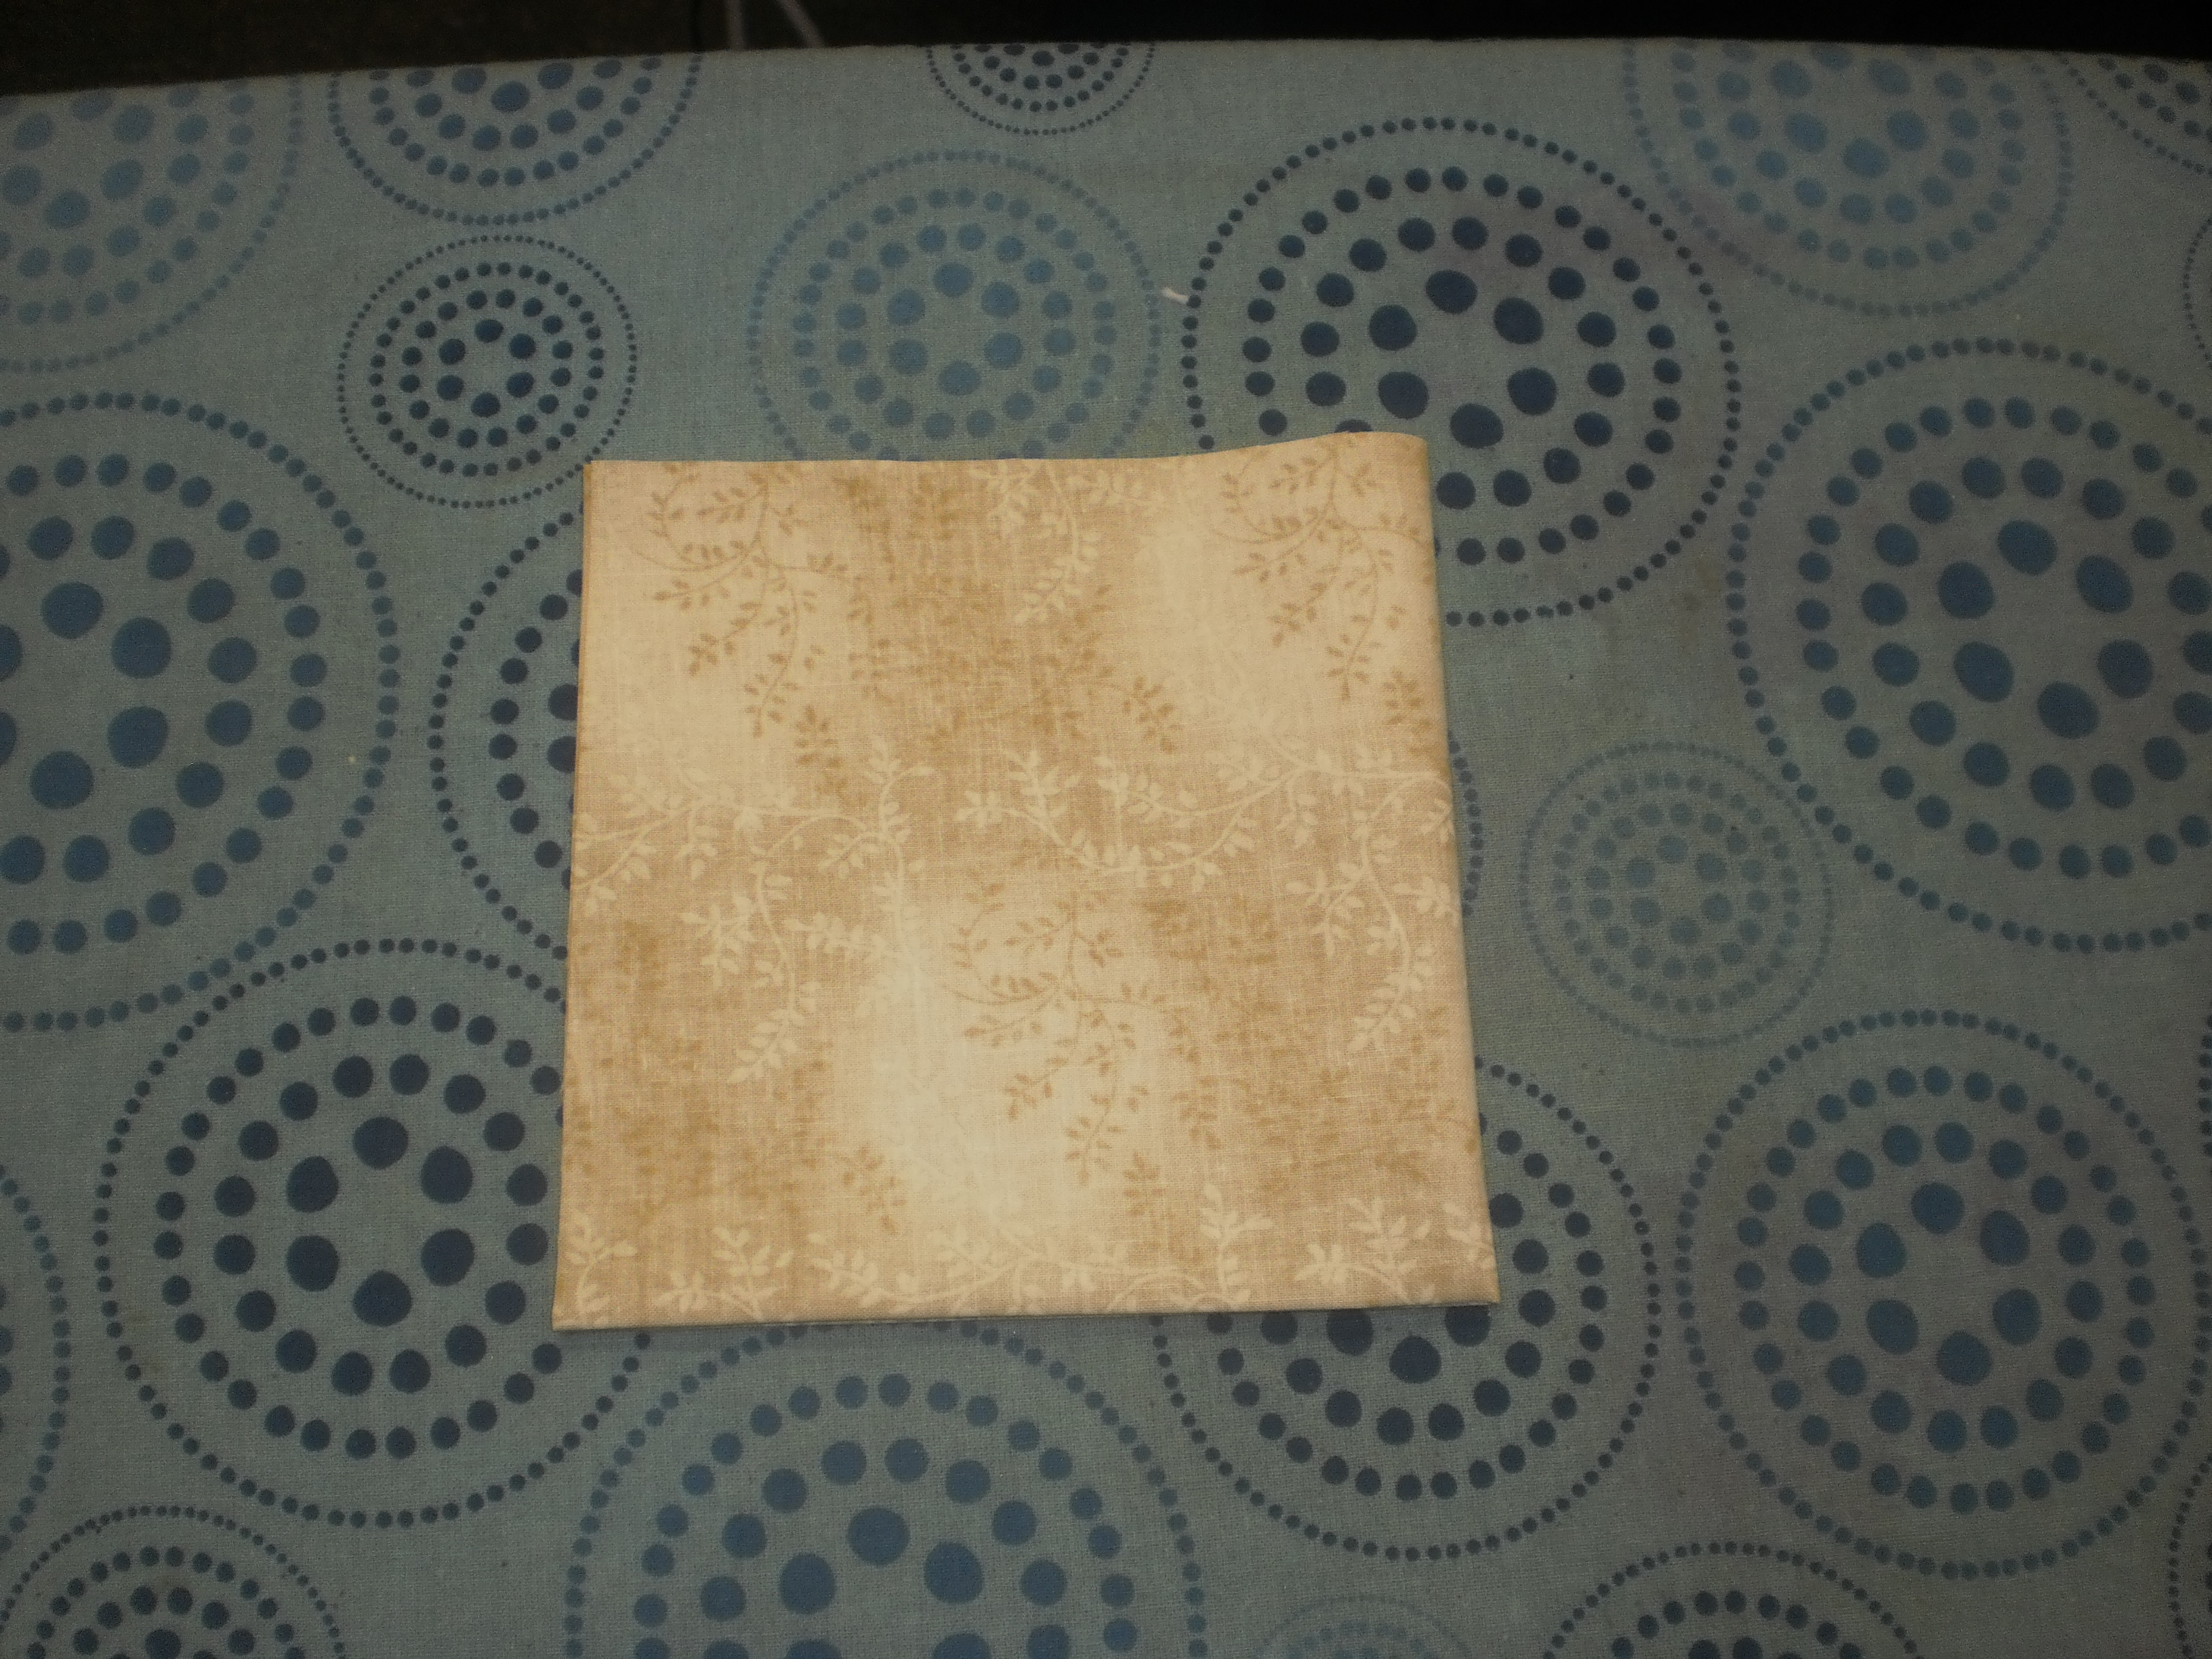
Photo 11: Fold the 10.5in square in half a second time and press.
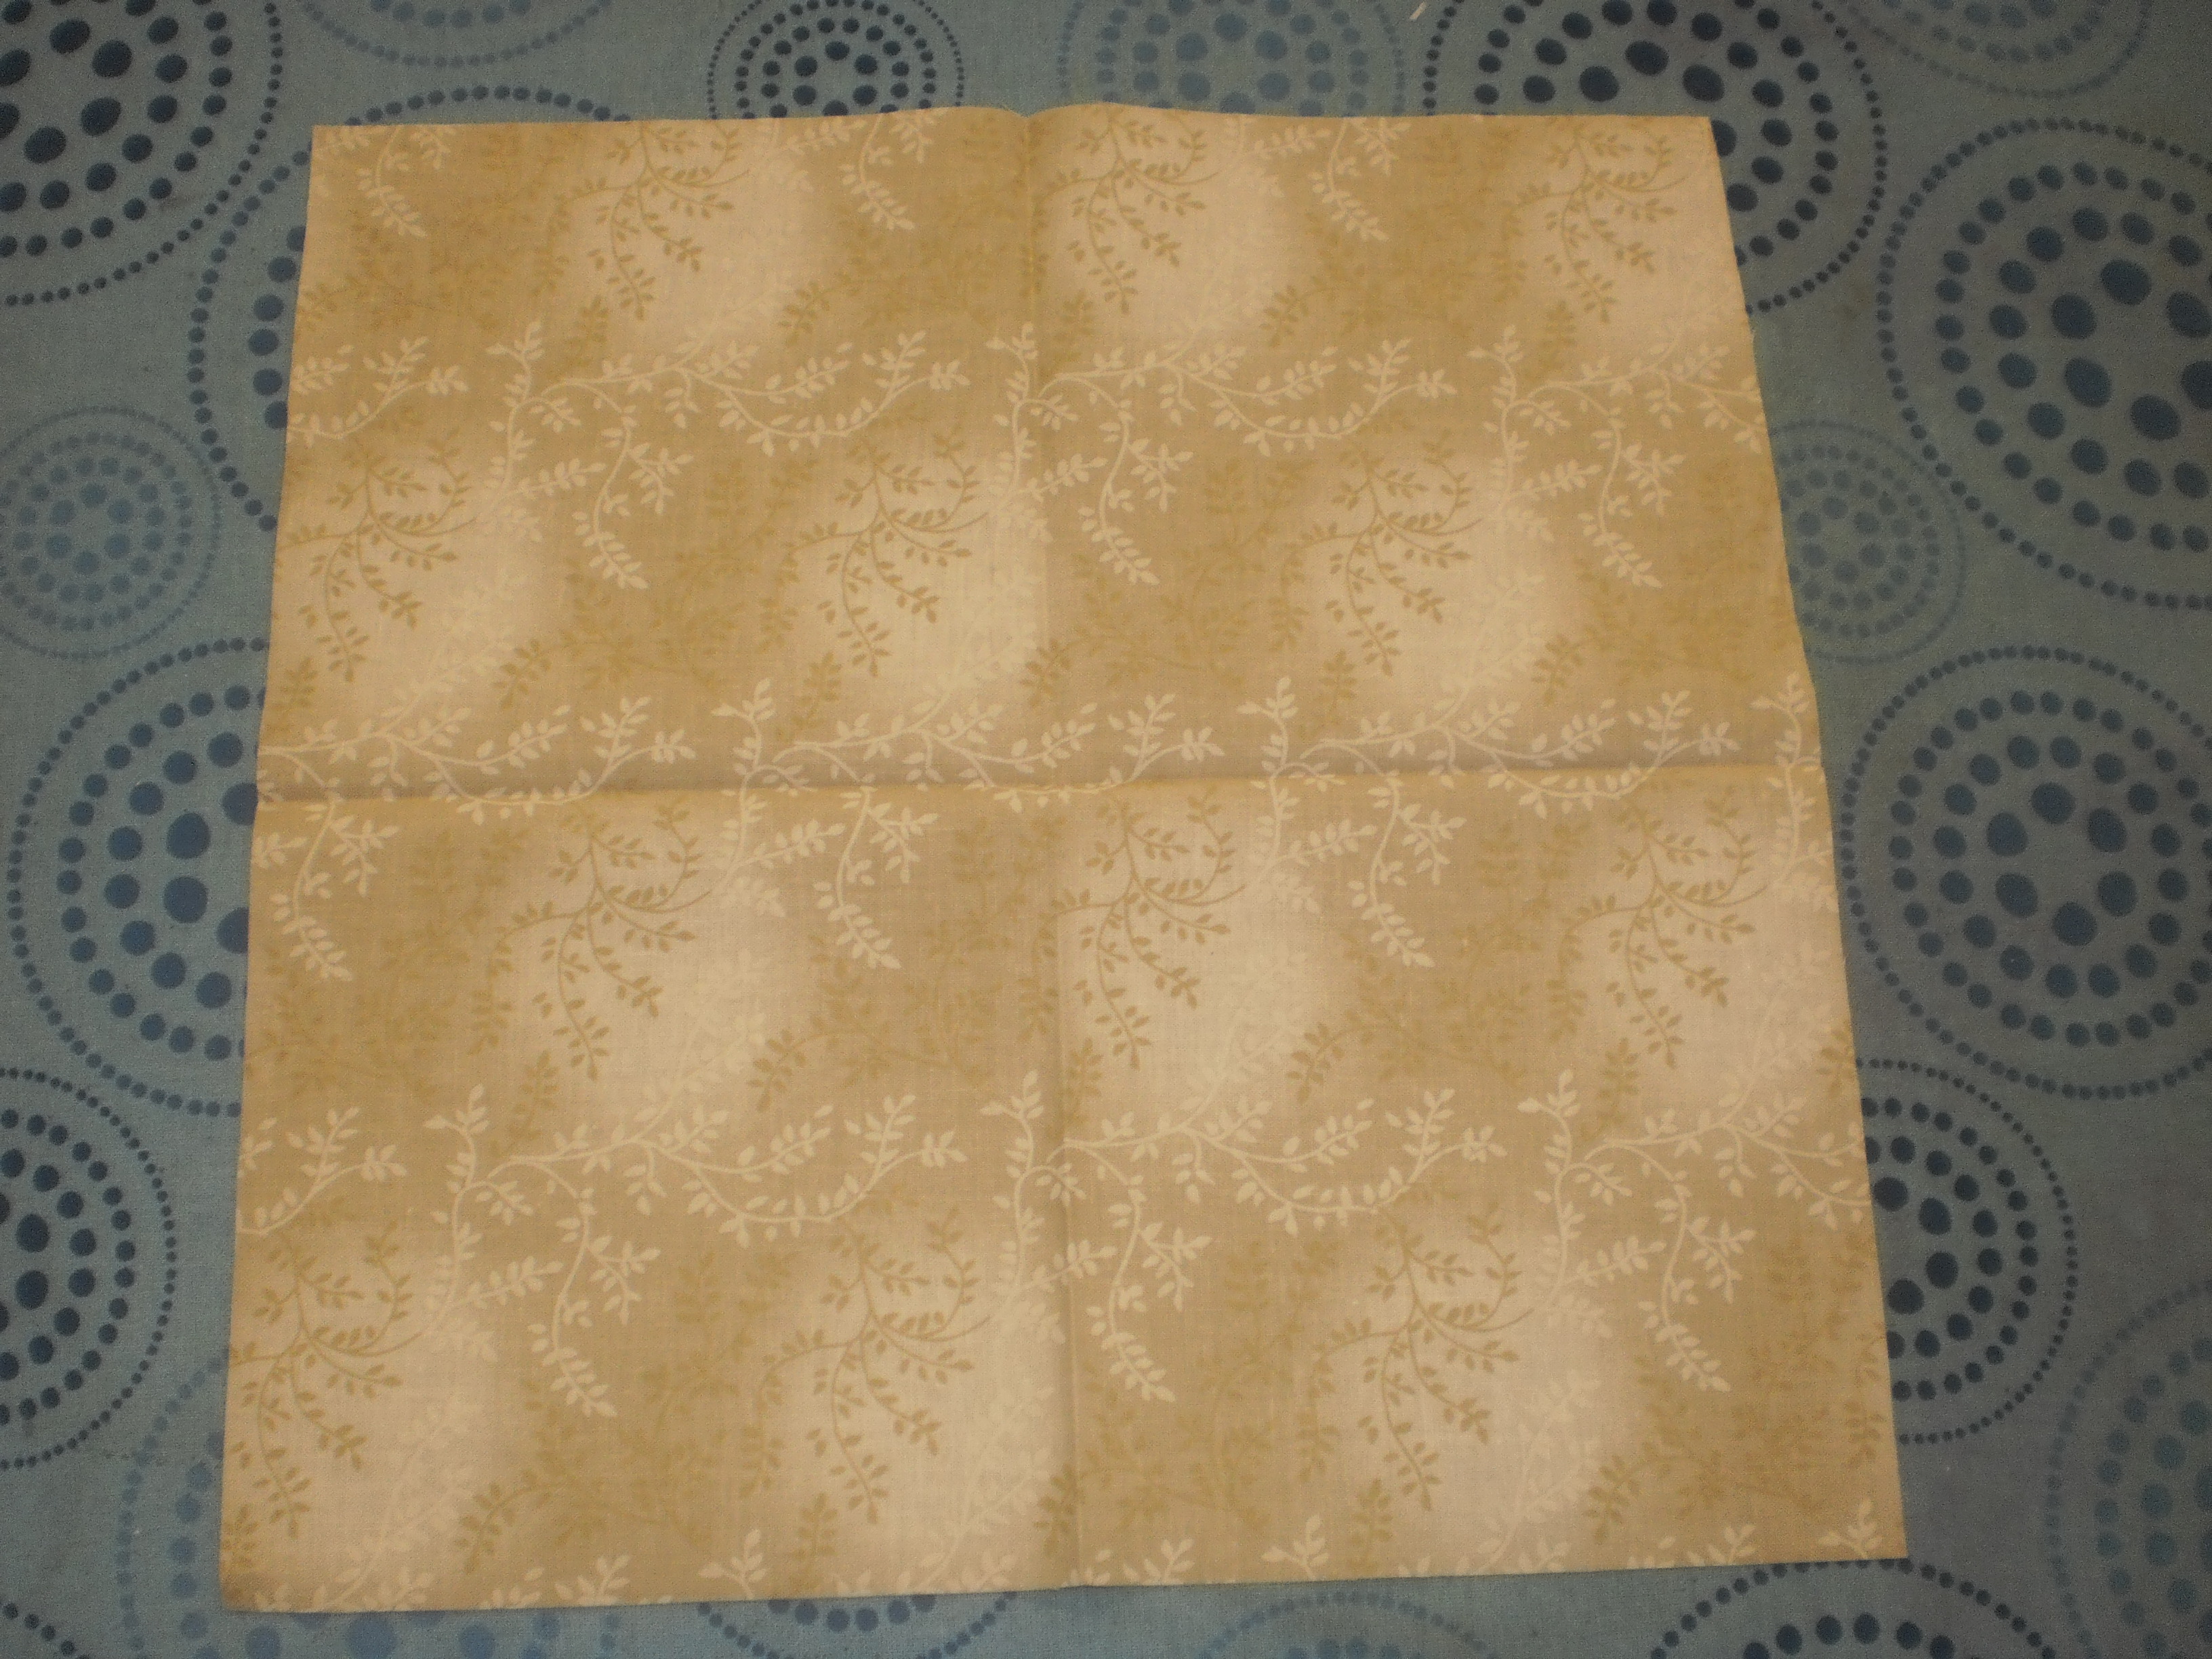
Photo 12: Open the square to reveal the fold lines and the centre of your block.
Peel the paper backing off the letters and place them onto the block – work out your placement using the fold lines.
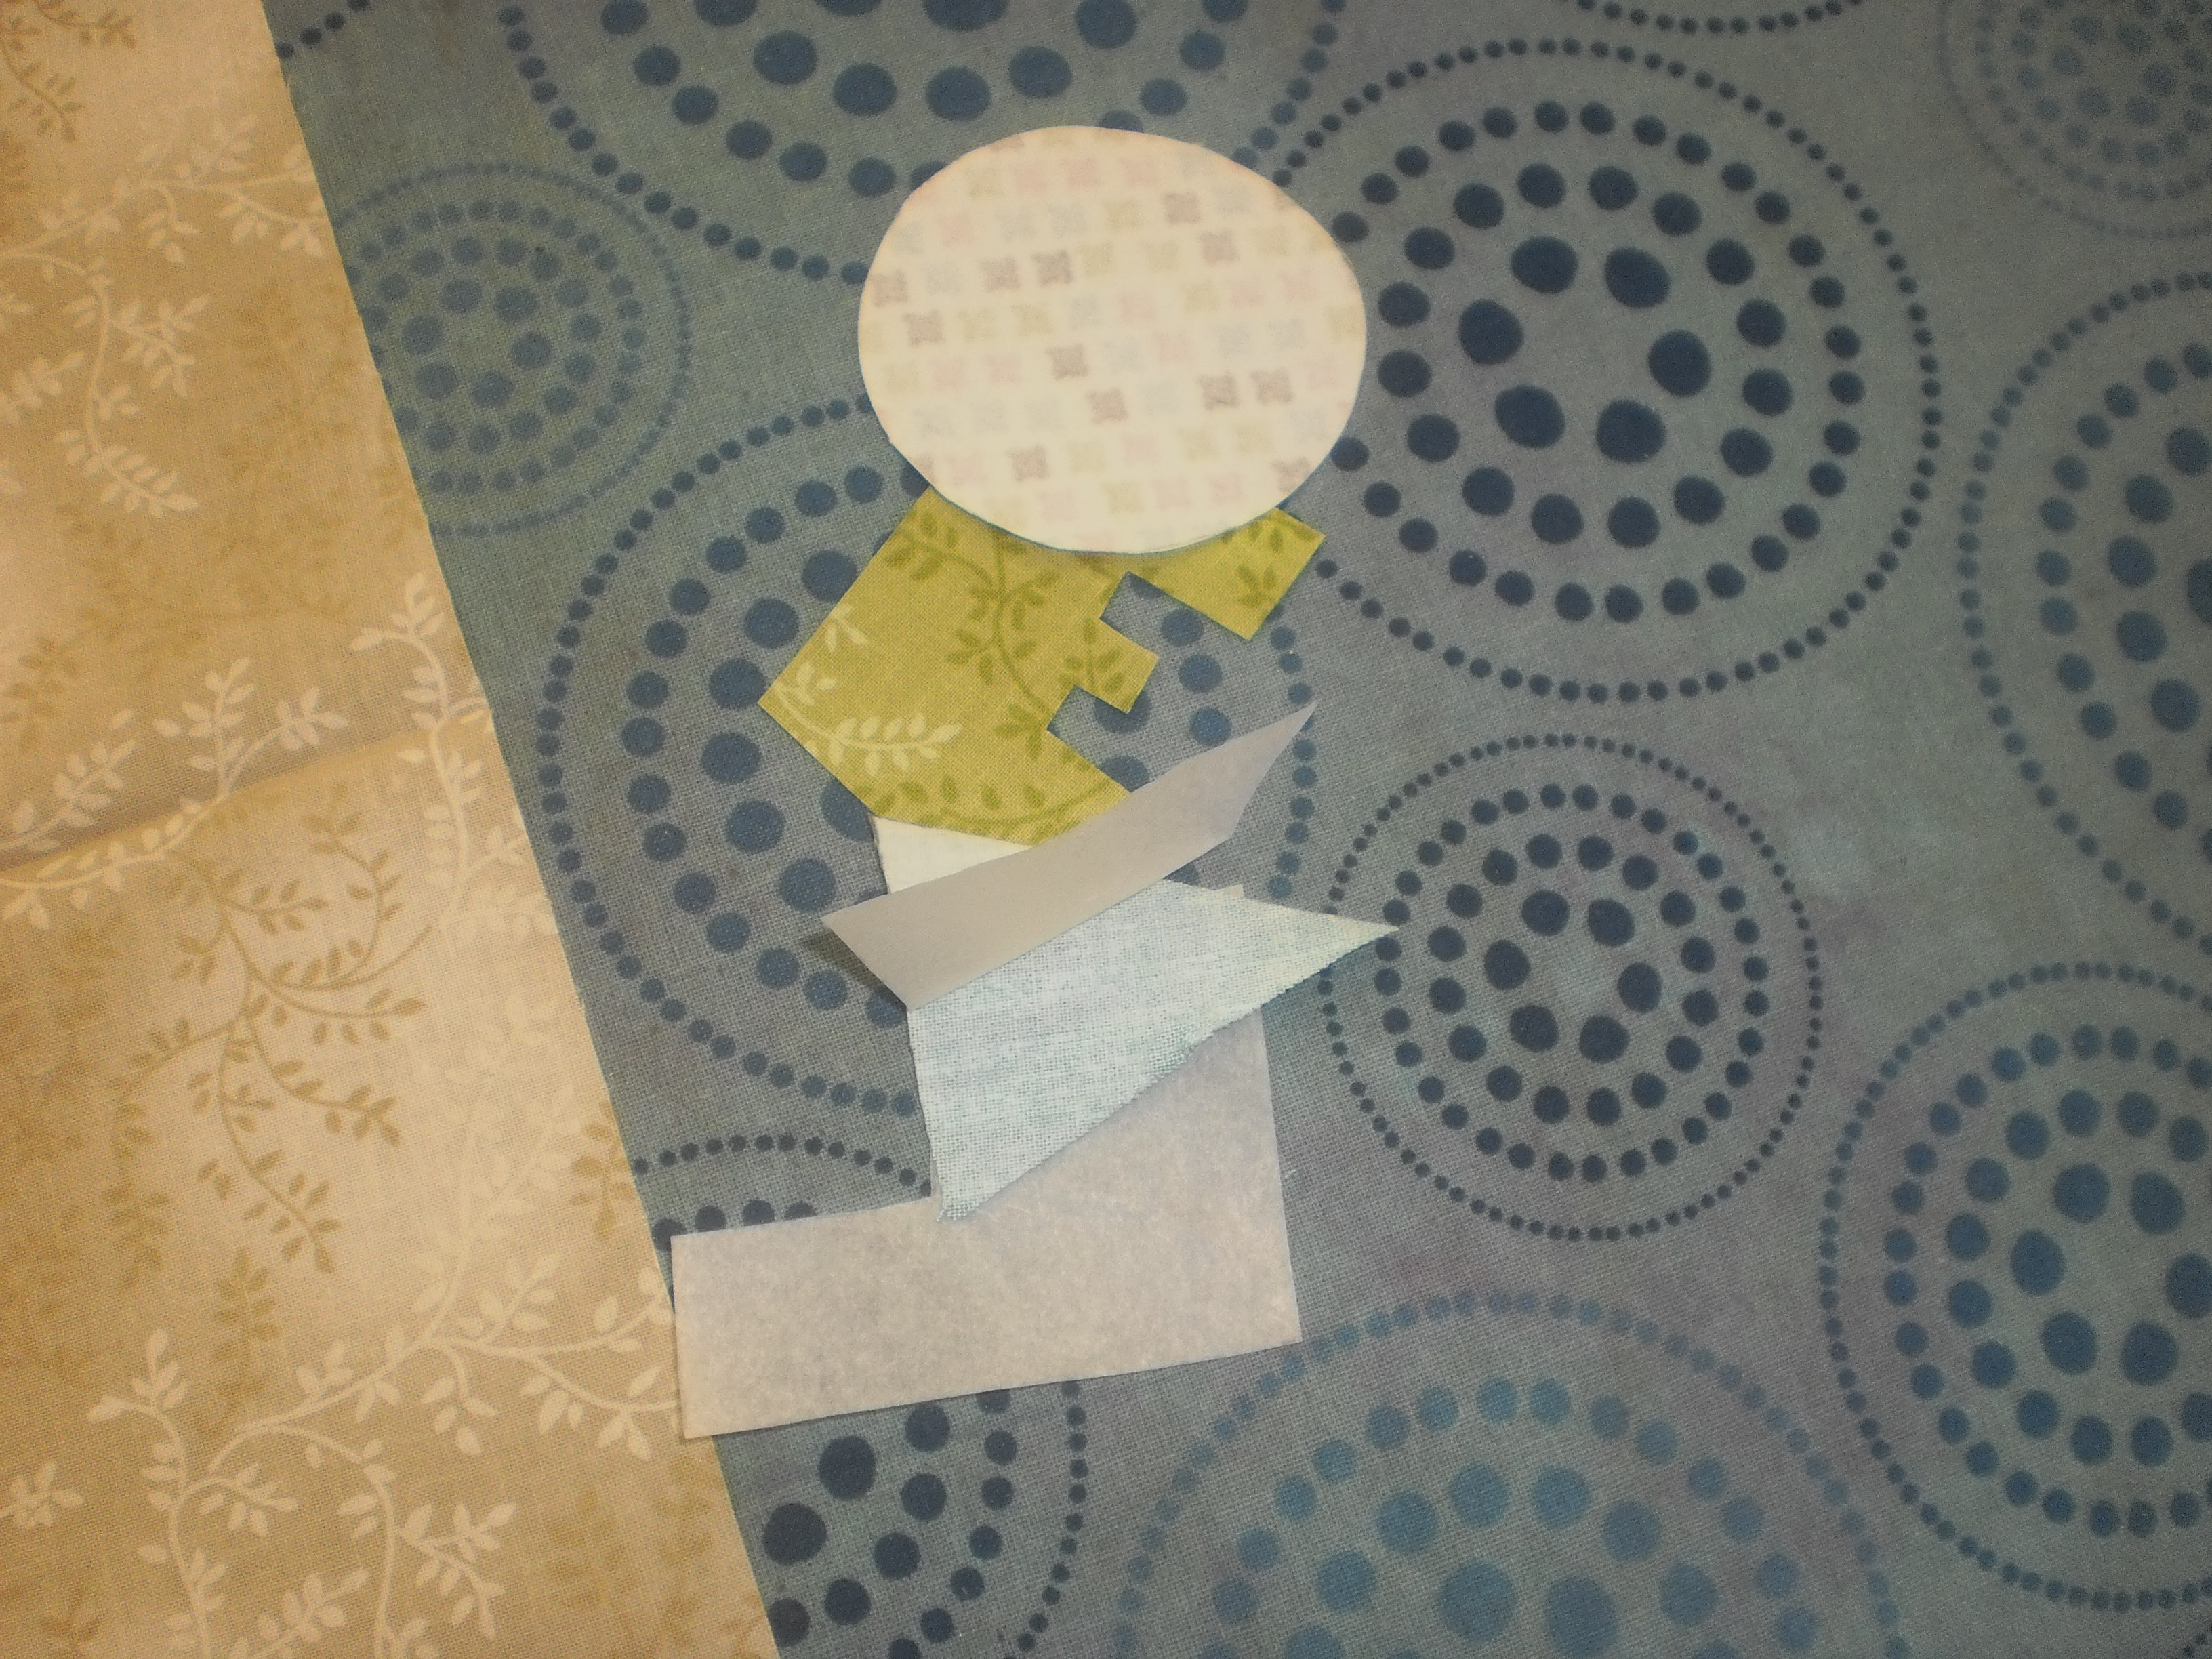
Photo 13: Peel the paper backing off the letters.
Optional: Choose two letters (preferably letters with straight sides) and trim rickrack to fit. To prevent the rickrack from fraying use a small amount of fray stop or melt the ends with a flame. Place rickrack under the edge so it is just peeking out, then press all the letters into place with the iron.
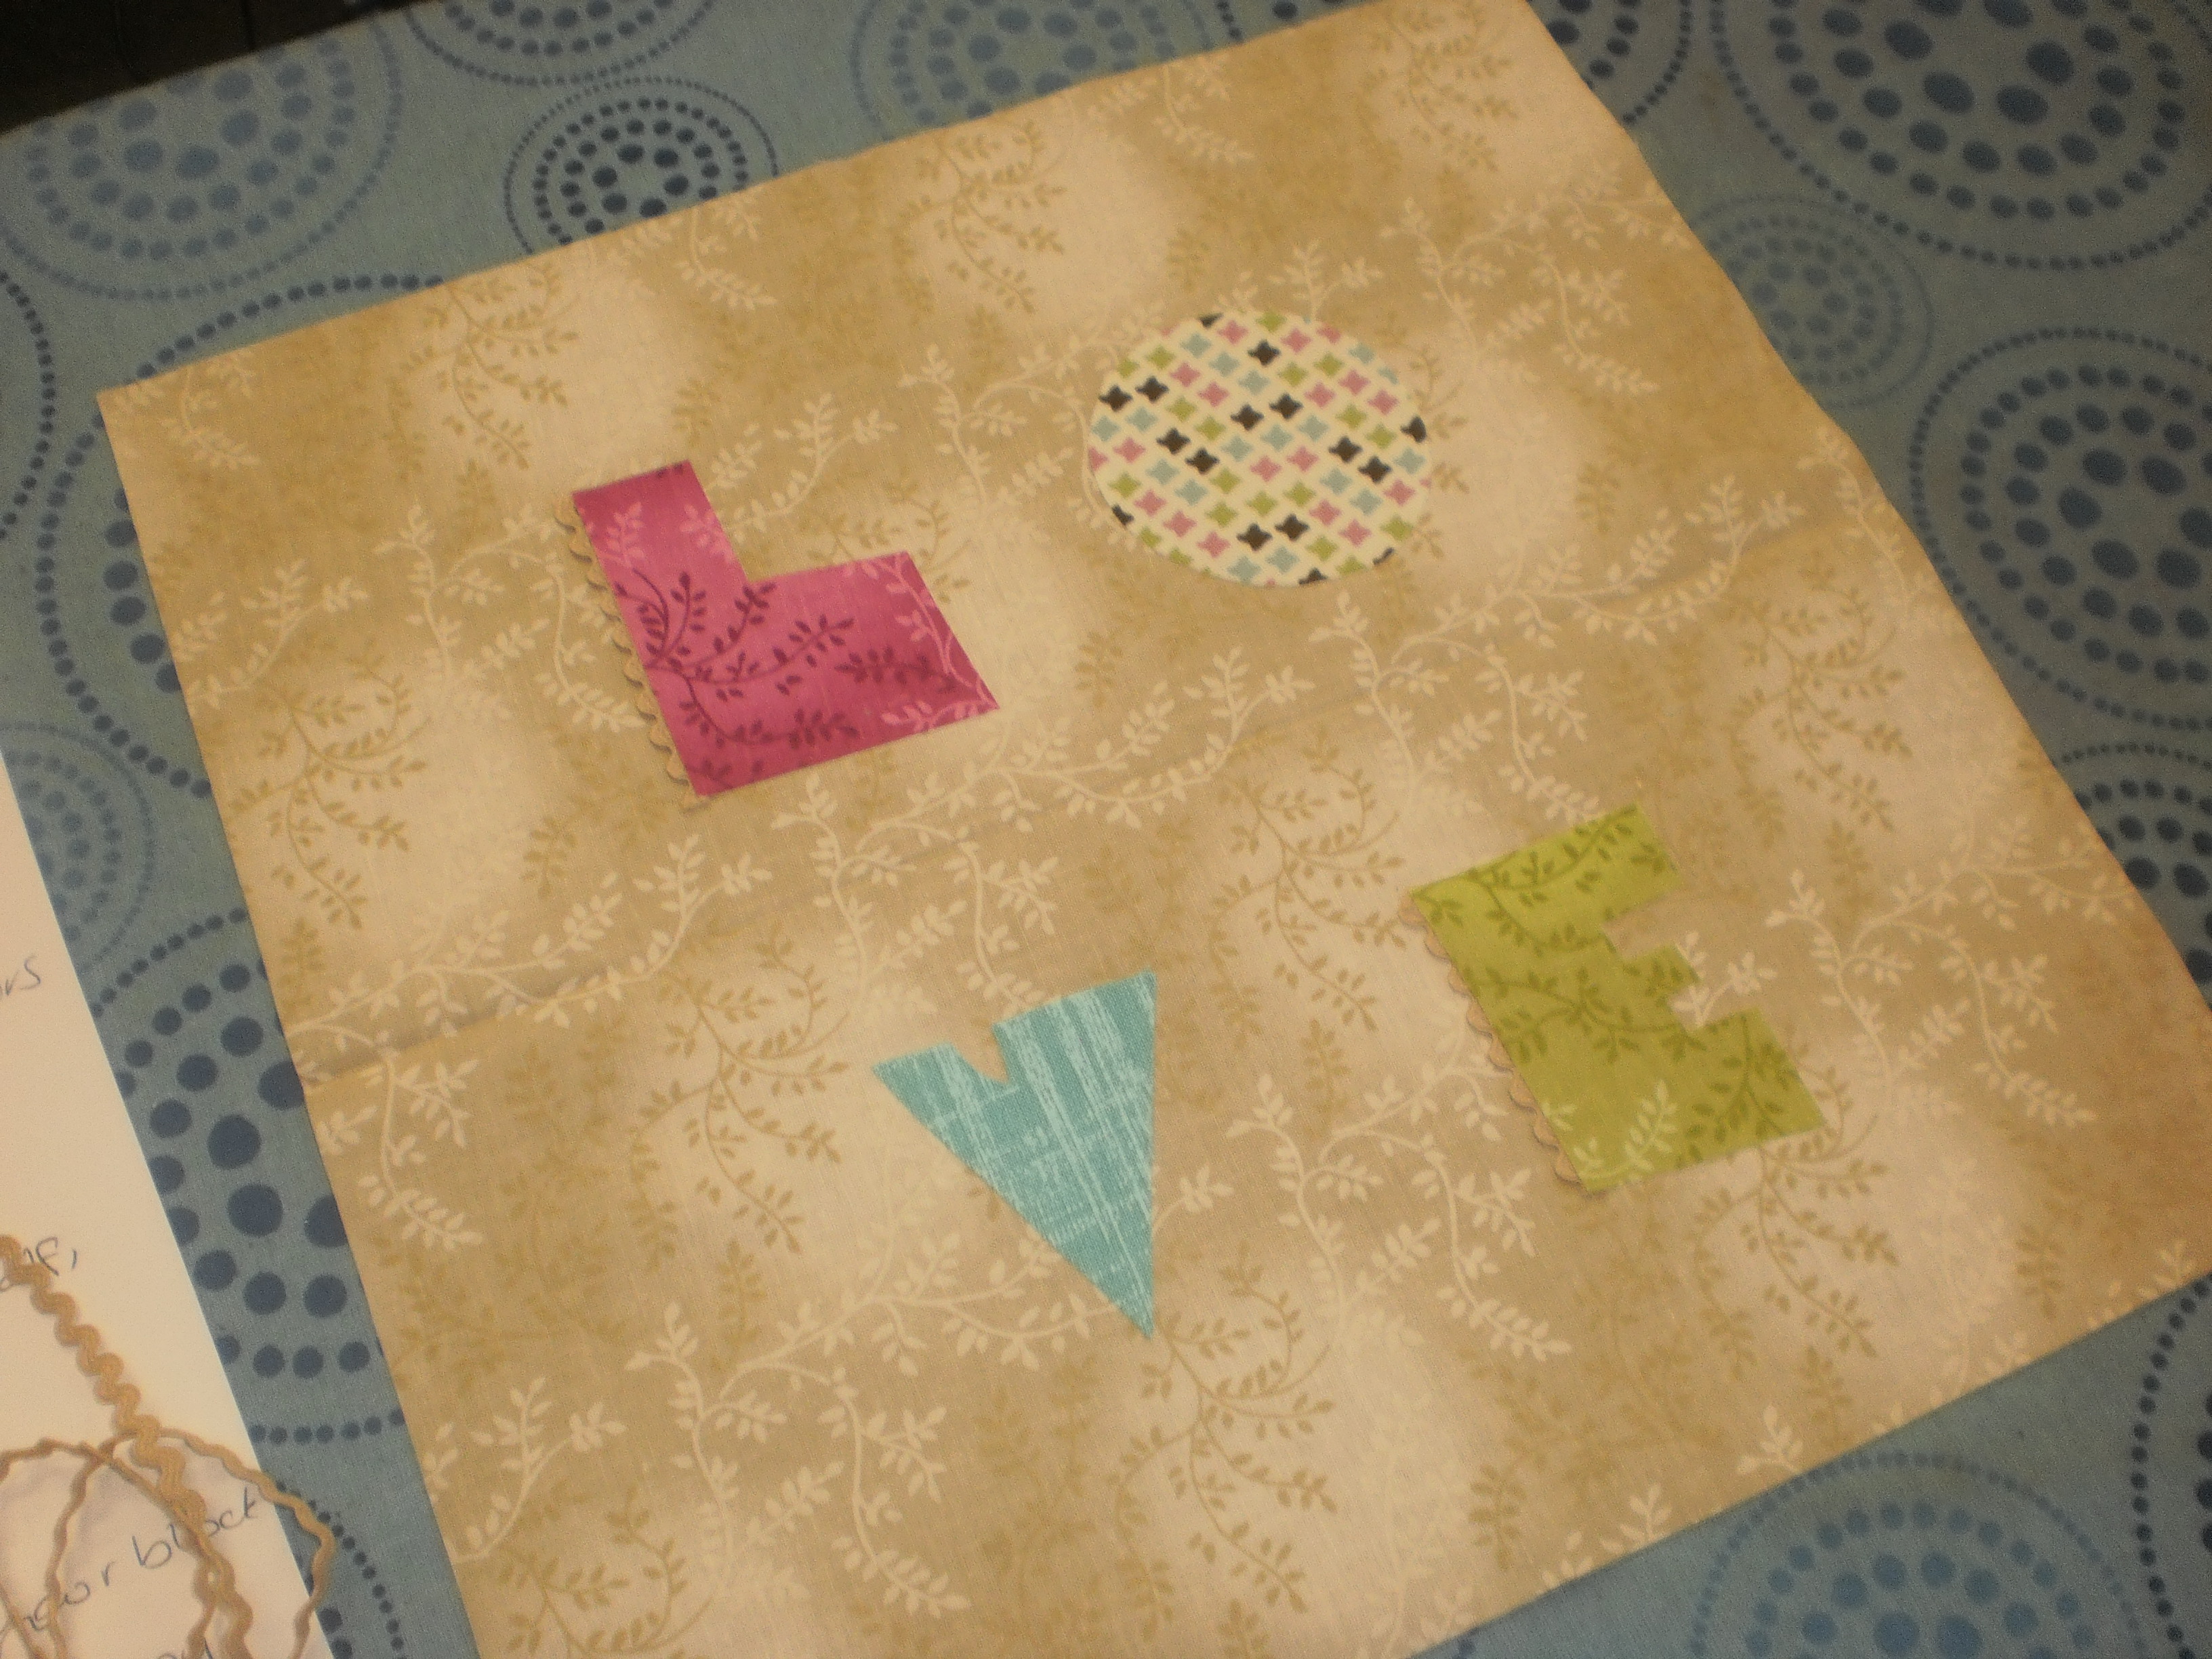
Photo 14: Lay out your letters, evenly spaced from the centre of the block.
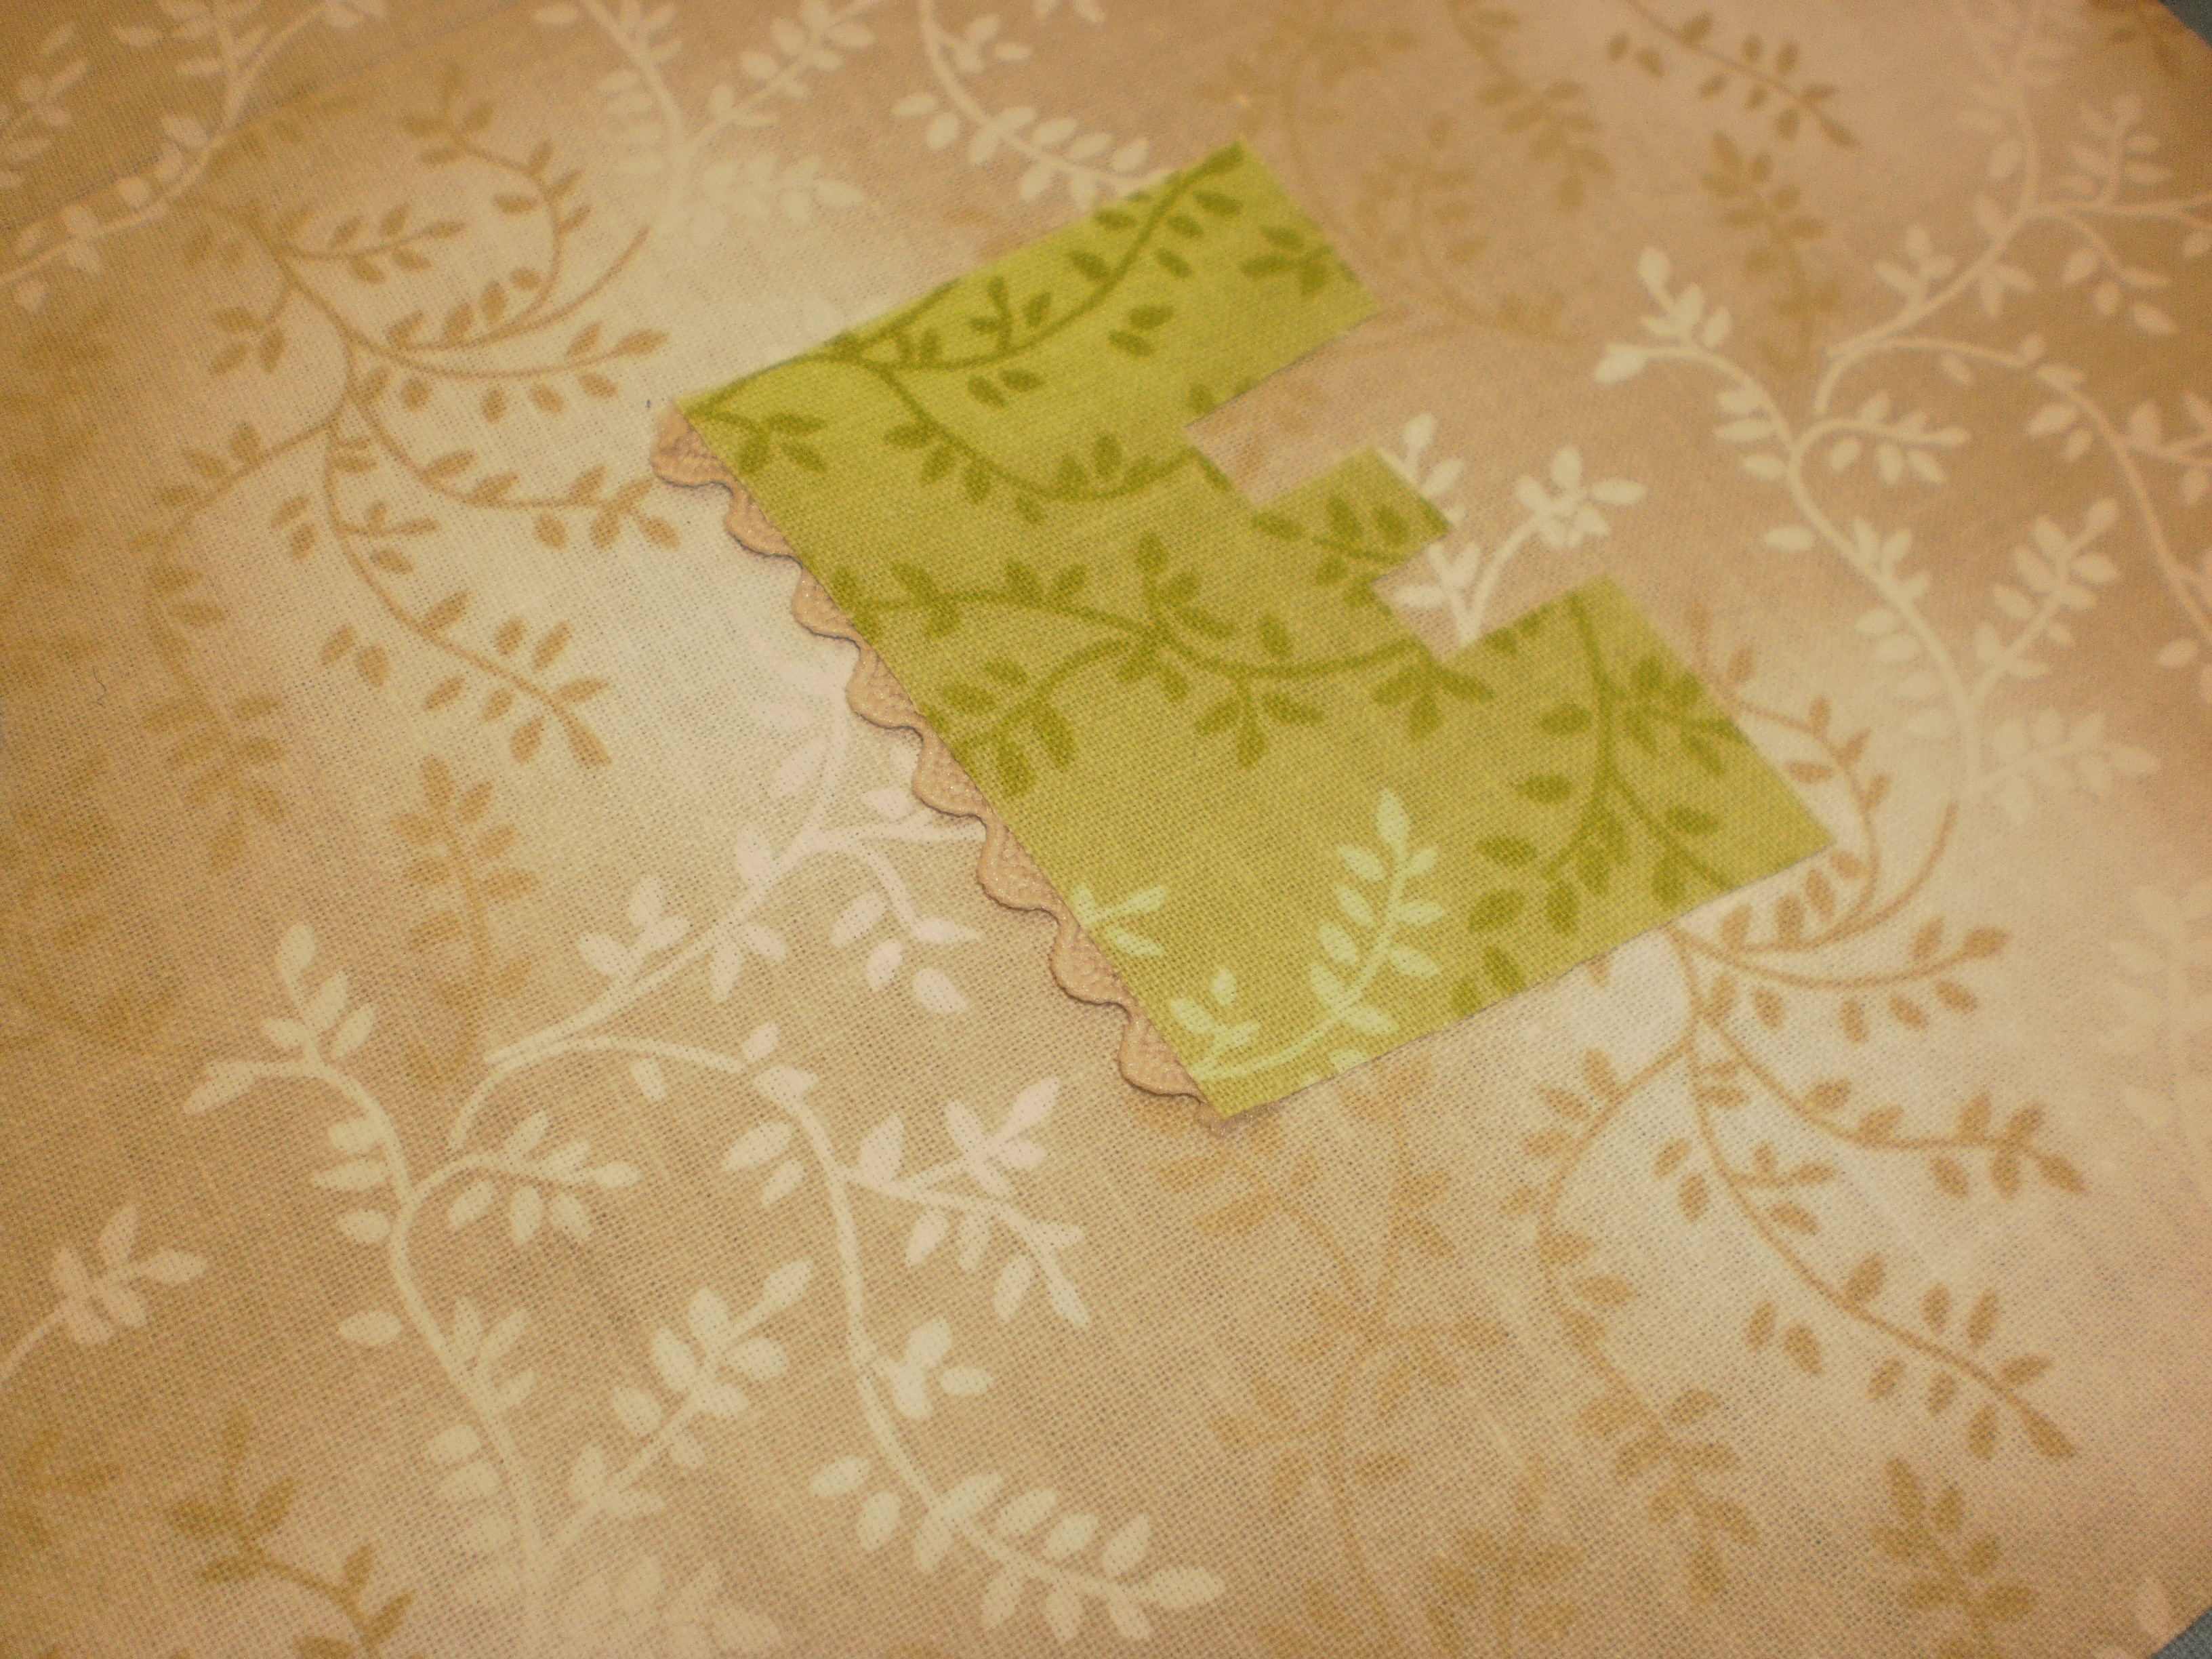
Photo 15: (Optional) Choose two letters (preferably letters with straight sides) and trim rickrack to fit. Place rickrack under the edge so it is just peeking out, then press all the letters into place with the iron.
If you aren’t going to use the rickrack press the letters in place when you are happy with their positions.
Take a square of Stitch-N-Tear the same size as your block and pin it to the back of the block.
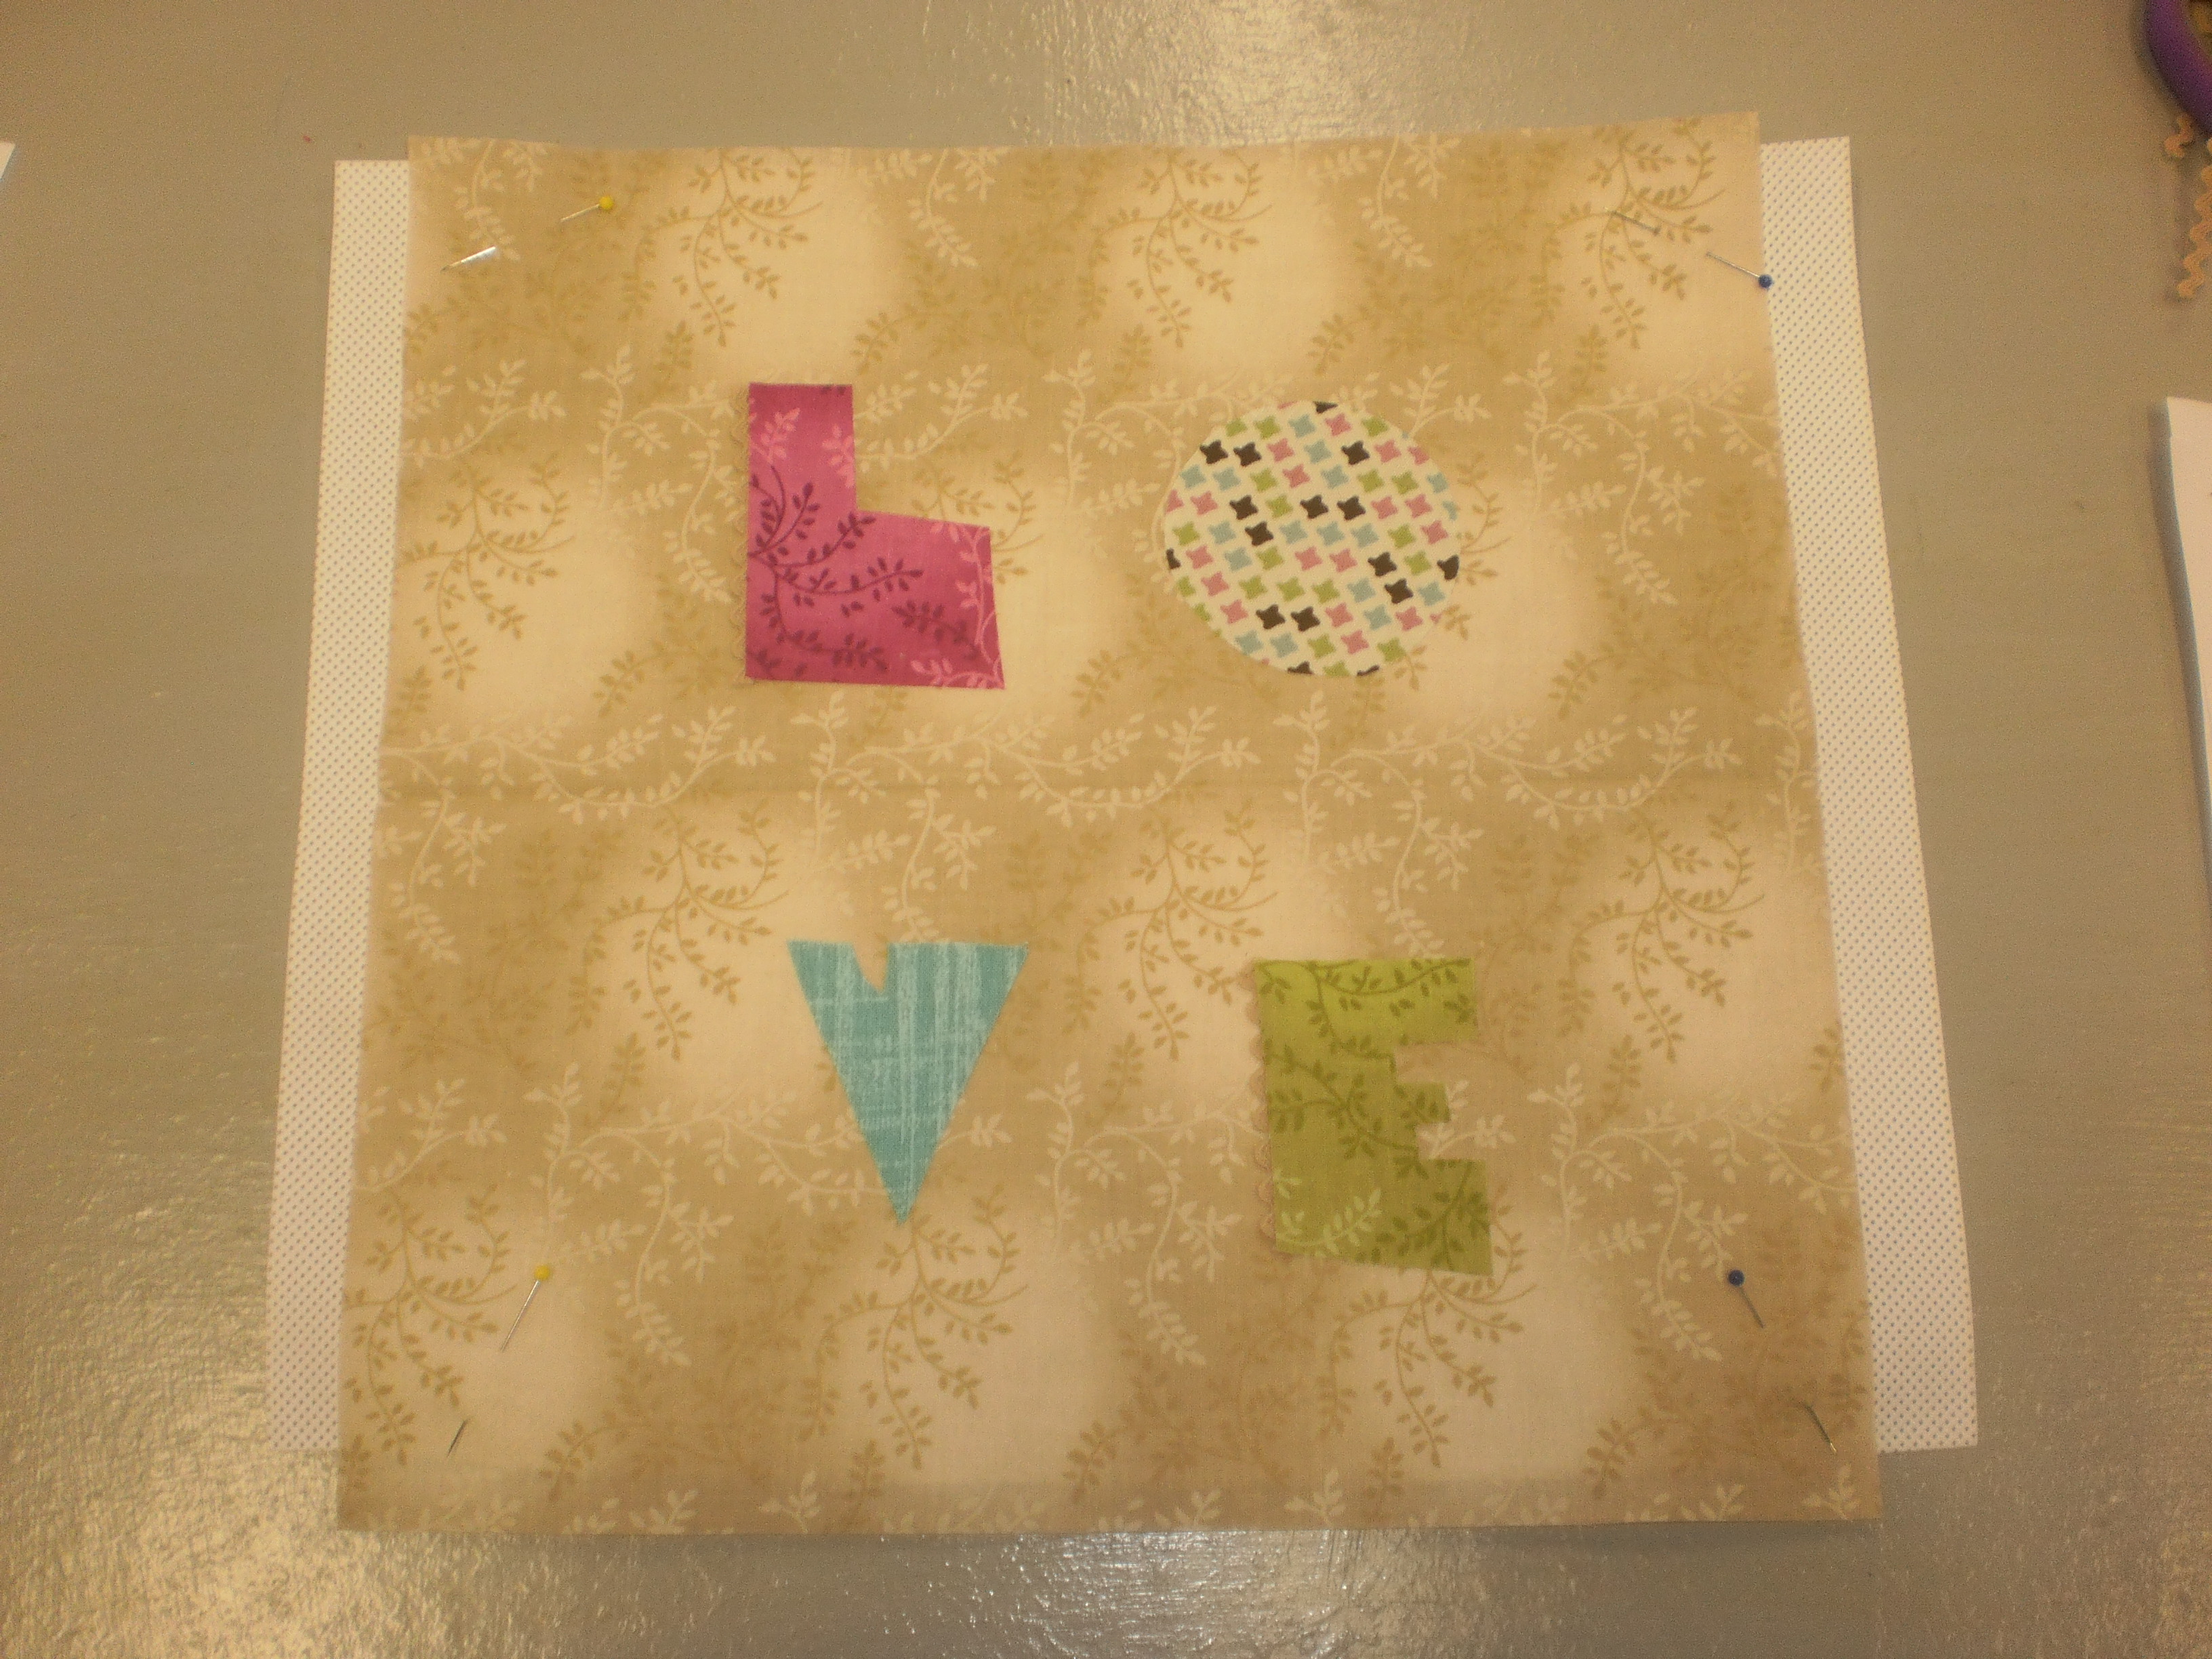
Photo 16: Take a square of Stitch-N-Tear and pin to the back of your block.
Set up your machine with the open-toe embroidery foot, neutral bobbin thread (white, grey, beige etc) and the thread that matches your first shape.
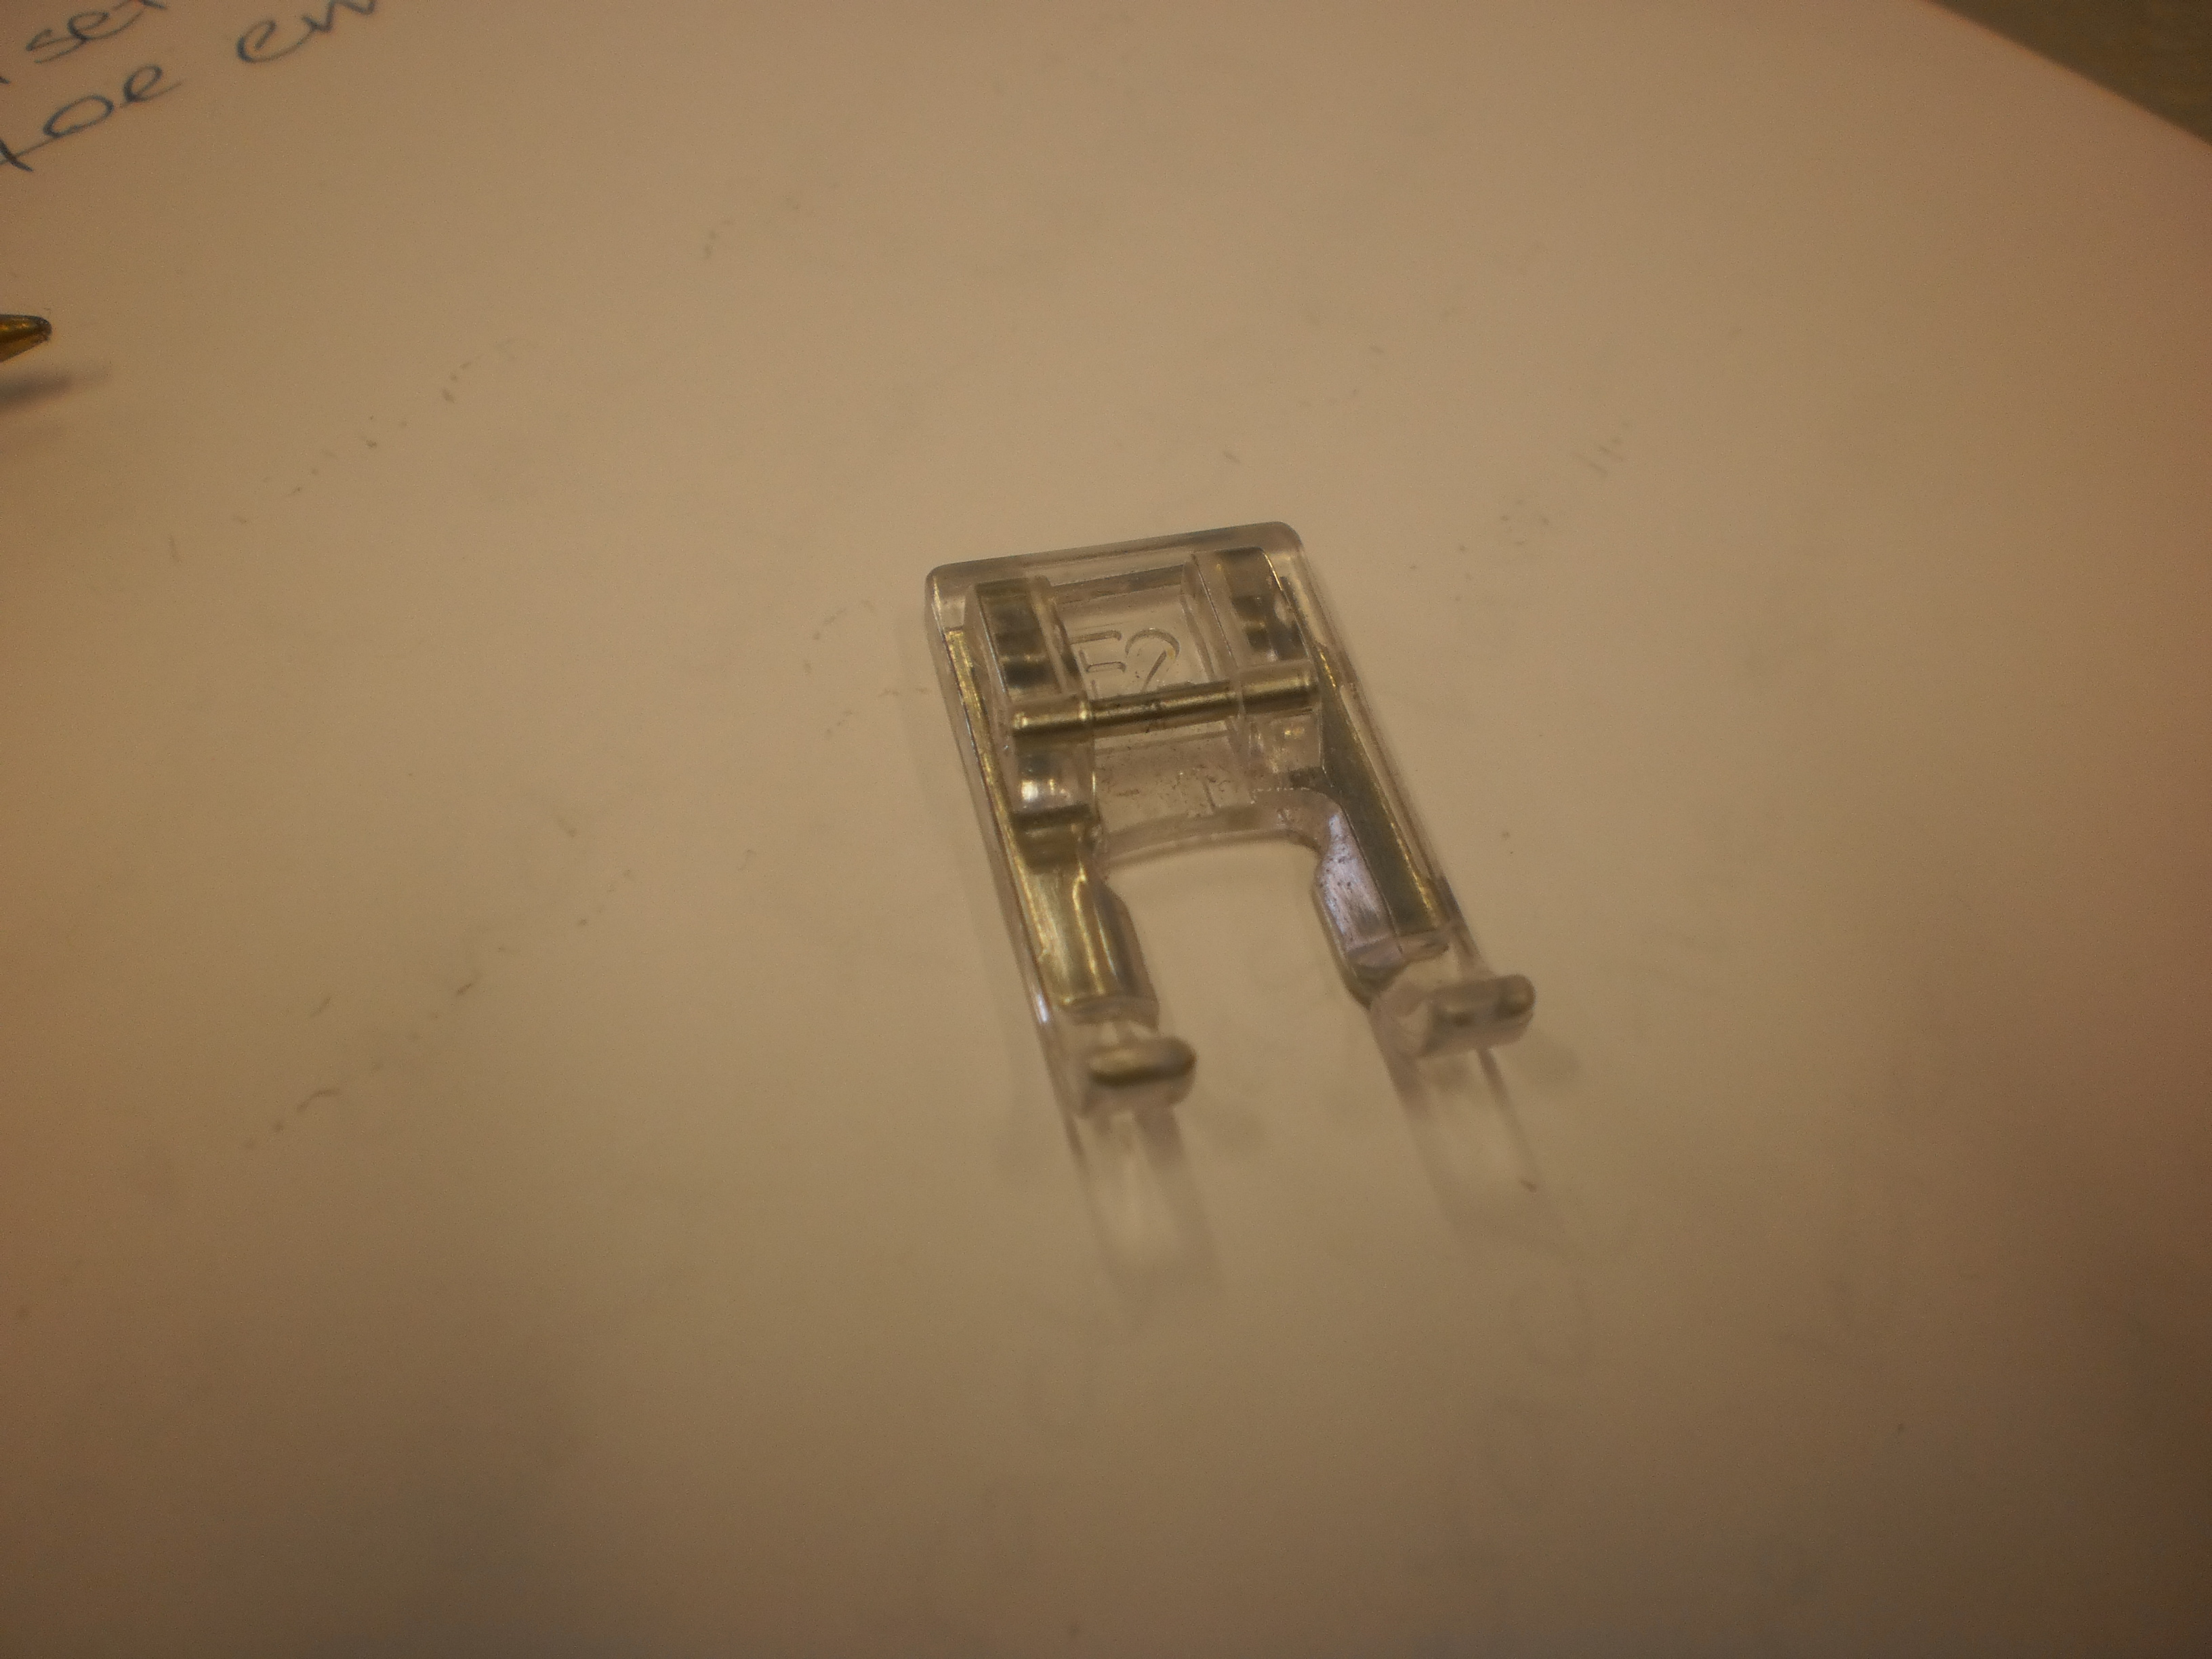
Photo 17: Set up your machine with a small zigzag stitch and an open-toe embroidery foot.
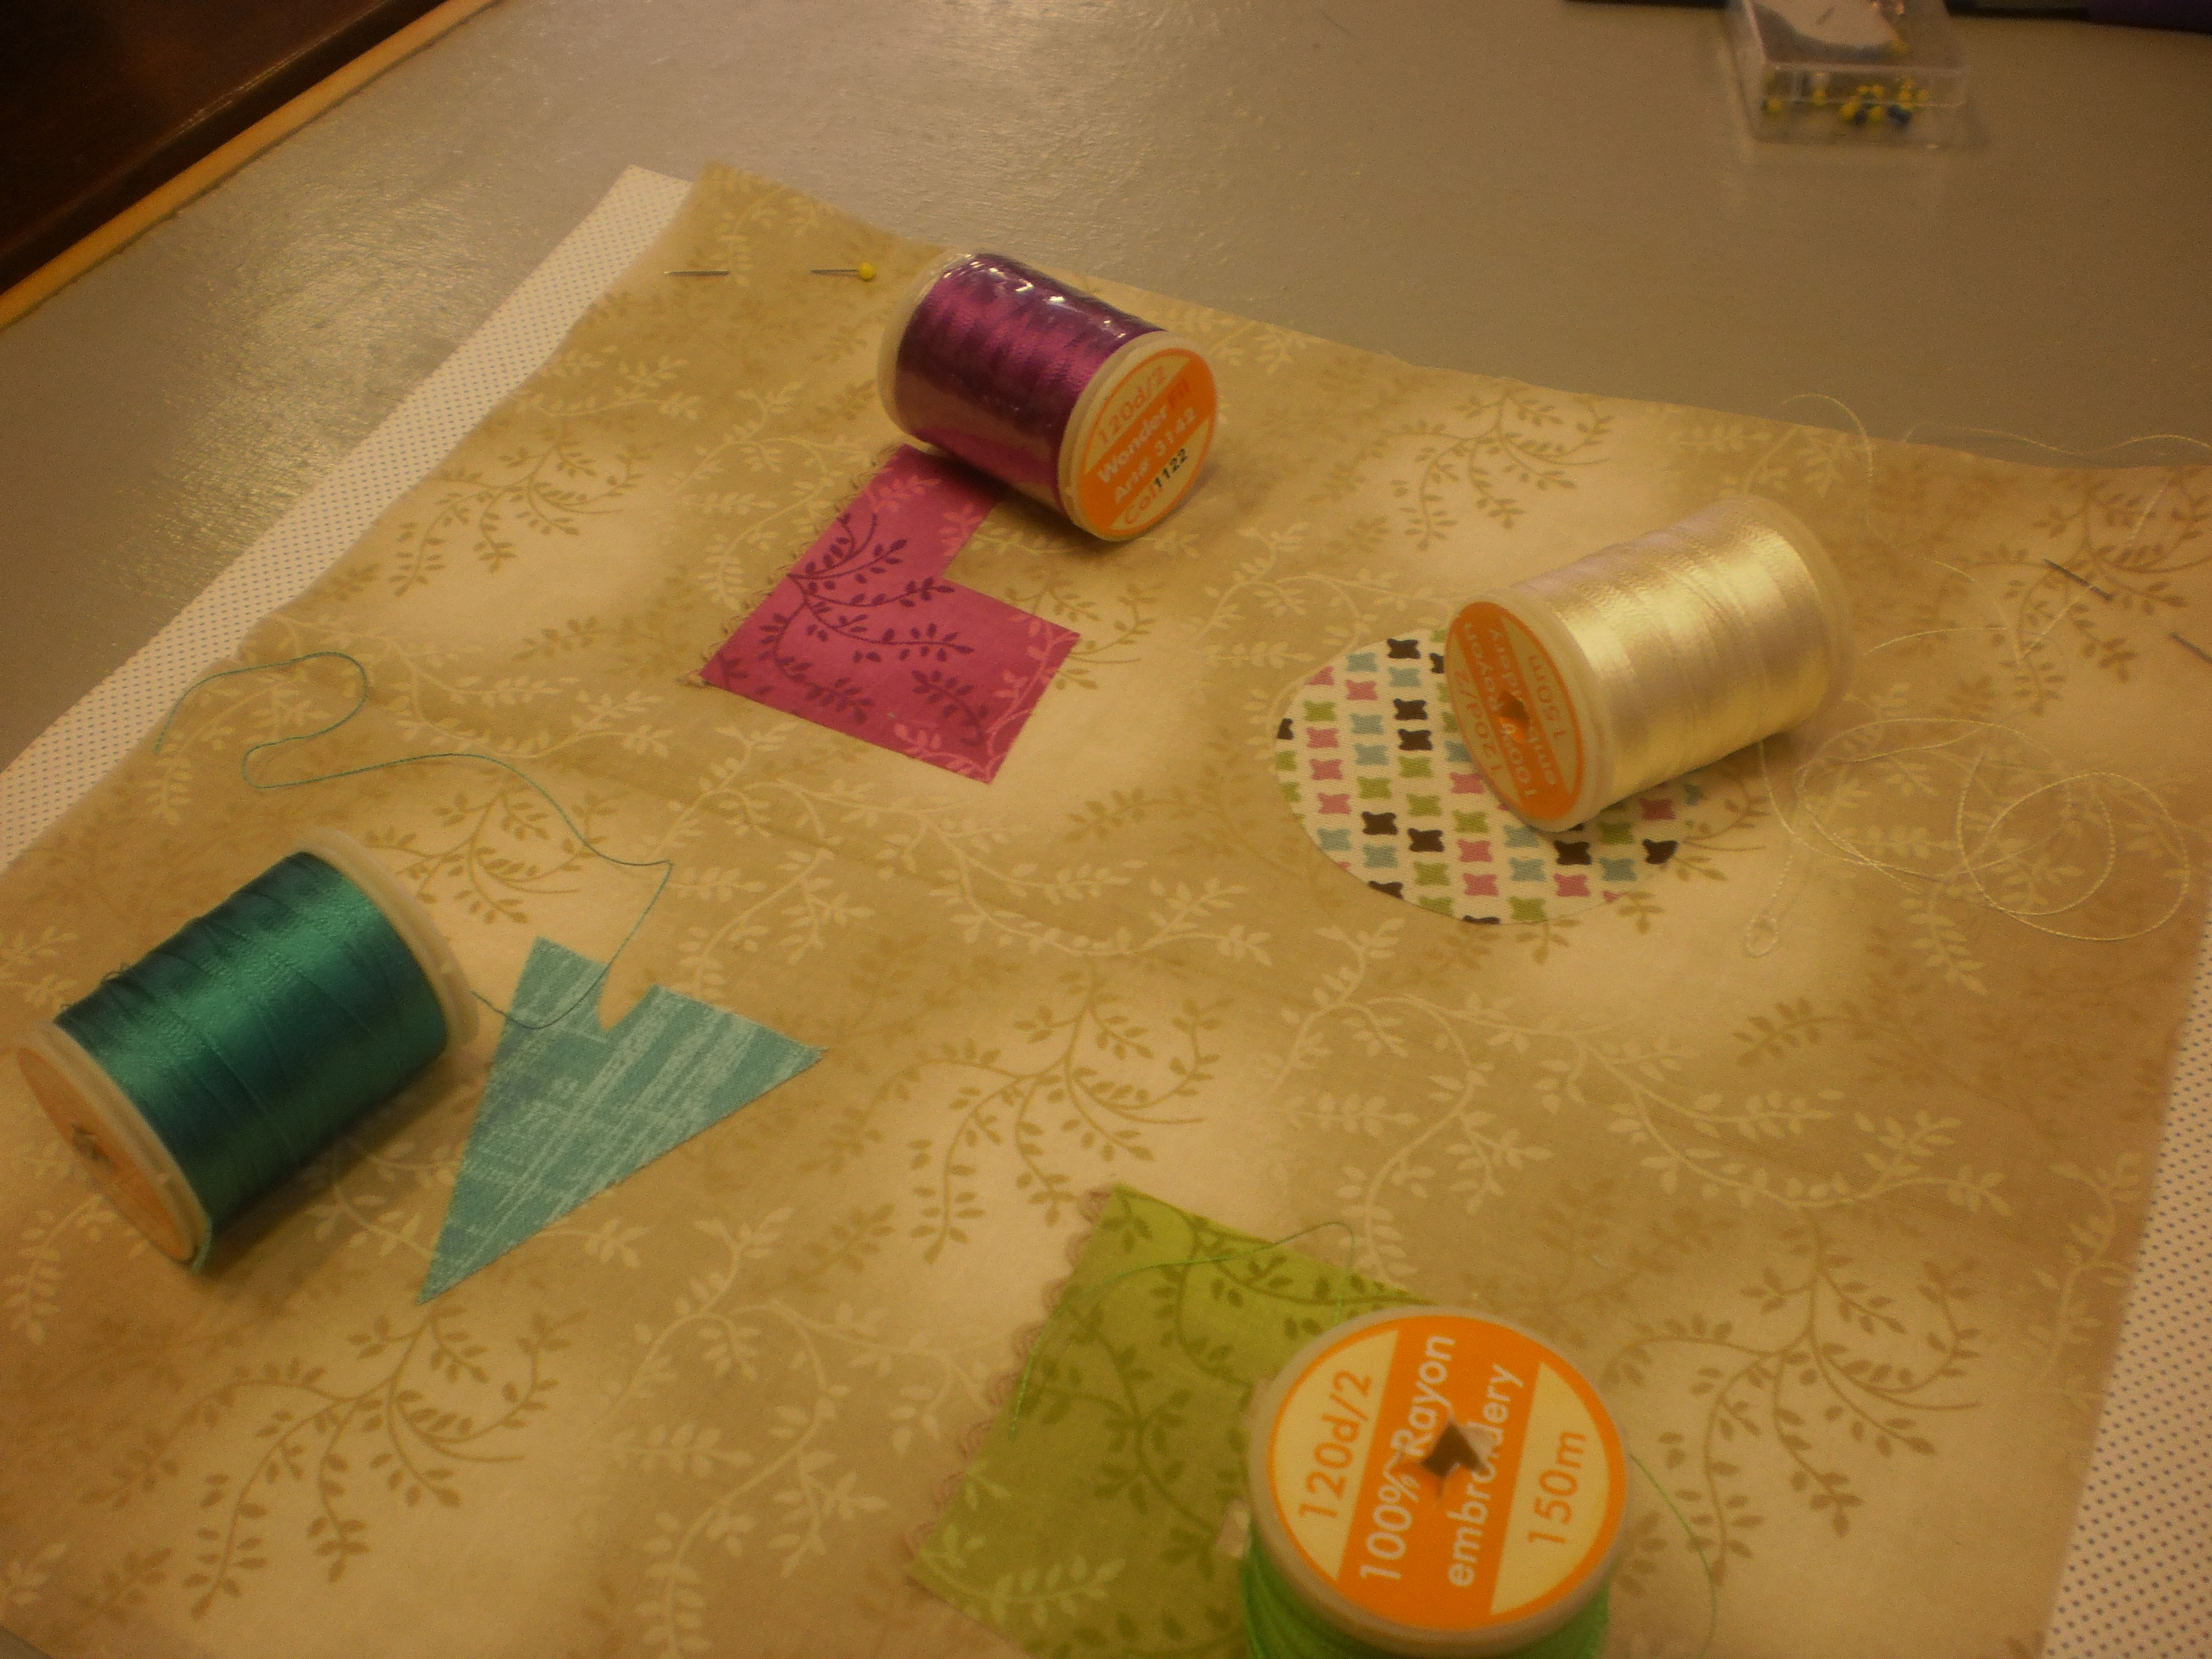
Photo 18: Choose threads to suit your chosen fabrics. I have used Rayon Machine Embroidery threads because I like the shine.
NOTE: This bit you are on your own a little as I don’t know what machines you all have or what the stitches look like. You will need a test piece to help you find a stitch that you like. If you have trouble please email me a photo of your machine’s control panel so I can advise you which way to go.
I have a Janome MC4000. I use Rasant thread in my bobbin. I set my zigzag (which is stitch 14 on my list) to a stitch width of 2.0 and a length of 0.2. This means that my stitches are wide enough to cover the edges of my appliqués and that the stitches are close enough together to not show any fabric through the gaps.
Photos 19 – 27: Follow the captions on each photo in conjunction with what the photo shows you. This technique will be used throughout the BOM and will only be shown here in this first part. In each successive blog I will refer back to this section of photos. Feel free to save this part to your computer for quick reference.
-
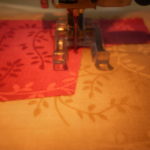
- Photo 19: Starting with the needle to the left of the edge of your applique shape, begin stitching slowly to get the feel for the process.
-
- Photo 20: Watch the needle. You will learn it’s positioning (left and right) so that when you do certain shapes you know when to start and stop.
-
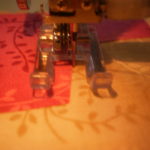
- Photo 21: When you get to the corner stop with the needle on the right side of the edge of the appliqué shape.
-
- Photo 22: Leave the needle down. Raise the foot and turn your work, lining up the next straight edge of the shape.
-
- Photo 23: Continue stitching around the shape.
-
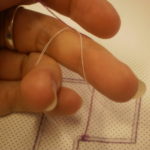
- Photo 24: When you have finished thread a hand-sewing needle with the tails of the thread on the front of the block. Stitch them through to the back of the block.
-
- Photo 25: Make sure all four threads are at the back of the block – 2x bobbin and 2x embroidery thread.
-
- Photo 26: Tie the threads in a reef knot.
-
- Photo 27: Trim the threads close to the knot.
When doing round shapes – stitch a few stitches and then stop with the needle on the right. You will start to see the edge of the shape curve away from the centre of the foot. When that happens stop, lift the foot and turn your work a fraction – see video for how to pivot. You are turning your work, you are adjusting it a tiny fraction to ensure that the stitches are at a 90deree angle to the raw edge of the appliqué shape.
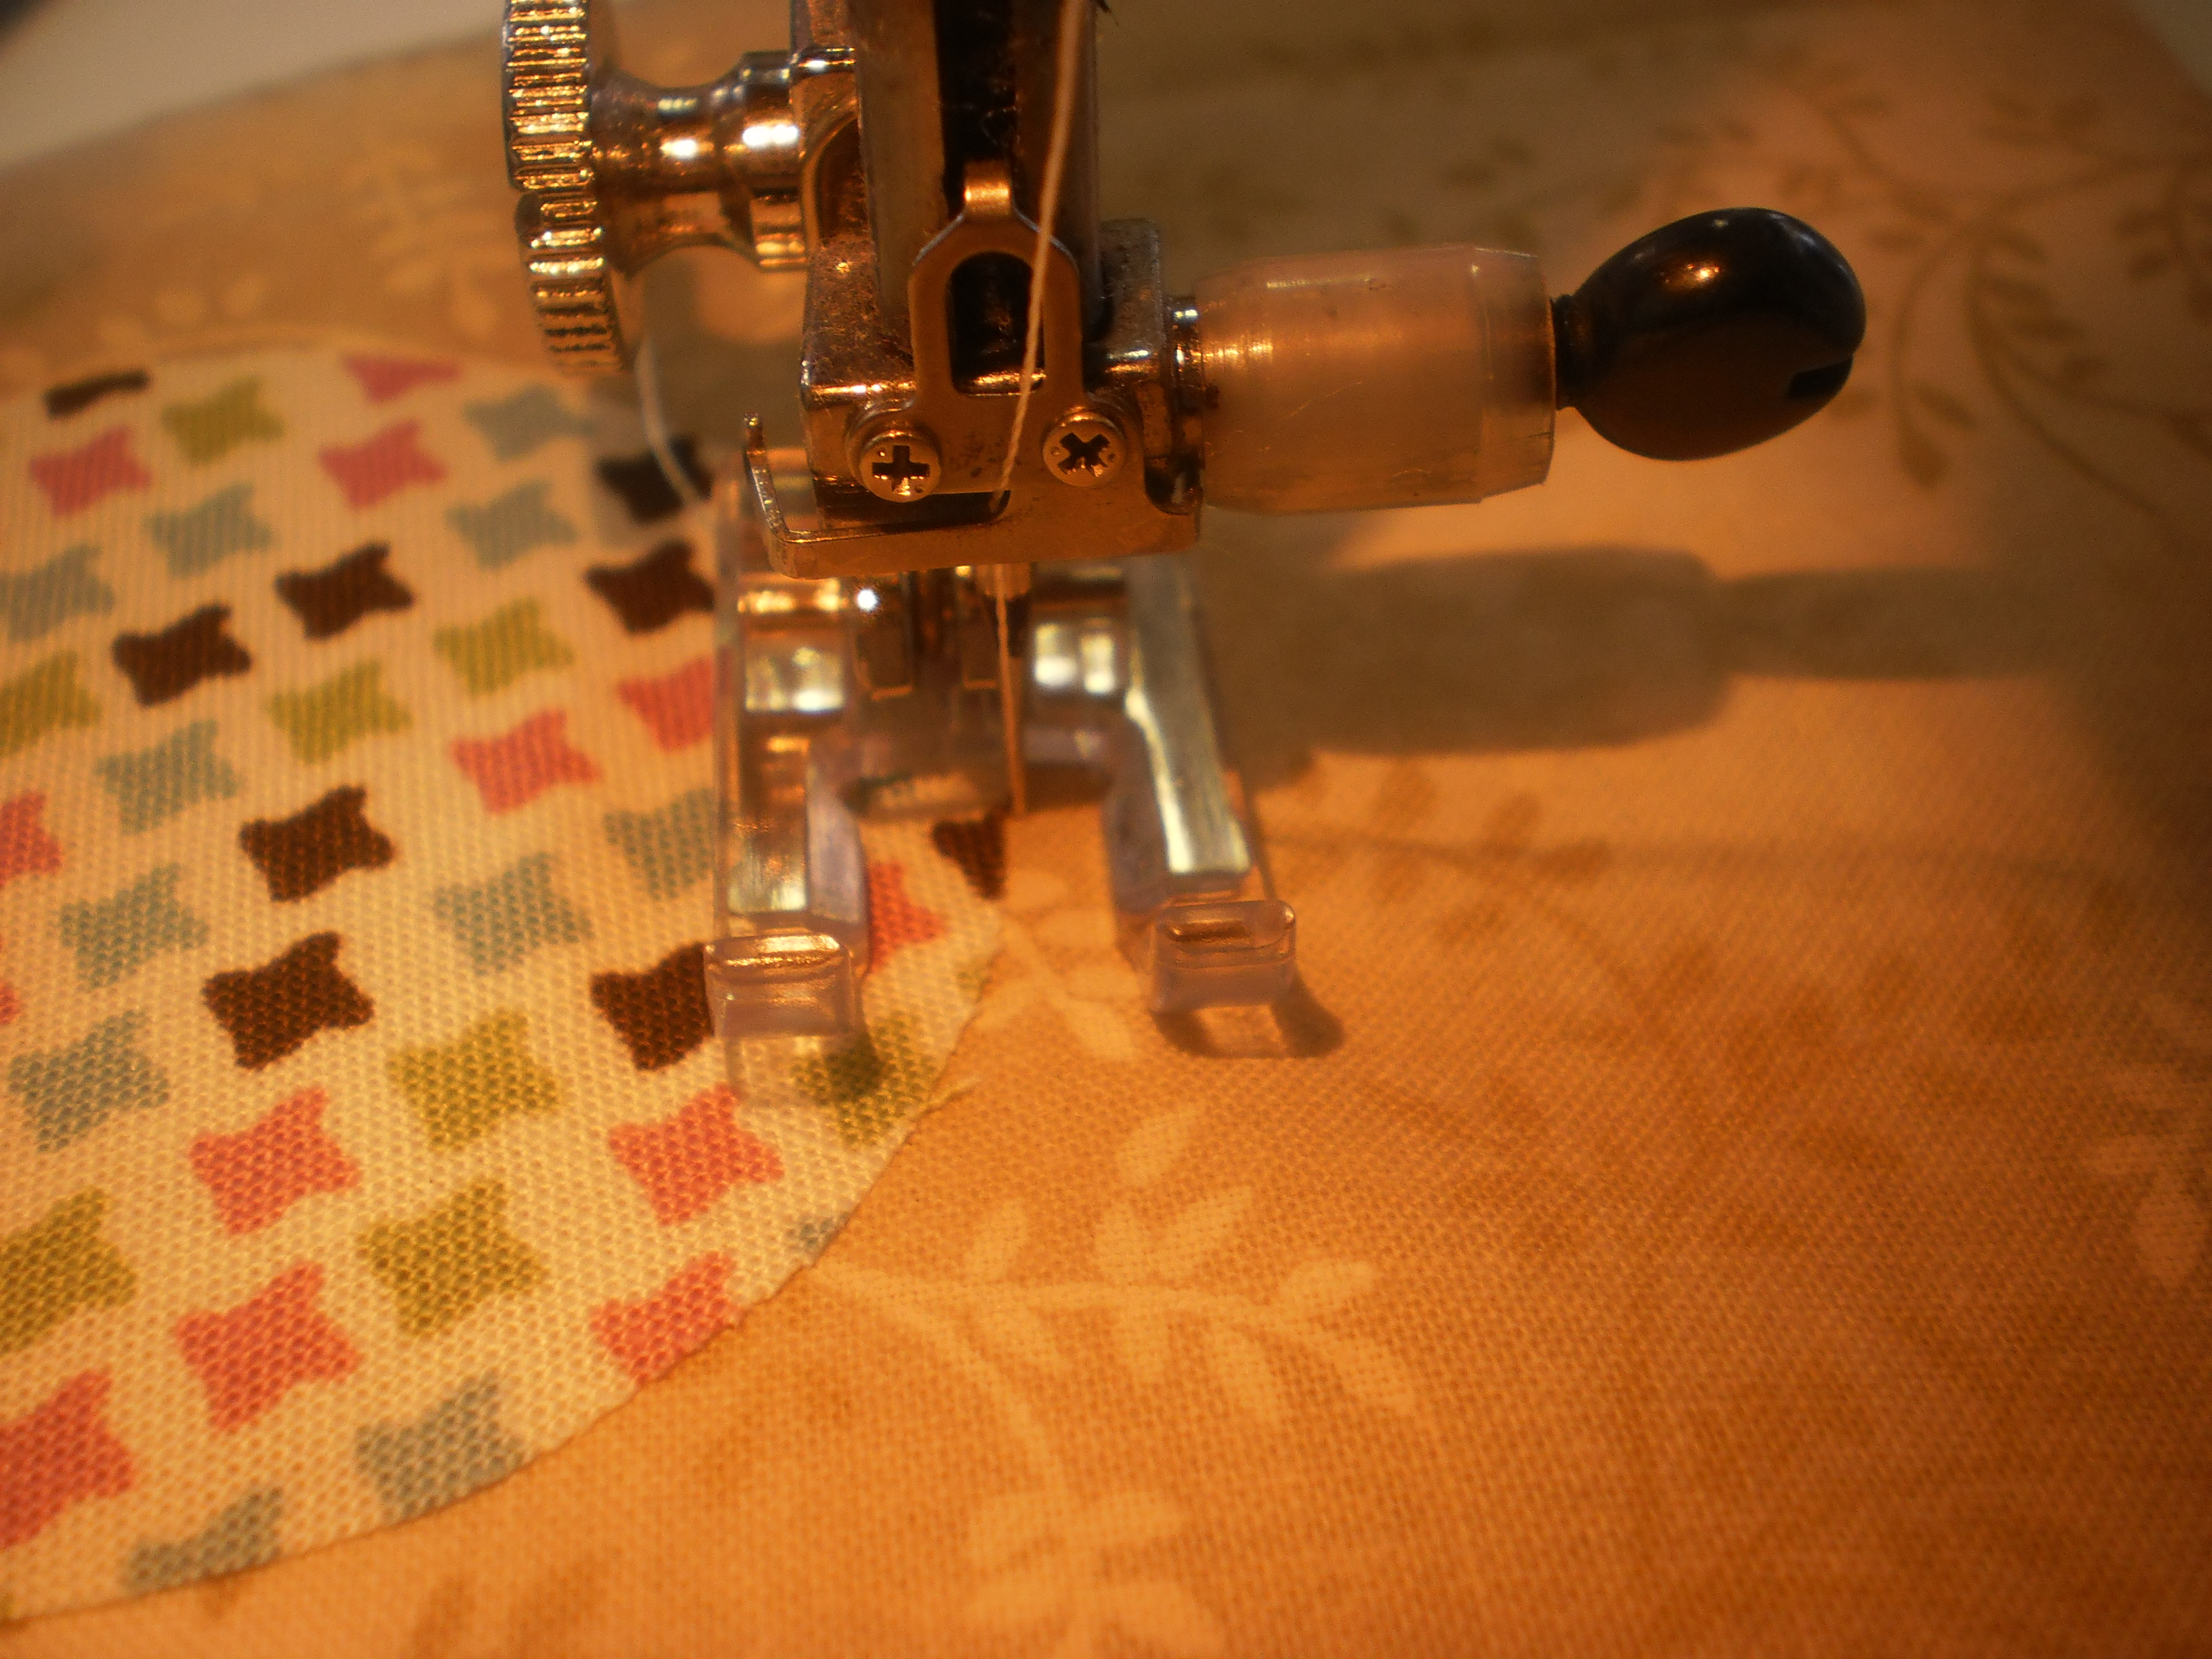
Photo 28: When doing round shapes – stitch a few stitches and then stop with the needle on the right. Lift the foot and turn your work a fraction – see video for how to pivot.
When stitching pointy sections – finish your edge as normal, leave the needle down on the right side and lift the foot. Turn your work 90degrees, foot down and make 2-3 stitches. This will bring you in line with the other edge. Needle down on the right, lift the foot and turn your work, lining up the next edge. Foot down and continue stitching.
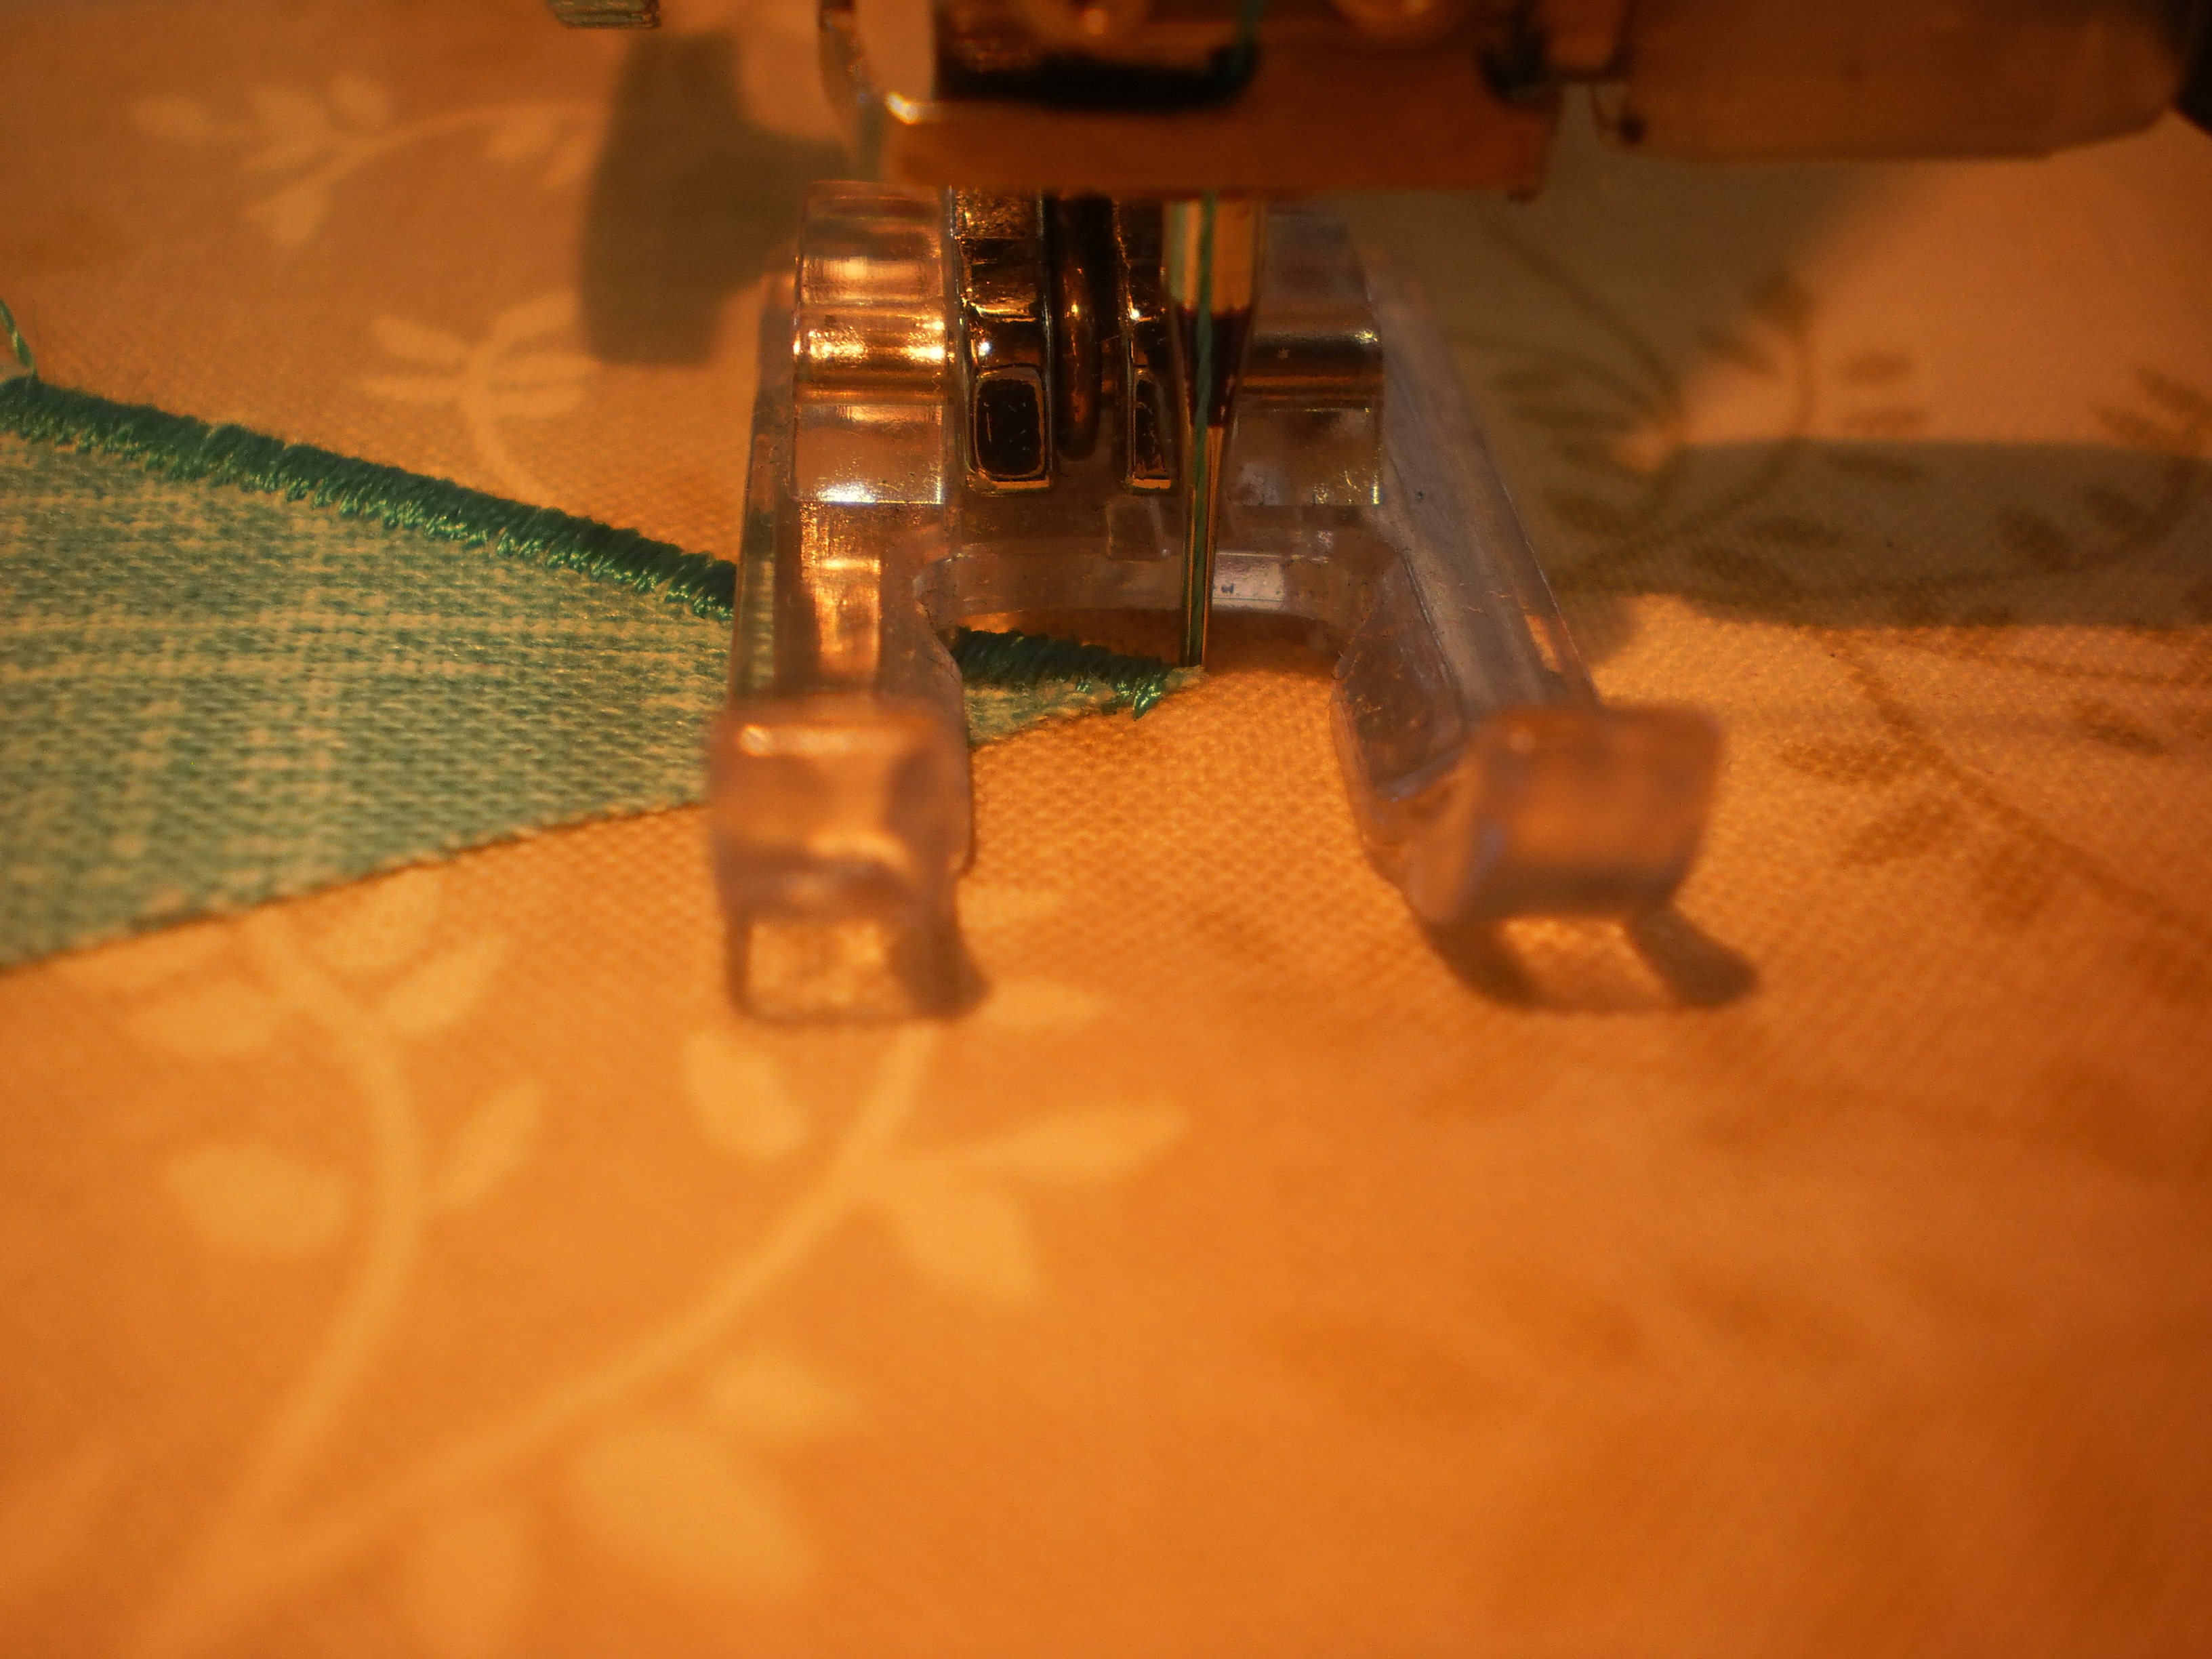
Photo 29: Finish your edge as normal, leave the needle down on the right side and lift the foot. Turn your work 90degrees, foot down and make 2-3 stitches. This will bring you in line with the other edge.
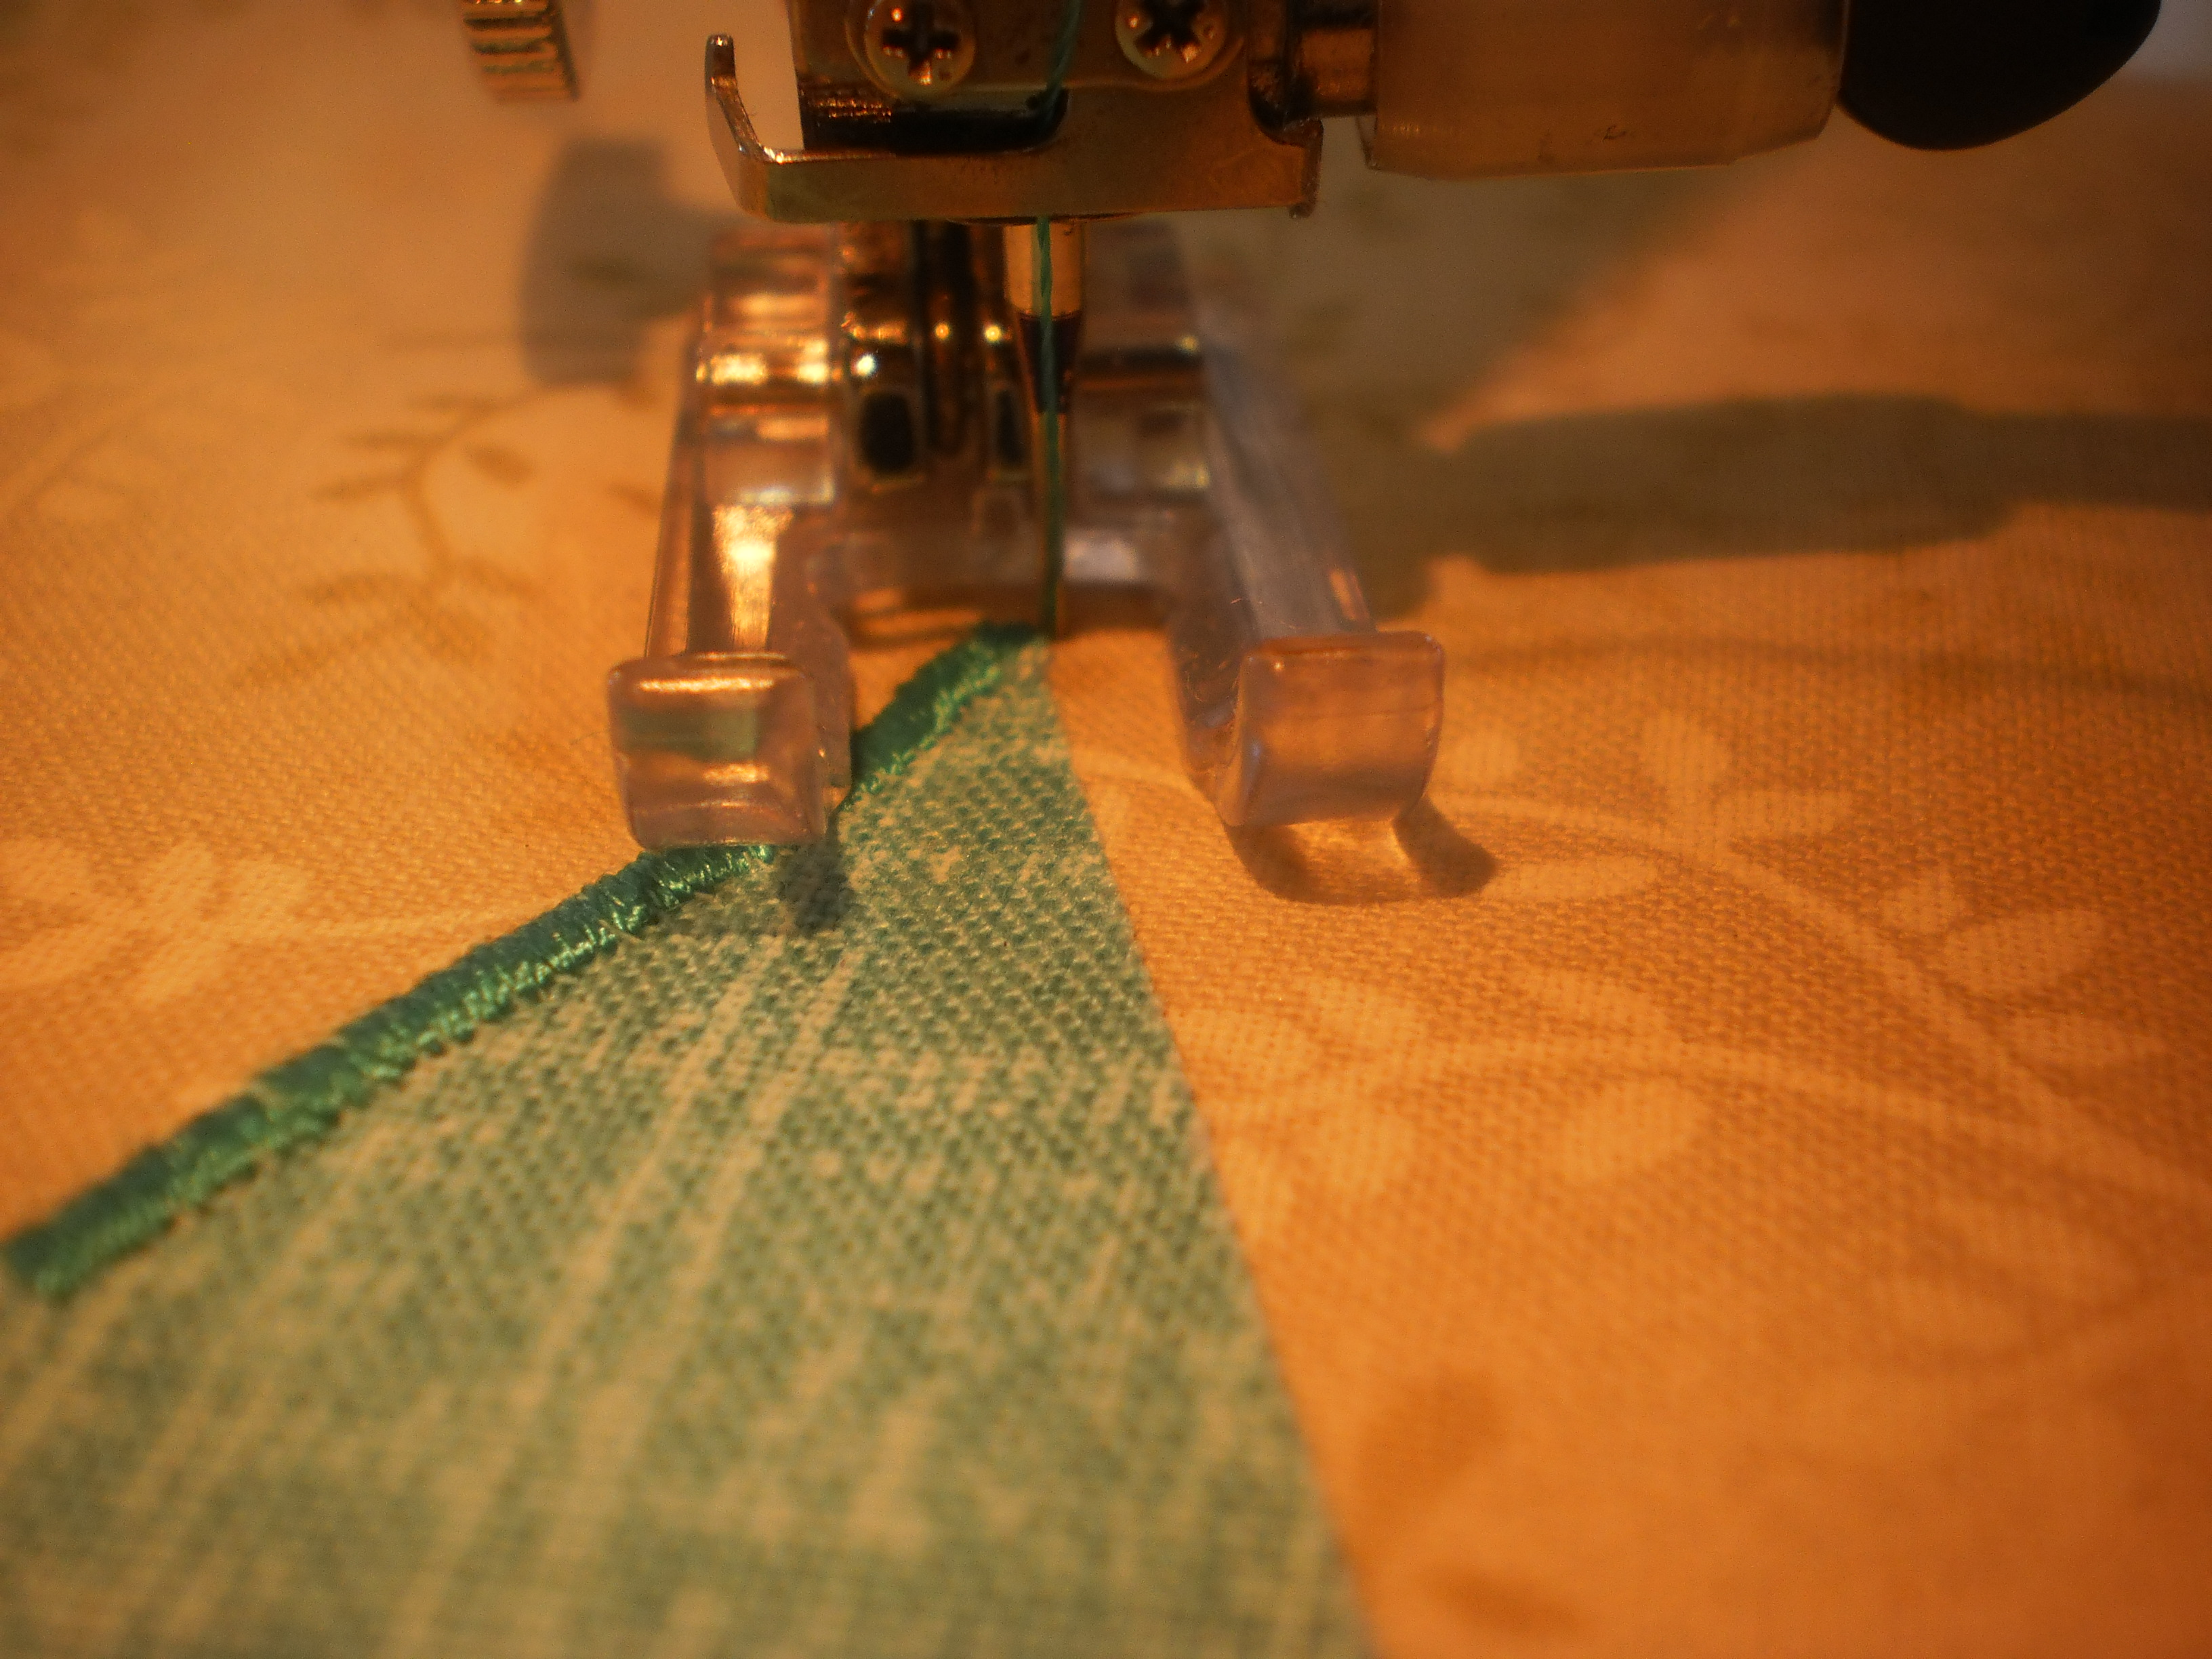
Photo 30: Needle down on the right, lift the foot and turn your work, lining up the next edge.
When stitching an internal point – stitch all the way along the edge prior to the point, leave the needle down on the right, lift the foot and turn your work so the needle is parallel to the point. Put the foot down and make 2-3 stitches in the centre of the point. Leave the needle down, lift the foot and turn your work, lining up the next edge.
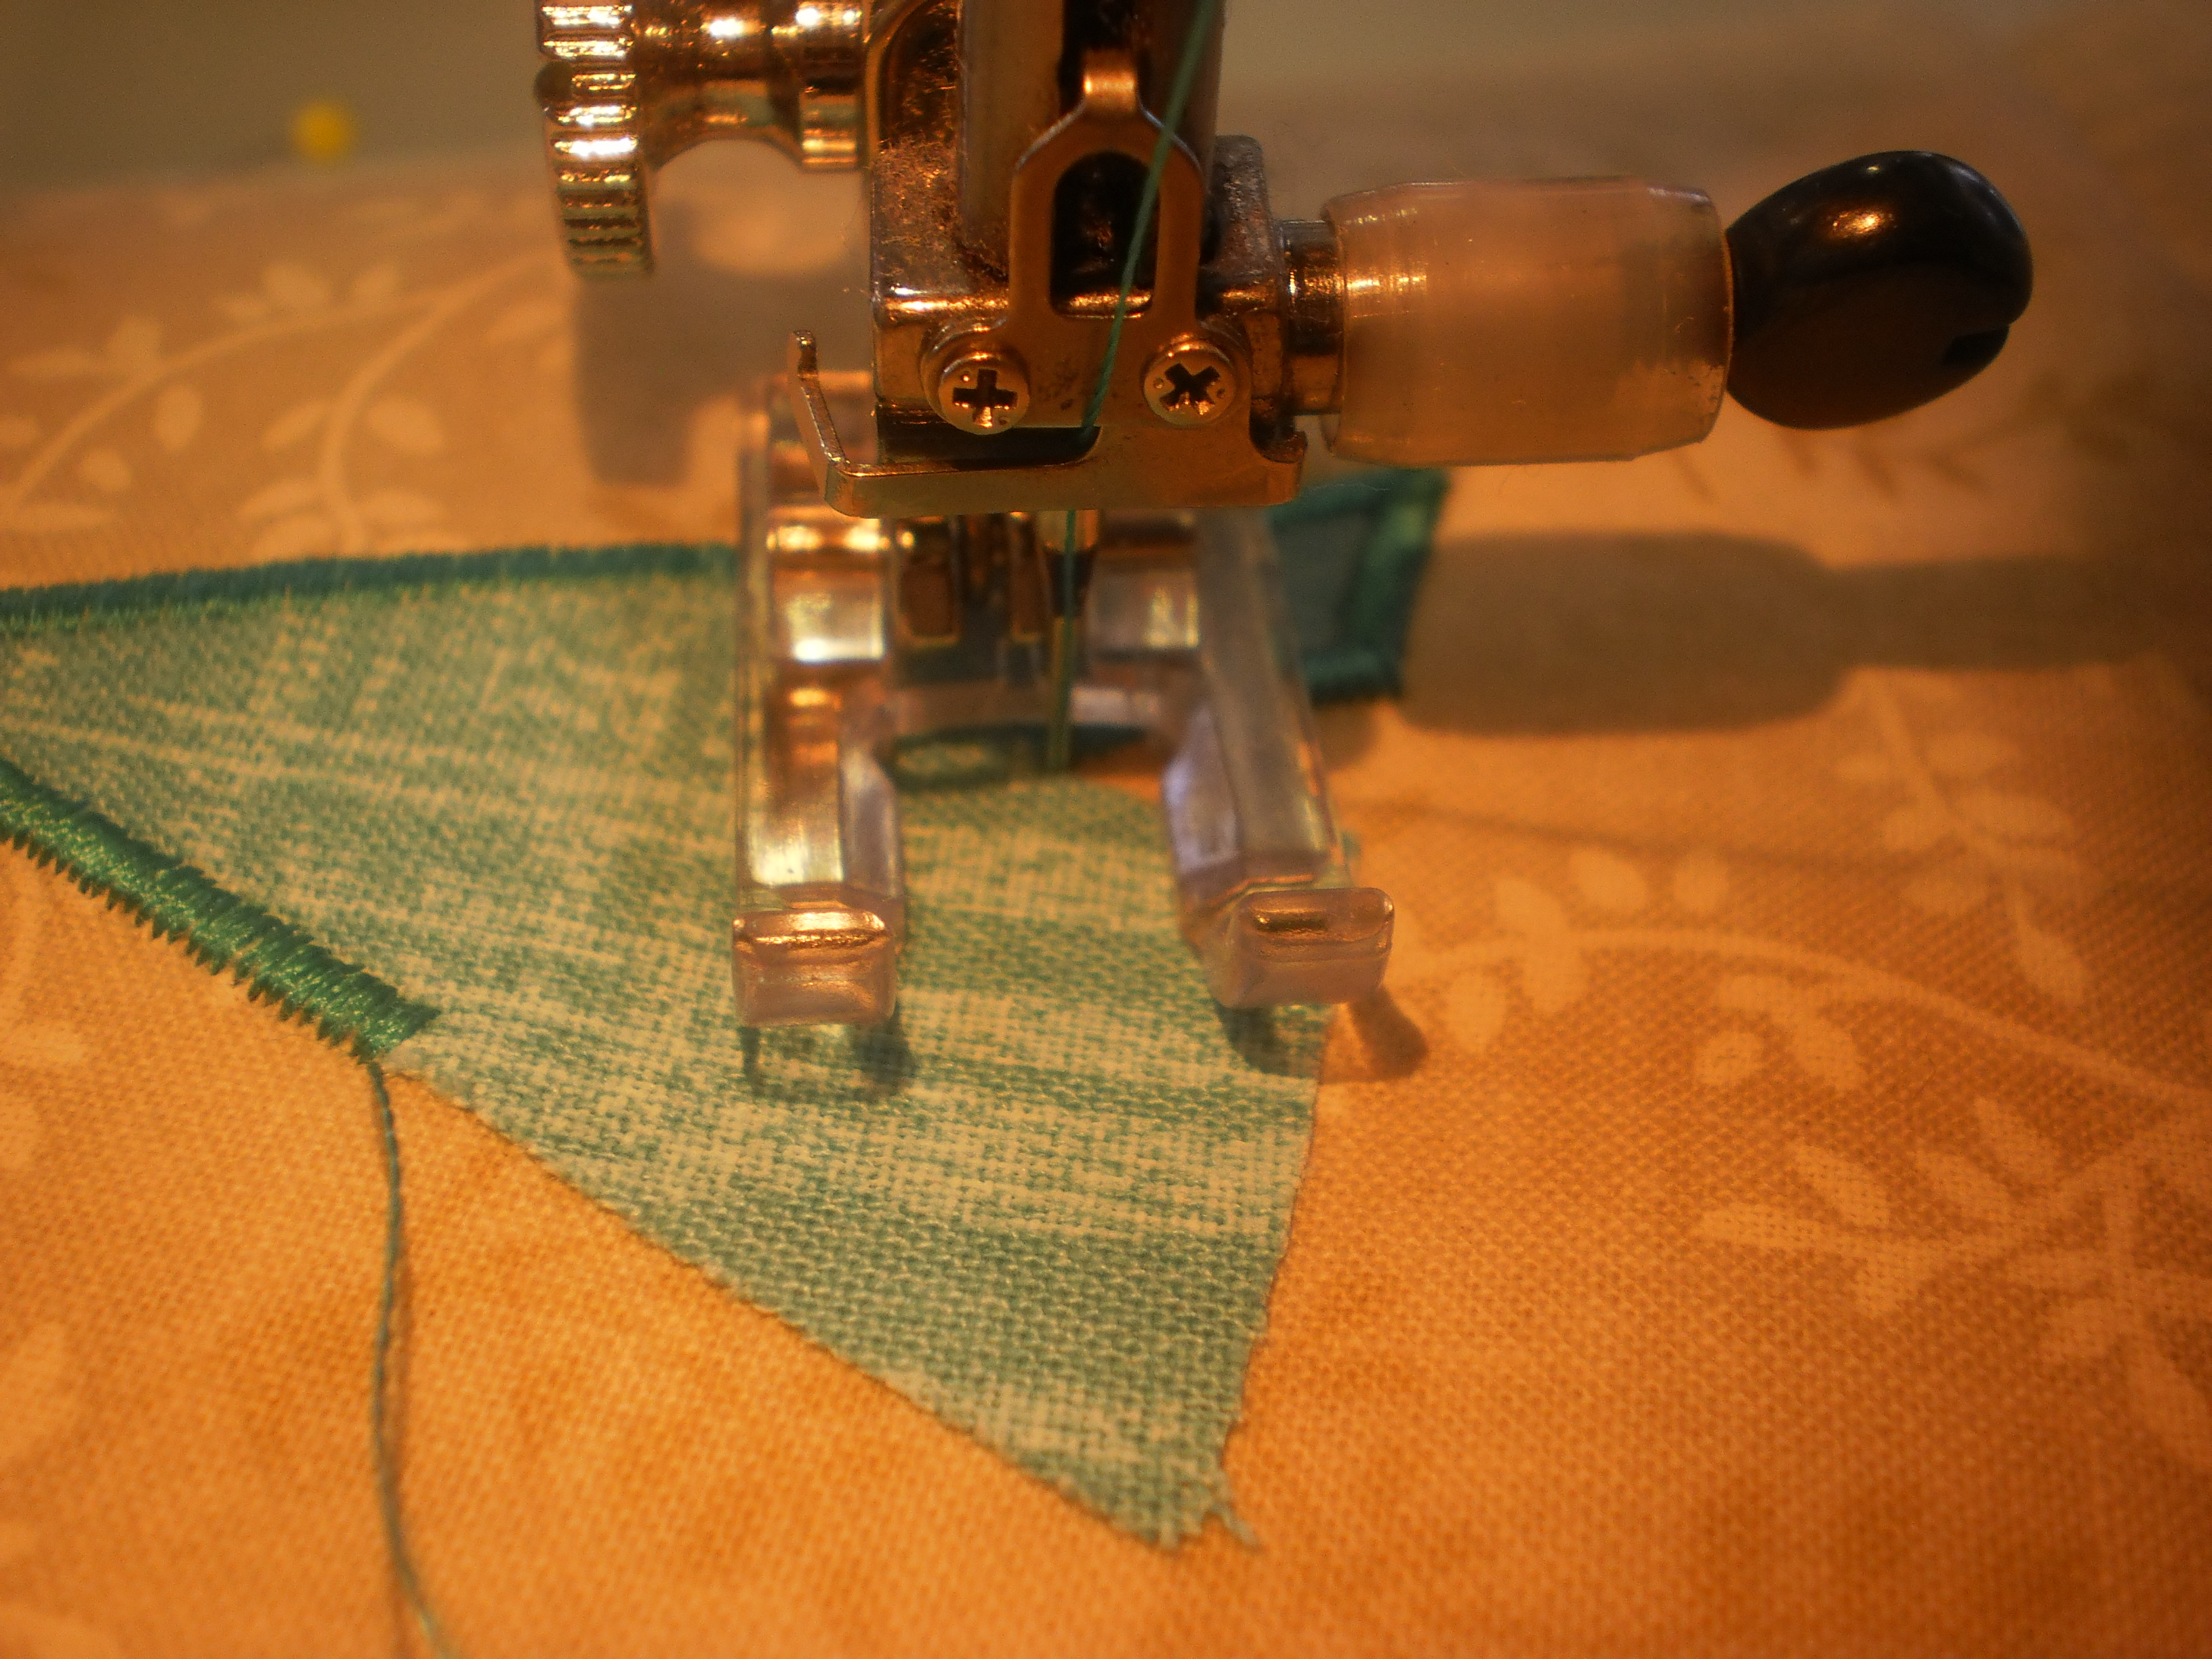
Photo 31: Stitch all the way along the edge prior to the point, leave the needle down on the right, lift the foot and turn your work so the needle is parallel to the point. Put the foot down and make 2-3 stitches in the centre of the point. Leave the needle down on the right side, lift the foot and turn your work, lining up the next edge.
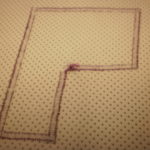
Once you’ve finished stitching all of your applique shapes and tying off the threads, turn your block over and start to remove the Stitch-N-Tear. Support the stitches with your fingers and gently tear away the Stitch-N-Tear – it has been perforated by the stitches so it doesn’t need cutting.
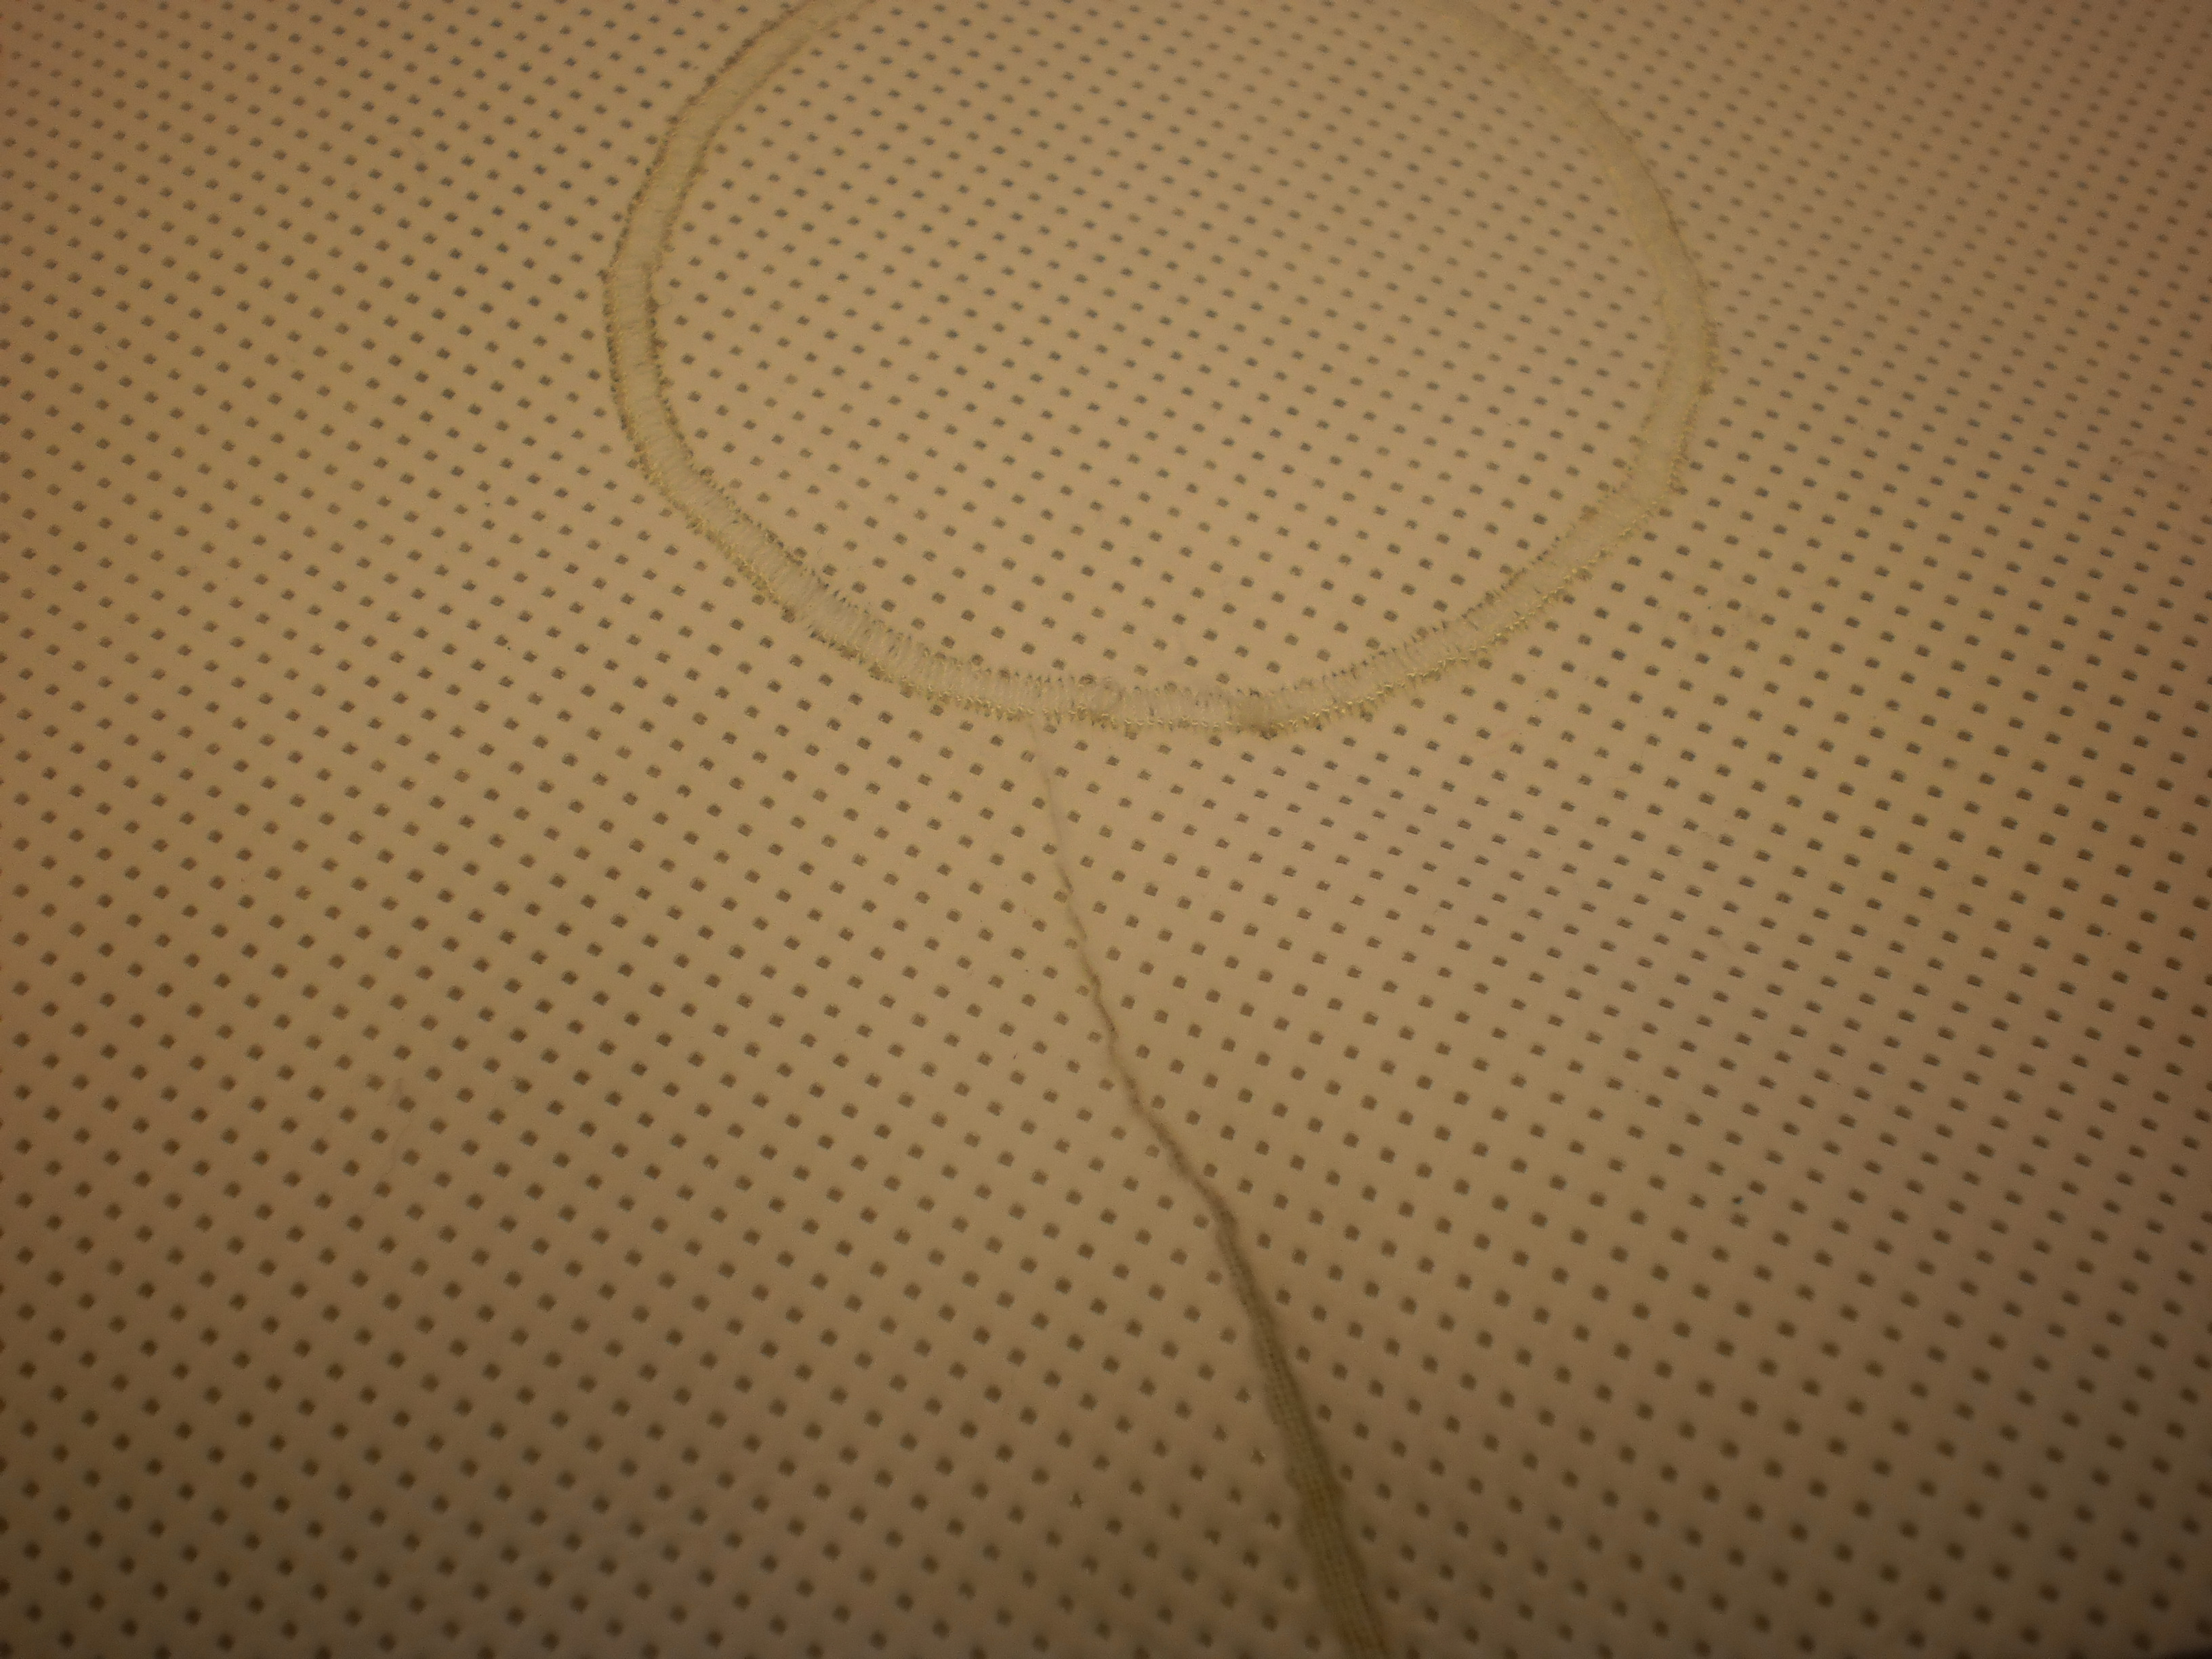
Photo 32: Once you’ve finished stitching all of your applique shapes and tying off the threads, turn your block over and start to remove the Stitch-N-Tear.
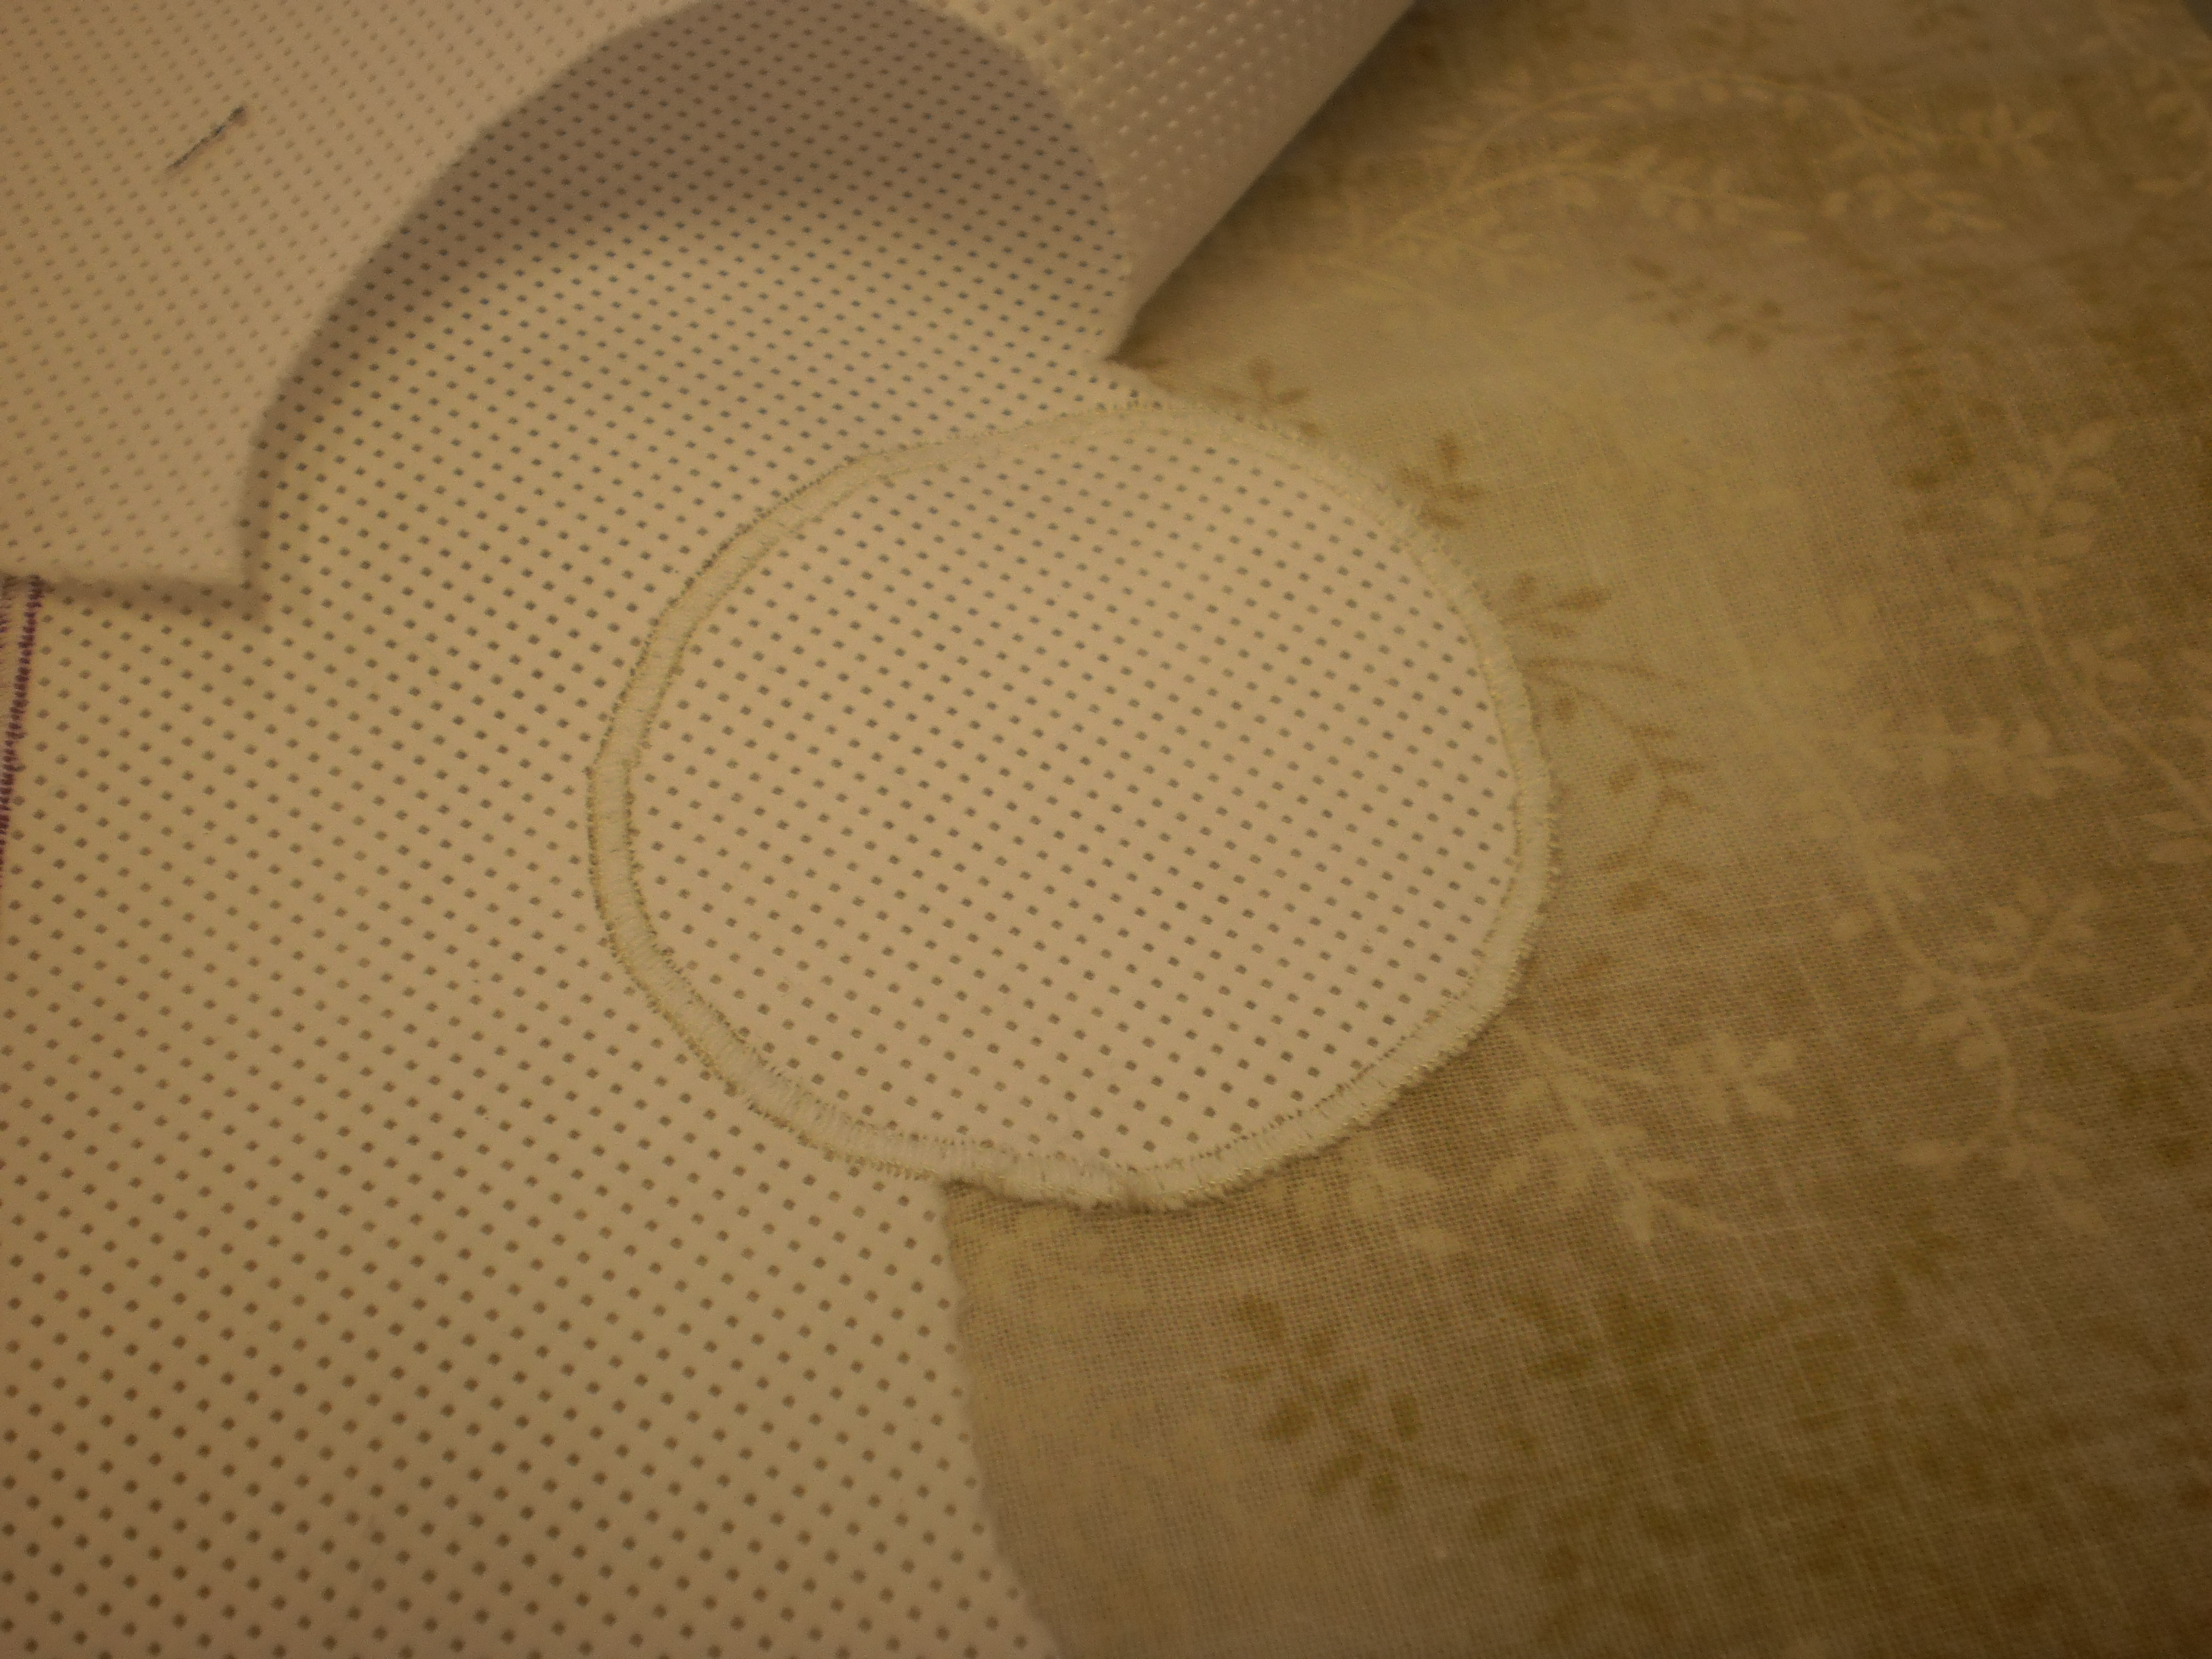
Photo 33: The Stitch-N-Tear has been perforated by the stitches so it doesn’t need cutting.
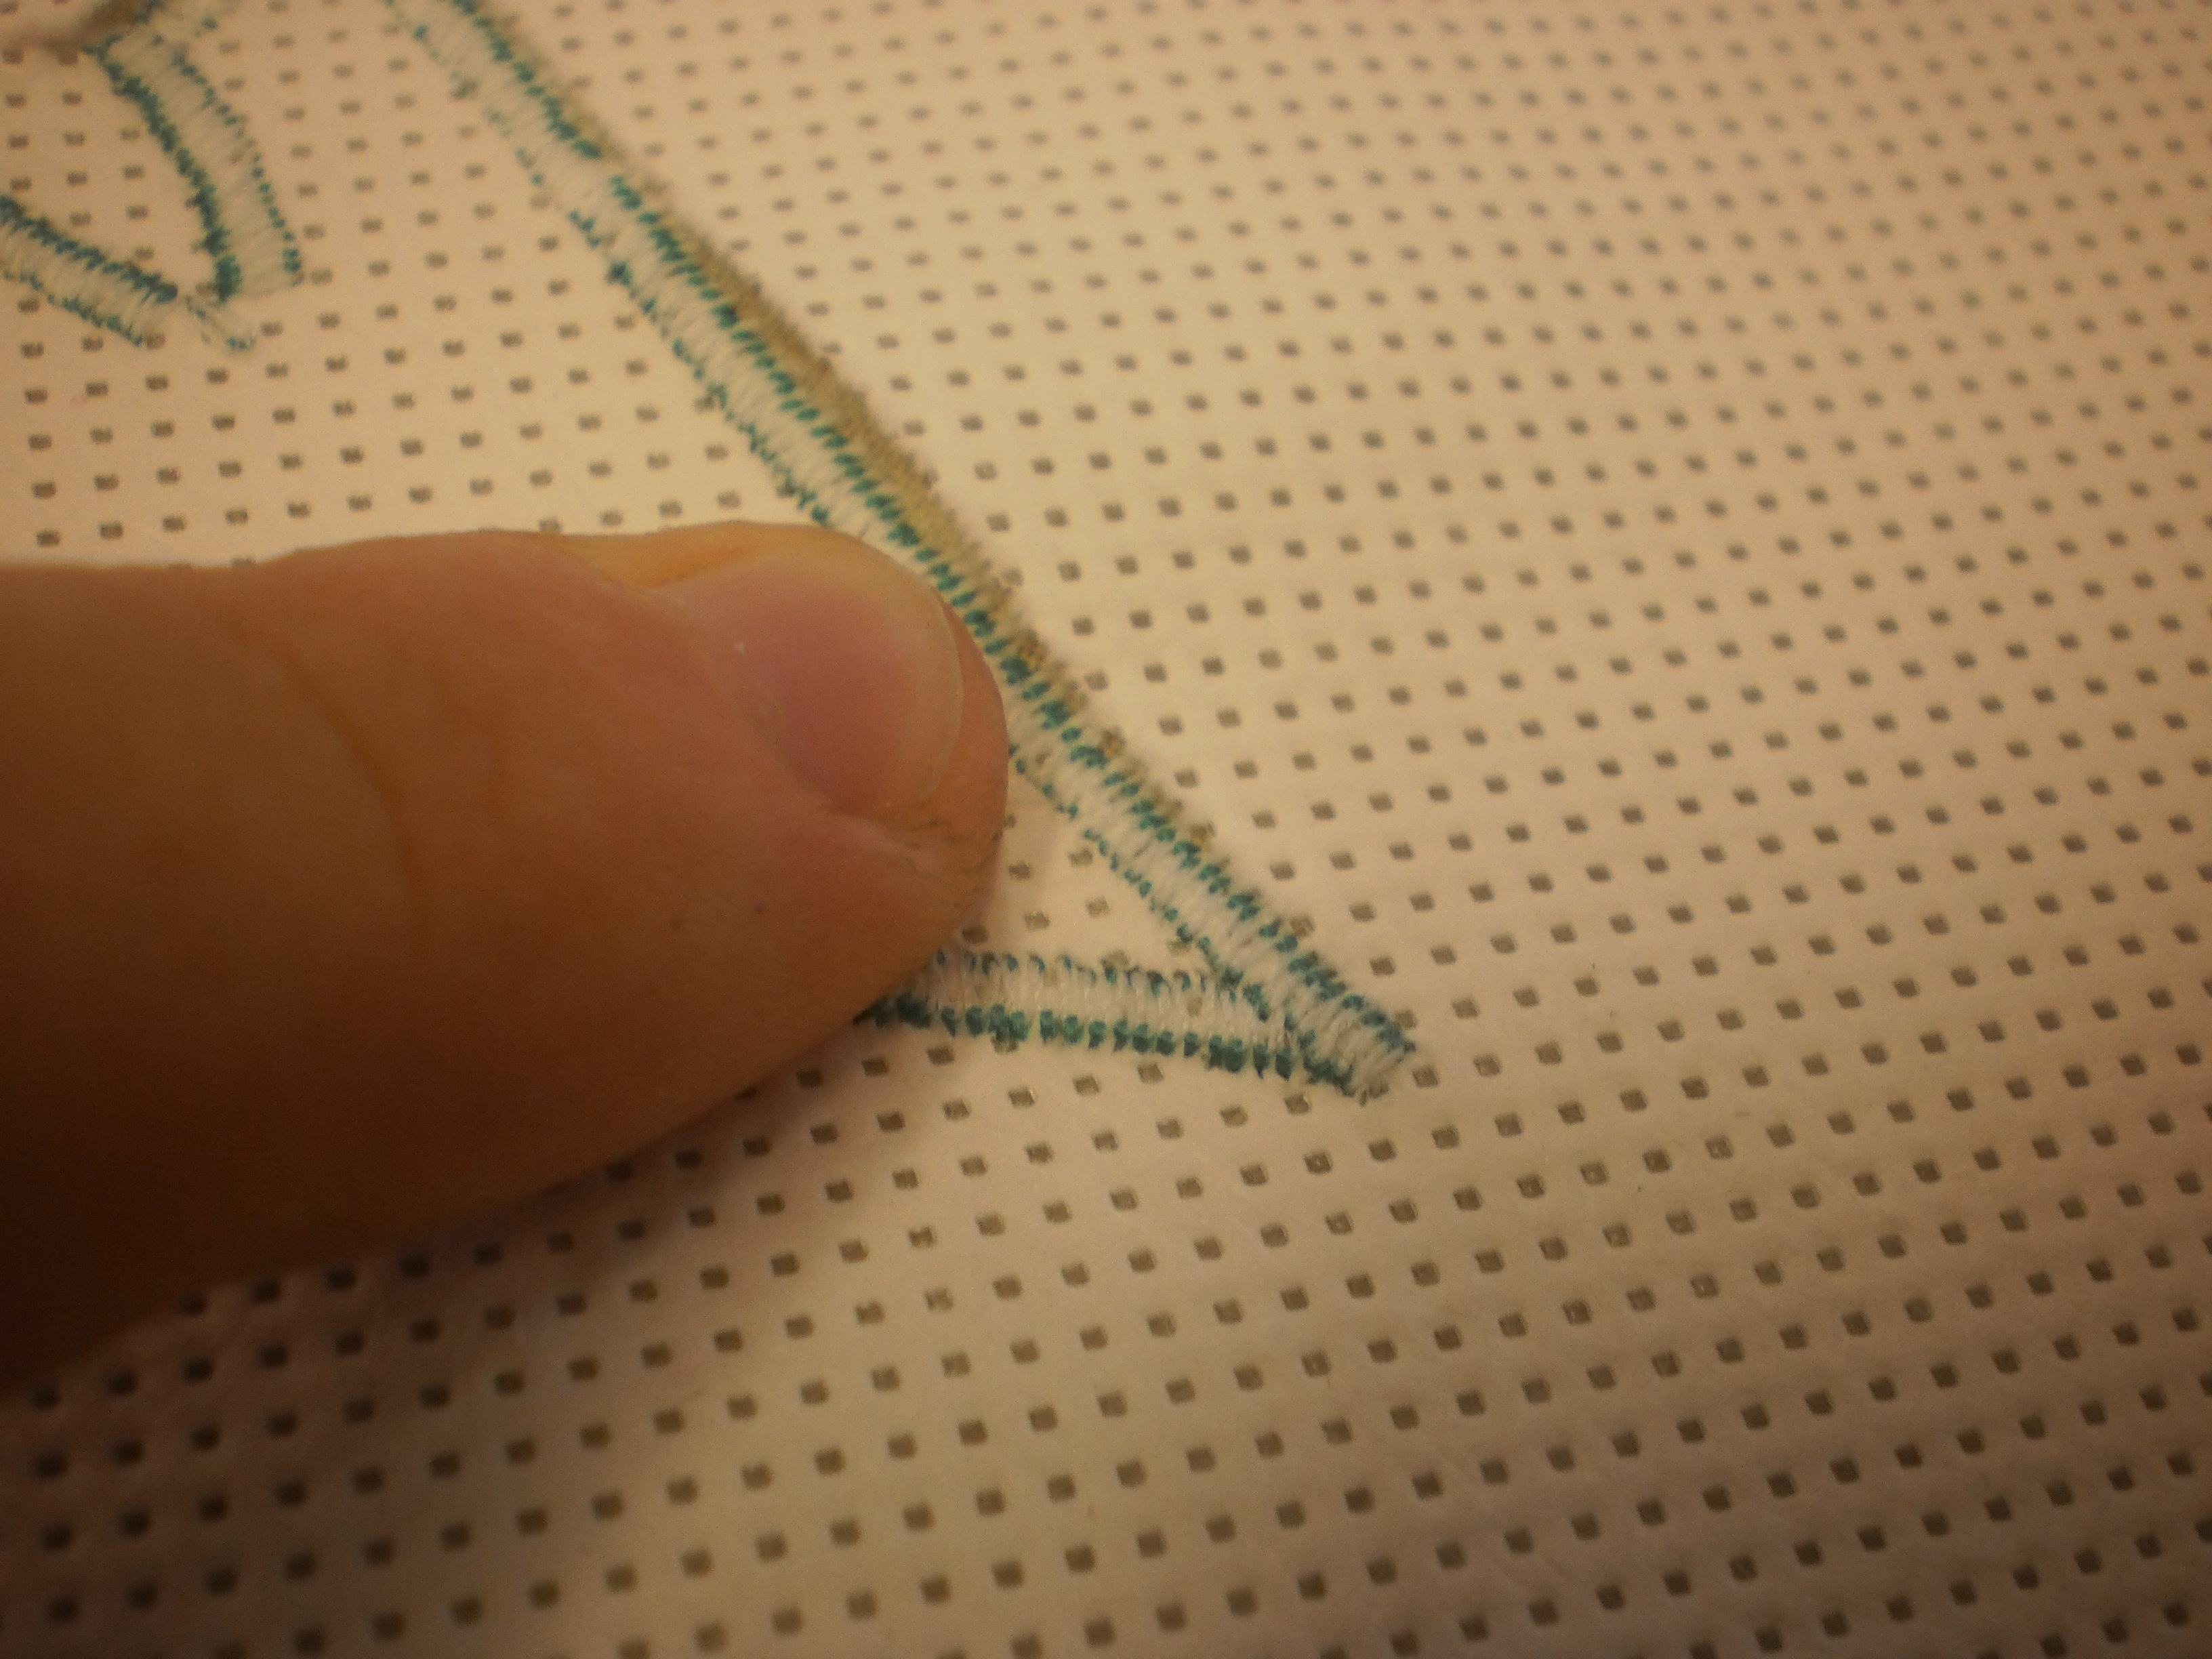
Photo 34: Support the stitches with your fingers and gently tear away the Stitch-N-Tear.
If you are going to embellish your appliques with some embroidery remove all of the Stitch-N-Tear.
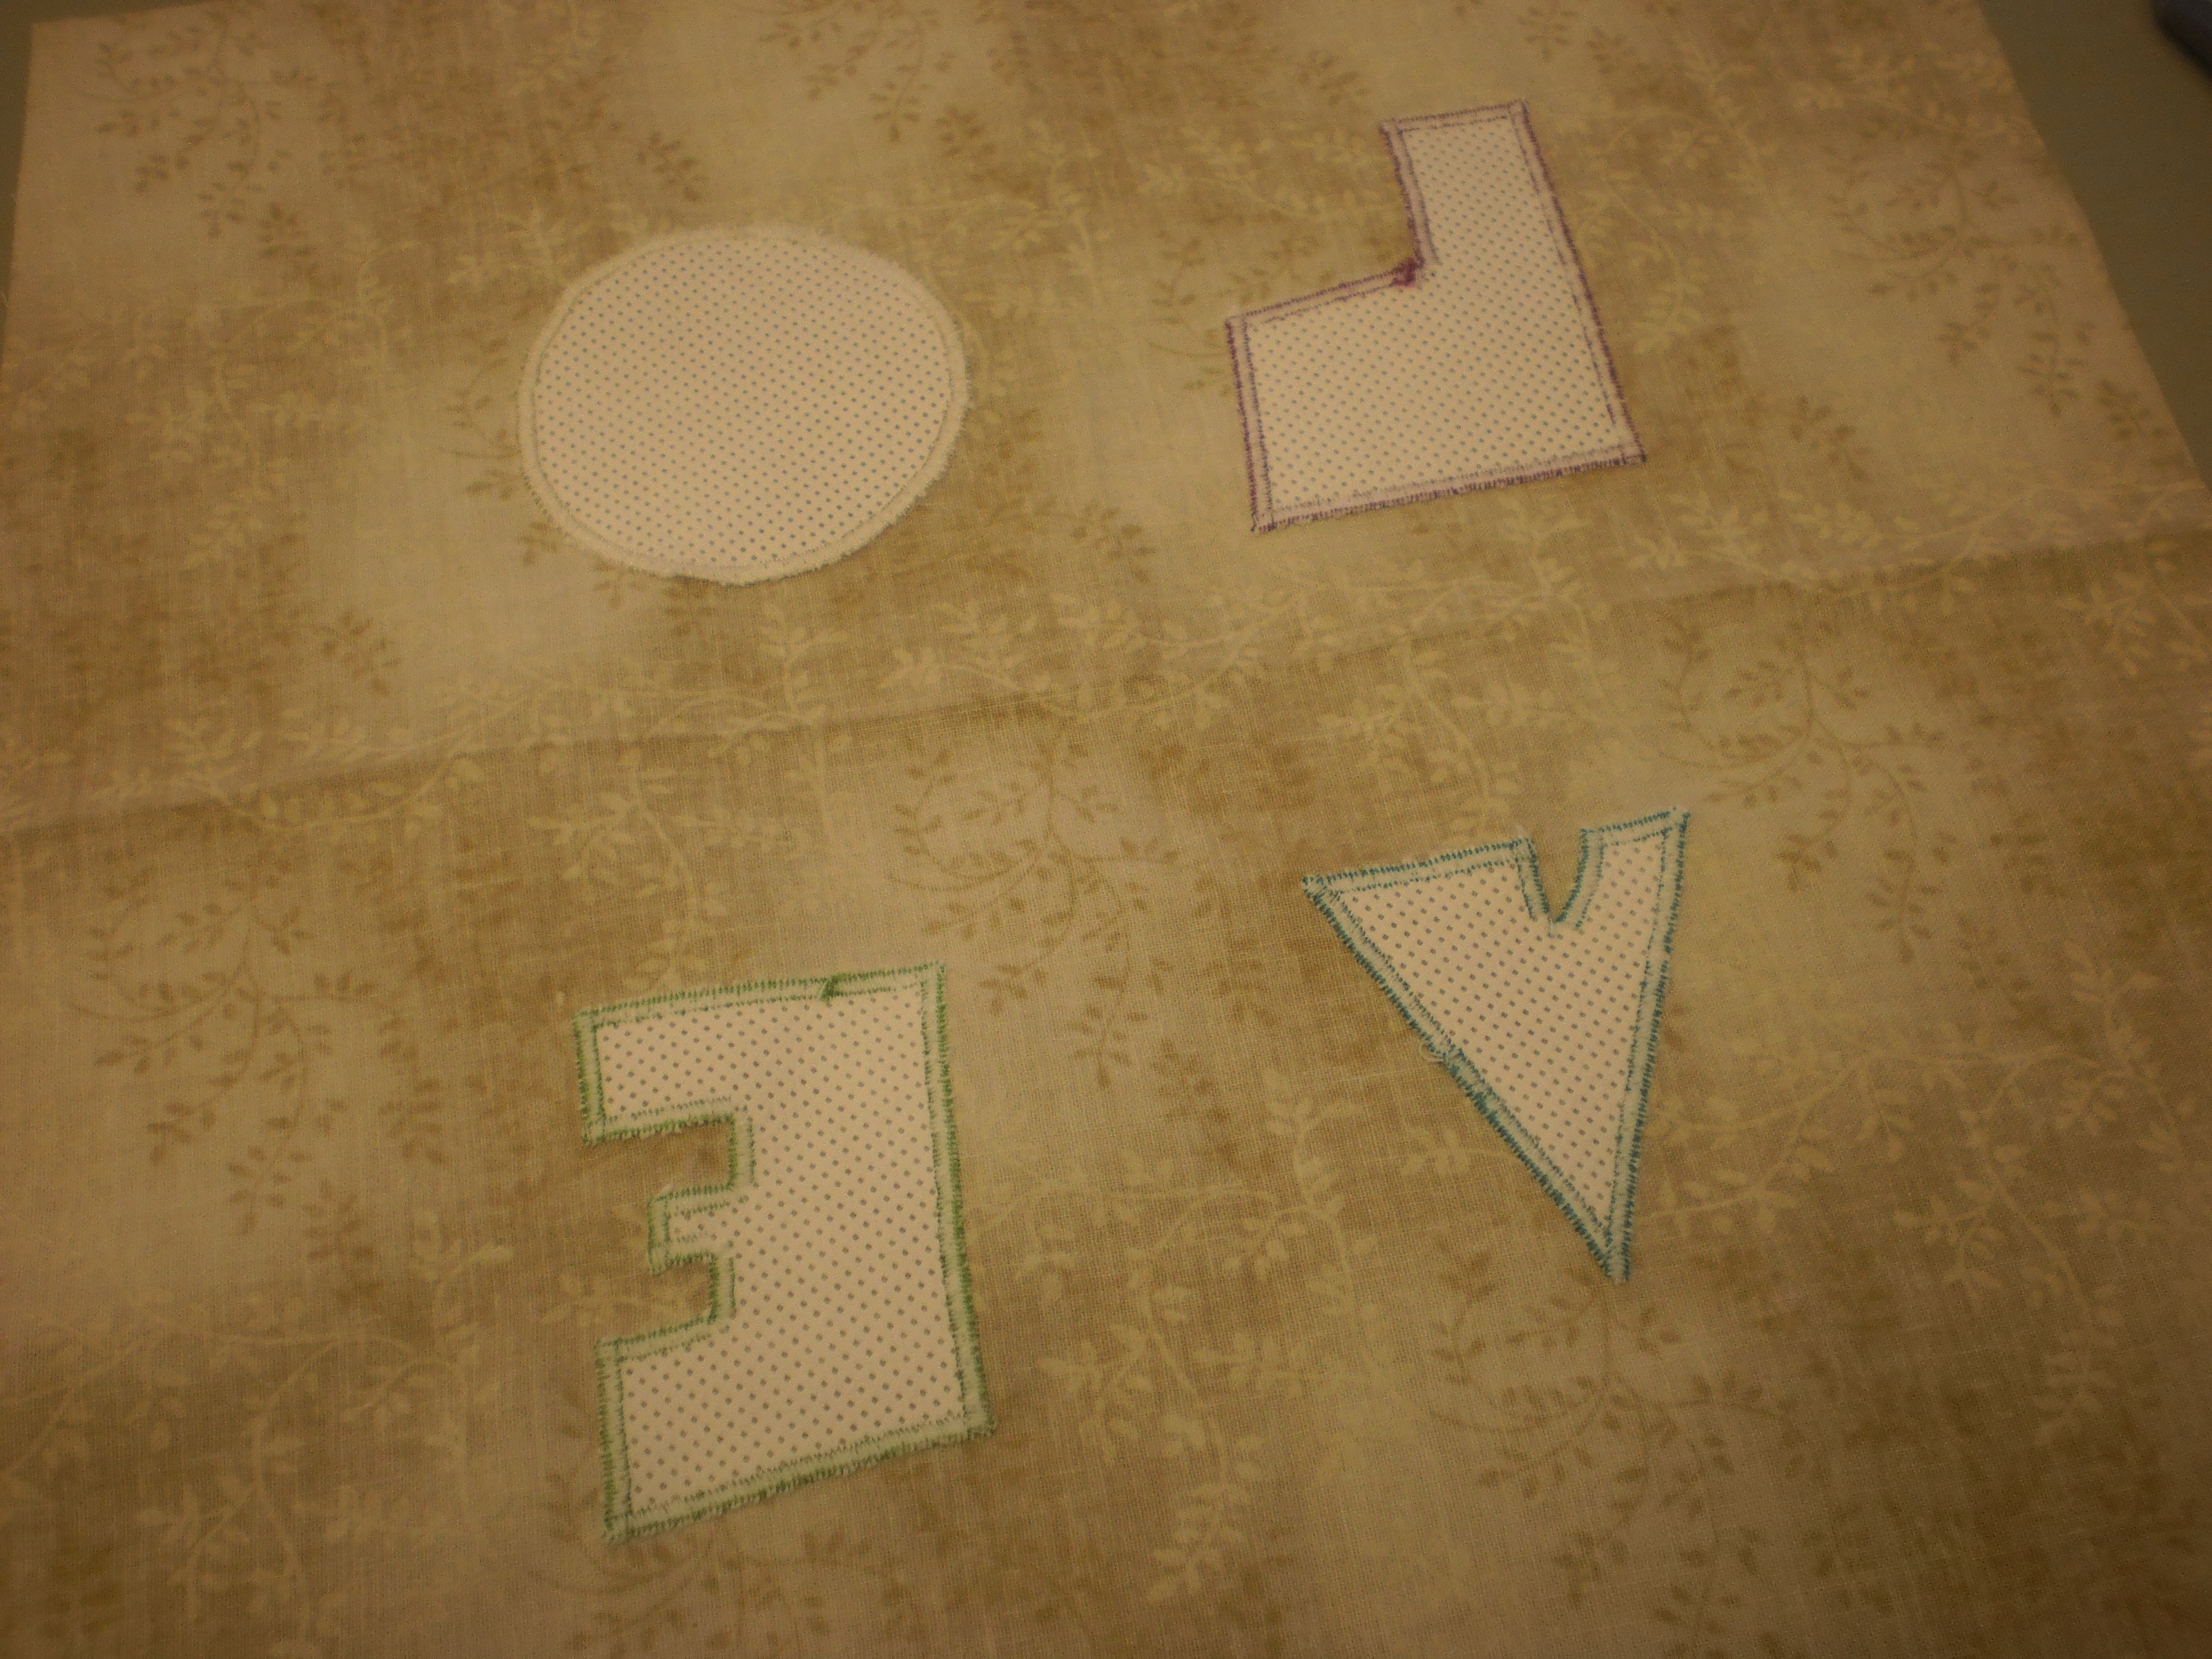
Photo 35: If you are going to embellish your appliques with some embroidery remove all of the Stitch-N-Tear.
Embellish as you please. Here is a link to the Embroiderers’ Guild and a list of stitches and how to do them.
Press your block and put aside in a flat space until we are ready to assemble the quilt.
Notes:
Ironing temperatures –
- Your standard cotton fabrics will need to be ironed on the highest setting with steam (or spray with water as you iron).
- Vliesofix needs to be ironed with a hot but dry iron. Steam will cause the Vliesofix to bubble, buckle and pucker.
- When pressing blocks when you are finished stitching the appliques use a pressing cloth (another piece of fabric or a Teflon mat) to protect the threads (Rayon threads can melt at the high temperatures that cotton needs to be pressed with).
That brings us to the end of Block 1 – please feel free to send me photos of your finished blocks.
Marni x
Current Products in APQ, PWS and HM magazines
If you have come to this website looking for the fabrics you have seen advertised in the product review sections of the following magazines – Australian Patchwork & Quilting, Patchwork & Stitching and Handmade – could you please ring through your order to me at the shop. This website is currently under development.
All you need to do is quote the name of the range when you ring so I can help with your order.
Thank you!
Marni
St Pius X continues….

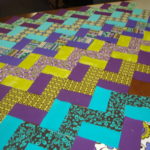
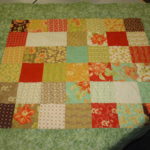
So I’ve been stitching up a storm with the St Pius X quilt. At this stage it is in 4 sections. Top, middle, bottom and borders. I am slowly piecing the sections together to make sure every blocks points match. Hence why I spent two days trimming up the blocks to make them all the same size.

Due to the number of blocks there will be some in the border – maths dictates in this case. I’ve kept everything balanced as best I can. Colours were the most important thing to balance as when you look at a quilt your eyes move to track certain colours and shapes. So when placing the blocks I made sure that the colours were balanced in the most soothing way for everyone’s eyes as this quilt will be on display for many years to come. 🙂
I’ve actually never made a quilt quite this large (I’ve spread it out over the classroom table 6ft x 9ft and then also had to put up one of my market trestle tables!) so it’s a bit of a learning curve for me in terms of size.

The quilt will be all together by (hopefully tomorrow afternoon) but more likely early next week and on the long arm ASAP. I lost some time today due to a headache and a longer visit with dad at the hospital.
More progress notes to come.
Off to bed now. 🙂
Marni
Works in progress…
A few days ago I started work on the St Pius X 75th Anniversary quilt. I cleared off my workbench and placed all the blocks in rows to try and get the best layout in terms of colours and patterns. There is a terrific mix of blocks as some families had theirs machine embroidered professionally and some have done blocks using mixed media. There are cross-stitched blocks, hand embroidered, appliquéd and a few patchwork ones as well. I do have a few favourites –


The quilt is coming together really nicely. I spent Wednesday trimming everything to size to ensure the accuracy. As each family was given a 24cm (9.5in) block but due to the very nature of the fabric there was some shifting, fraying and warping. Trimming everything means that I know where I’m at with the layout and helps keep it all neat in the preparation for quilting.

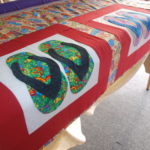
The centre panels with the school’s crest, a list of the headmasters and the school prayer will be framed with yellow peepers to highlight them. Then the surrounding blocks attached with some key blocks – such as the school colour house crests – will radiate out to the border.
Quilts like this are a fabulous way to celebrate something so momentous. It is a great way to showcase the participants, with each block be so unique, but also combining with important elements that need to document the journey that the group has taken.
Many of you who know me know that I am not the religious type might think this project a strange undertaking for me, as the school is a Catholic one. But in fact this is exactly what quilting is all about – commemorating something, people coming together, sharing and having fun.
Seeing as the weather is a little on the wet side today, it will be the perfect opportunity to get stuck into joining the rows. There are 105 blocks in total plus the three central panels.
I’ll keep updating on the quilt’s progress as I go.

In other news I’ve started the bat nappy production for the BatResearch Centre in Queensland. They put a callout on Facebook the other day looking for sewers to assist in the making of bat nappies or bat burritos to help look after the orphaned bats and flying foxes that will turn up this season. I couldn’t resist making some Halloween themed ones for the little guys and also some banana ones for the flying foxes. Dawn from Hello Dollies dropped off some that she’d made this morning and if any one else local has made some I will be collecting them up until 4pm on Wednesday the 17th of October so feel free to drop them off to me at the shop and I will send in one parcel to the centre.

Dad is doing much better and has been moved closer to home so it’s now saving us the wear and tear of travelling to Sydney to see him. We just have to get him strong enough now to get him moved to the rehab clinic so that we can get him back to normal.
The shop will be shut from 1pm on Friday the 12th of October – I have a meeting to attend that might mean a few changes in my life. Nothing that will affect the shop just some personal things that I need to sort and Friday afternoon is the allotted time for it to happen.
The shop turns one on Monday so if you are looking to help me celebrate please go to my Facebook page – there will be some games, prizes and some other fun stuff from 8pm AEDST.
I’m still feeling the birthday fun so I’m going to make the 20%off fabric until the end of October to celebrate not only the shop turning one but also my favourite holiday Halloween.
Hope you all have a fabulous weekend!
Marni
I’m back!
Hello everyone.
After a small hiatus to get things on track with dad being in hospital I am back in the world of blogs.
Dad is ok – he’s going to be in hospital for a long time with rehab and physio but he is alive and we are very lucky to still have him around.
Seeing as this post is on the last day of September I will catch you up quickly with what happened this month.
- Competition quilt – early this month I handed in my entry to the NSW Quilter’s Guild competition. The theme was ‘How does your garden grow?’. The quilts are still with the guild and have been on display (now closed), we get the quilts back in December so I will blog about it more then with photos and explanations.
- Customer order – a friend of my sister’s rang and asked me to make a tree quilt so that at her mother-in-law’s 50th birthday all the members of the family could sign the leaves. There were also several photos featuring the family along the bottom of the tree.


- Magazine projects – I’ve been working on a couple of things for the magazines. A table runner and placemats for Patchwork and Stitching and an appliqué quilt for Australian Patchwork and Quilting. These pieces will be sent down on Tuesday and then I start working on a few pieces for Handmade.
- Customer order #2 – St Pius X, Chatswood, is celebrating their 75th anniversary. The children and teachers have made blocks featuring their names and things they like, there is also blocks with the school colour houses, a list of principals and the school prayer. I have been given the task of putting it all together ready for the celebration ceremony in November.
- Customer #3 – a friend of mine has asked for a quilt with the images of his favourite band’s albums. I’ll achieve this by printing them onto fabric sheets or maybe doing some transfers…
- UFOs – I have a lovely long list of these, some are a few years old from my pre-shop days. I am slowly working my way through the list. Some will be up for sale, some will go to the magazines as projects and there are a couple that will be donated to charity for fund-raising purposes later this year/early next year.
That pretty much covers September and into October…
Also on the cards at the moment is my favourite time of year…. Halloween. So I’m getting ready for that. 🙂
The shop turns 1 on the 15th of October.

It’s all very exciting to have been in business for a year. I’ll have some special things in store but you’ll have to stay tuned for that. In the mean time make sure you check out the online store as there is 20% off all fabrics until the 15th of October. The discount also applies in store so feel free to pop in and see me.
I’m off to bed now. Hope everyone is enjoying their long weekend.
Marni 🙂